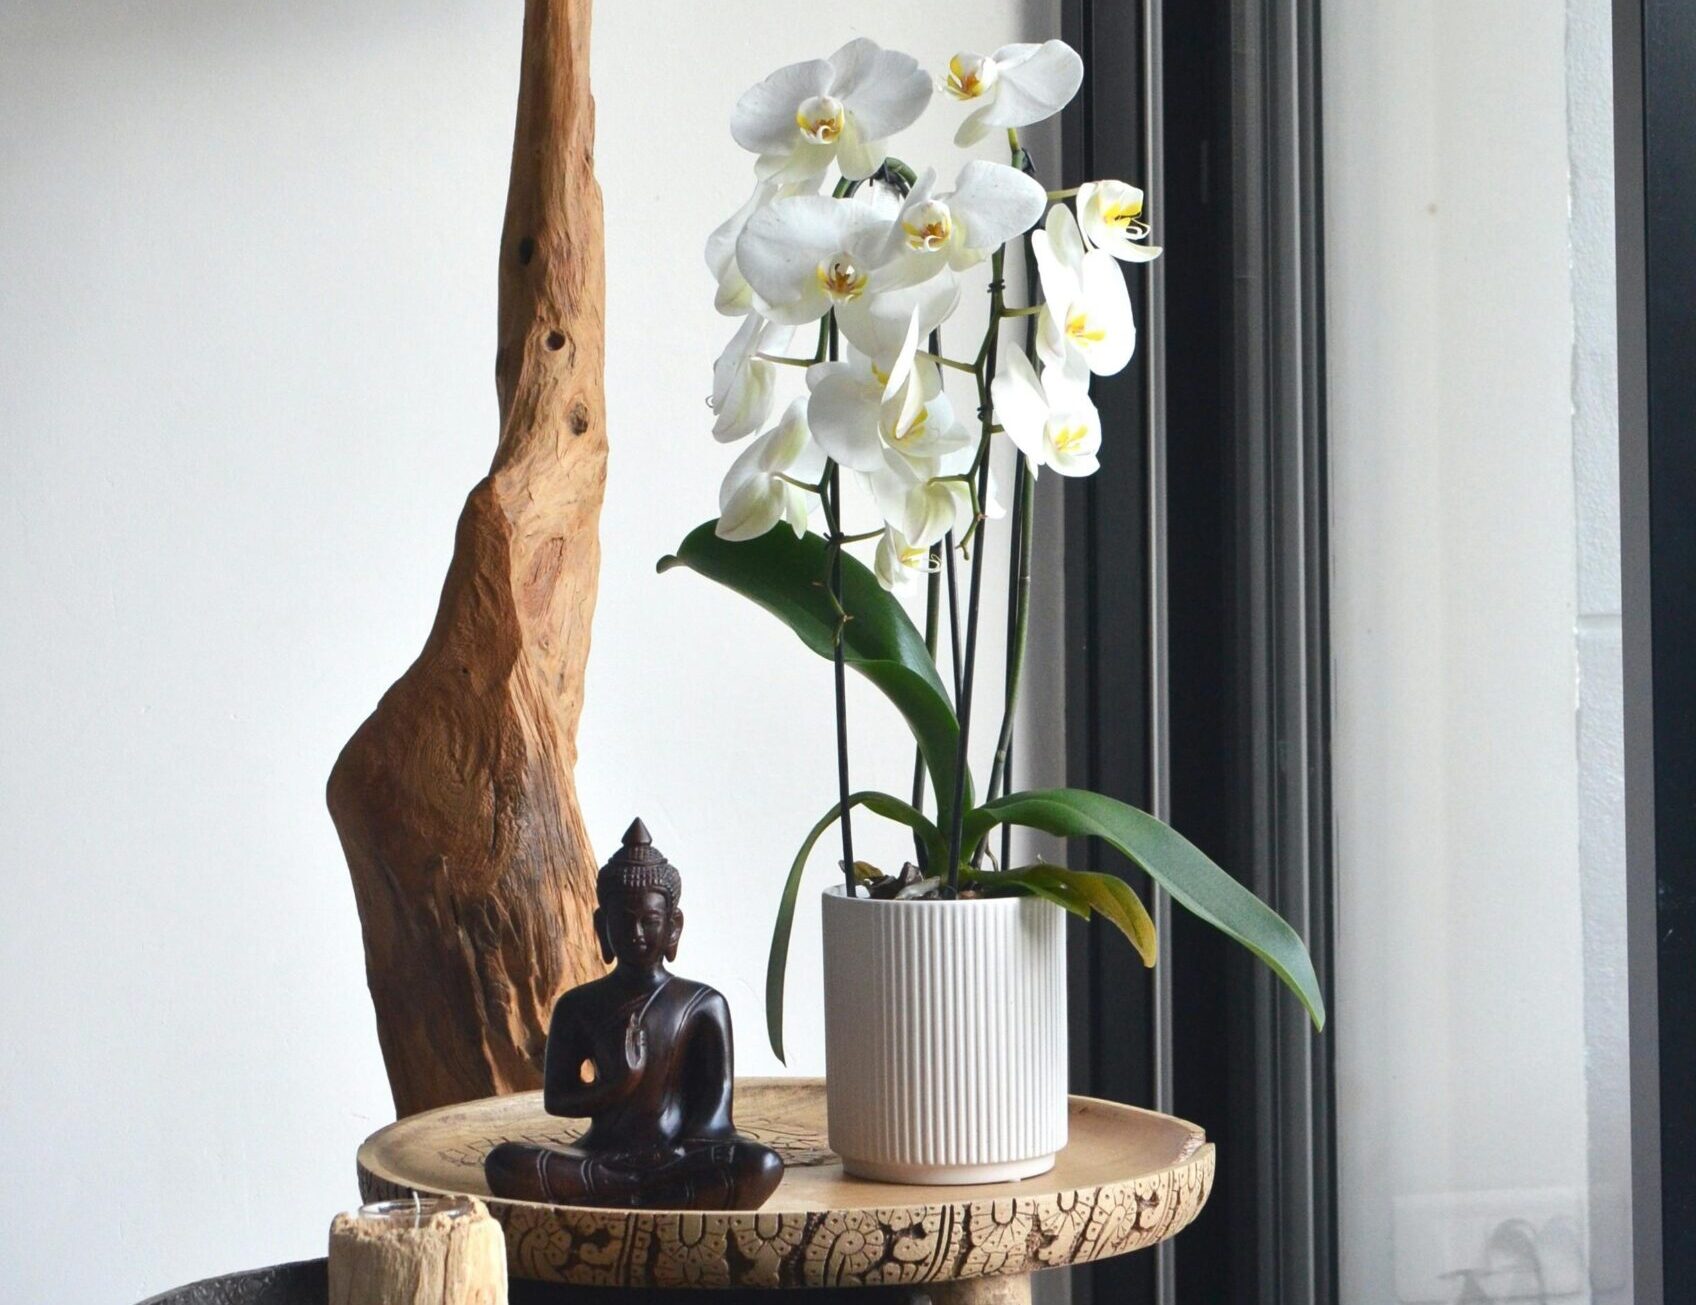
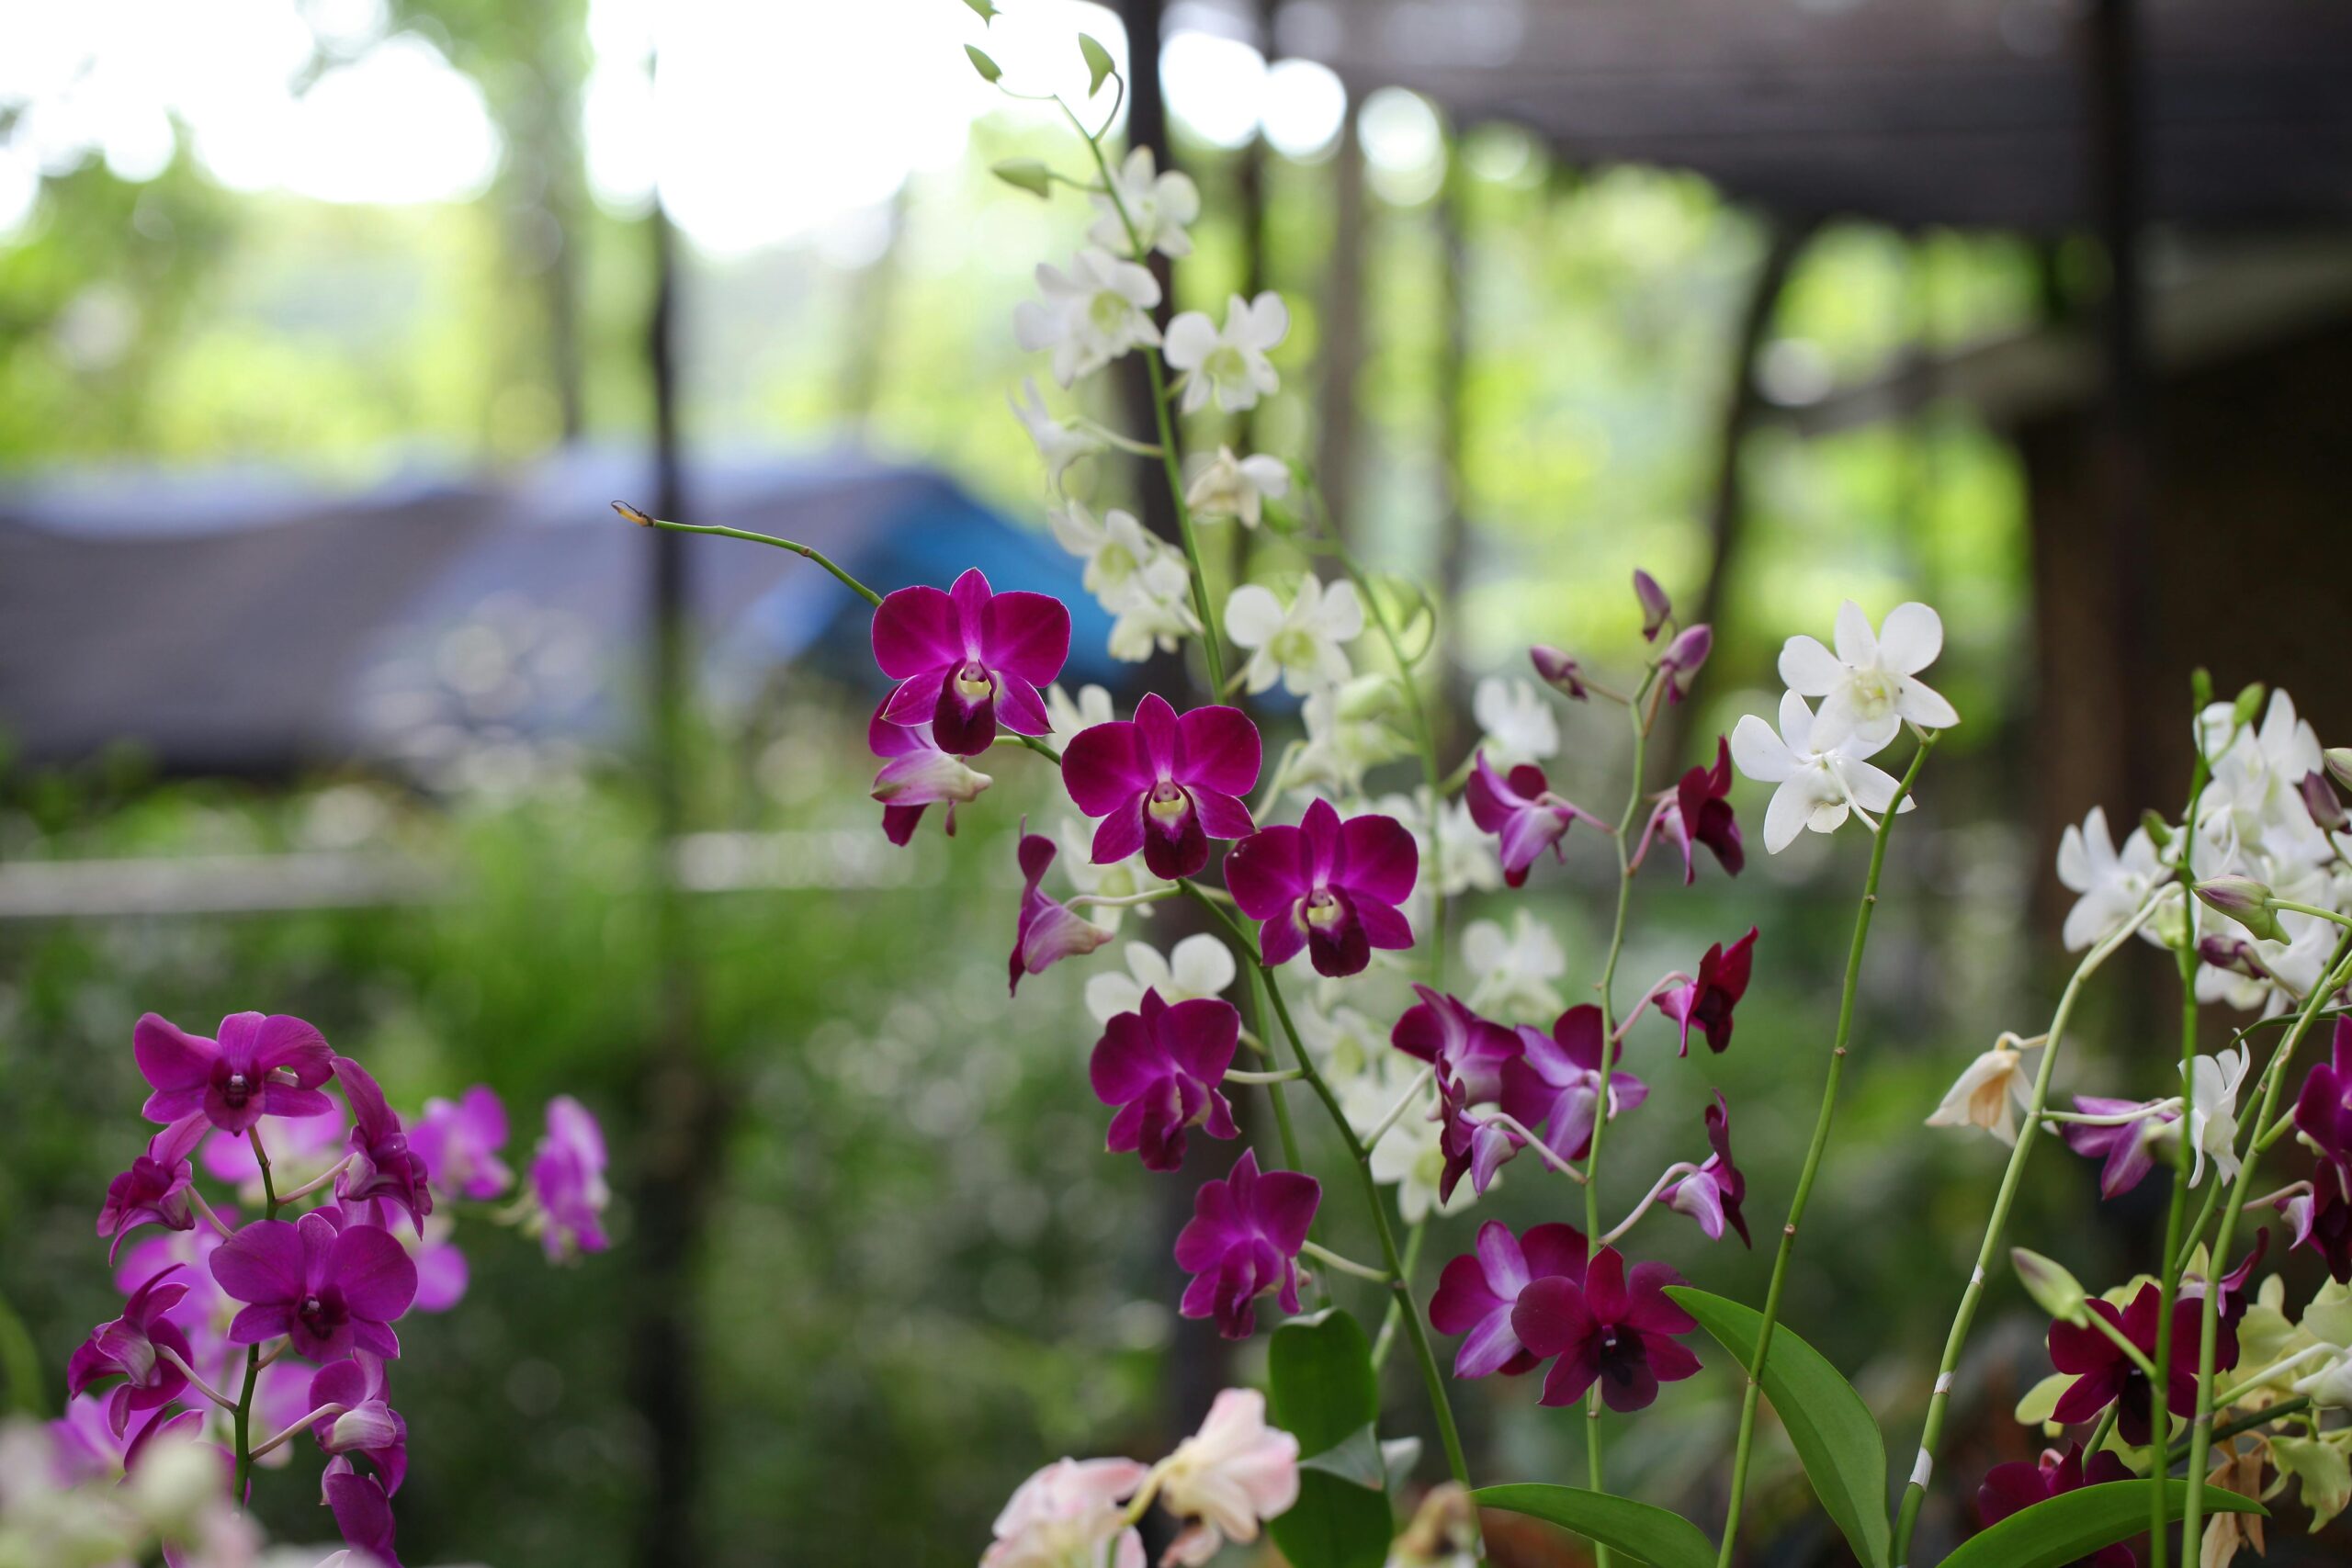
Orchids are a plant that gift givers love gifting and recipients seemingly love killing. Browsing your local garden center, hardware shop, or grocery store, the orchid you are most likely to run across is the Phalaenopsis, or moth orchid. These plants thrive all over the world in a variety of climates, from tropical to dry, semidesert conditions; however the plants most of us know and admire originated in the forests of Southeast Asia.
Nearly three-fourths of the species are epiphytes, meaning they attach themselves to trees, enjoying filtered sunlight through the rainforest canopy, sufficient water and nutrients from the bark of their giant hosts, and lots and lots of fresh air. The natural happy place of your orchid’s ancestors is important to keep in mind as you em-”bark” on your mission to give your plant a happy home. Here are 10 tips to help you care for your beautiful blooming babies and leave your visitors in awe of your orchid whispering.
1. Use a Medium Made for Both Optimal Moisture and Airflow
Unlike your other houseplants, orchids do not grow in “soil,” so your potting medium must be one that is both airy yet great at retaining moisture. Your orchid’s roots also crave stability and must have something coarse and firm to hold on to. Many orchid mixes are a combination of three things: bark, some sort of lightweight porous stone, and moss. Start there, and later if you want to get wild, try your own blend of pine or Douglas fir bark. Then add in some medium-sized lava rock, charcoal, or pumice, and finally, some New Zealand sphagnum moss. Be careful with the moss though. While it can hold up for many years, it retains lots of moisture, which leads to the next tip…
2. Water Your Orchid When It’s Dry
First, please don’t do the ice cube thing. This is the number one tip of dead orchid owners. Water your plant in the sink, letting the water run through and wet the entire medium. Monitor the orchid every five days or so, then when the plant’s medium is dry, water it. That’s it! A strict schedule doesn’t work with these plants because different homes have different environments during different times of year, and the medium may dry out sooner or later depending on where you live. After a while, you will learn your plant’s rhythm and be able to water it accordingly.
Another good rule of thumb is to check if your orchid is still moist 10 to 14 days after watering. If so, you could be putting the plant at risk for suffocation (i.e., you’re drowning her), and there is too much water where there should be pockets of air. And this leads to the next tip.

3. Use a Pot Made for Orchids
Plastic pots work great, and you should ensure that yours has lots of holes/slits for airflow and drainage, both on the sides and the bottom. Plastic pots, admittedly, are not usually the best looking. Because your orchid deserves only the best in aesthetic attire, look for decorative planters made just for orchids. They exist!
4. Sunlight
Remember that tropical rainforest canopy mentioned earlier? It provides the very definition of the “bright filtered indirect sunlight” that orchids love. These plants are sometimes considered “low light,” but that does not mean no light. A shaded spot near a window in a bright room is perfect. Direct sunlight is absolutely not recommended as the leaves will burn.
5. Air Roots and Leaves: Just Leave Them Be
Firm green leaves are a sign of a happy, healthy plant, as are pale green roots that grow wild and look like they are trying to escape. They aren’t! So just let them be, and definitely don’t cut them or try to shove them in the pot. Air roots want air. The bottom-most leaves of the orchid may eventually turn brown and fall off, but as long as new leaves are coming in, you’re doing just fine. This is part of the normal life cycle. You may wish to occasionally clean your leaves with a little lemon juice and water on the tip of a cotton ball to keep her looking nice and shiny, but this is not necessary for the plant’s health.
6. Blooms: Sit Back and Enjoy Them While They Last
There is nothing more satisfying for caretakers of flowering plants than admiring those stunning blooms. Orchids are some of the most gorgeous flowers out there, and the best thing you can do to maintain them is to adopt an effective watering regimen and just enjoy the flowers while they last, which can be anywhere from several weeks to several months. Yes, they will fall off eventually. Nothing lasts forever, and that’s okay. An orchid losing its blooms generally indicates that the plant has completed a normal blooming cycle, and it’s time for some fresh, new medium.

7. Change Out the Medium, But Don’t Rush to Repot
An orchid can thrive with the same pot size for a couple of years. Replacing the medium after a blooming cycle doesn’t mean that you also need to transplant to a larger pot, as like many tropical plants, orchids do like to be a bit root-bound. After a successful cycle or two, the volume of new leaf and air root growth will outsize the pot, and you might also notice the roots inside the pot beginning to grow well outside those drainage holes. Congratulations! You are ready to repot your orchid. Size up no more than 2 inches in diameter.
8. Watch for Root Rot, and Nip It in the Bud
If you are watering your orchid effectively and providing it with enough airflow and sunlight, you won’t need to worry about that most dreaded predicament — root rot. But if you do notice that the plant starts to smell strange or does not dry out after a couple of weeks, you may be at risk, and it’s time to gently remove the plant from the pot and give your orchid a thorough examination. Signs of root rot are black roots, roots that smell, and/or roots that are becoming soft and spongy. Remove these roots immediately by cutting them off with a pair of sterilized scissors. Then place the plant in fresh potting mix, ideally a blend that does not retain as much moisture.
9. Orchid Feeding and Fertilizing: Do It (or Don’t)
When it comes to food and fertilizer, there are so many different schools of thought, it can be hard to know which direction to take. The main thing to know is that while fertilizing and feeding are great for the plant, they are not necessary. If you choose to do so, use food or fertilizer that is made especially for orchids. You won’t need to do it very often to reap the benefits. Every three or four waterings is recommended, and less is more as some fertilizers can burn the plant’s roots.
10. Prune Dead Flower Spikes
Let’s say the blooming cycle is over, and the flower spike (the stem from which the flowers bloom) is still a healthy green. If this is the case, leave well enough alone as it means the spike definitely wants to give you some new blooms in the near future. However, if the spike turns yellow or brown, just get your sterilized sheers and prune it off. This is normal, and if you continue to care for the orchid per the tips here, new spikes will grow in their place.
popular posts
Beginner

It's A Natural Weed Killer, But Will Vinegar Kill Grass, Too?
by Emmanuel Desouza | November 1, 2024
FOLLOW ALONG ON INSTAGRAM
#homeandtexture
Find us on social for more home inspiration where culture, personal style, and sophisticated shopping intersect to help you create a home where you love to live.
