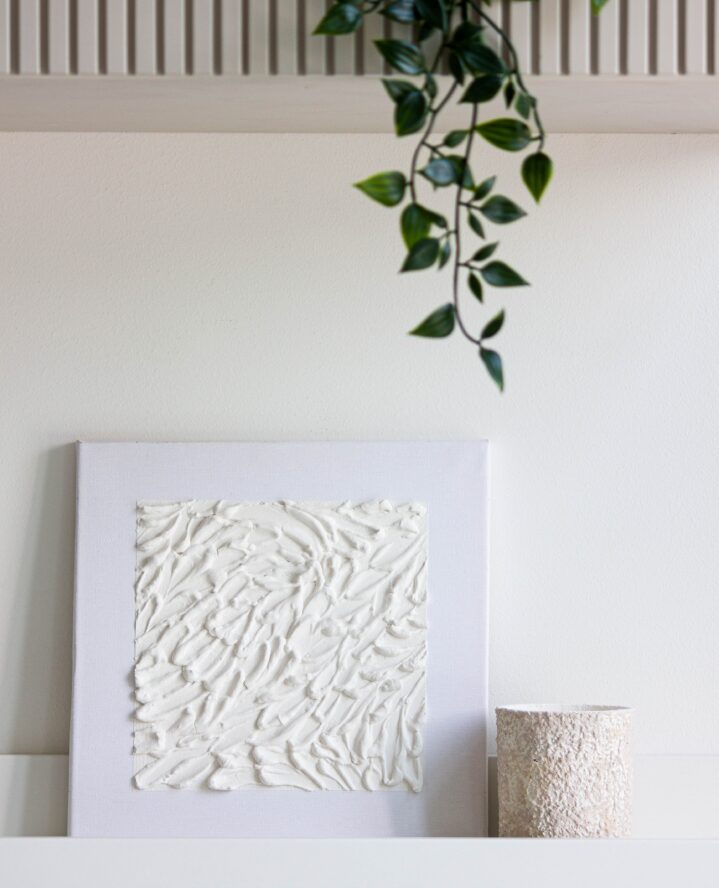
Adding art to your walls is one of the best ways to elevate the look of your home. According to social media, the new trend in home decor is textured wall art—a simple abstract design made on canvases using plaster or drywall mud. With this DIY project, you’re in creative control and have the ability to create something unique and eye-catching for your home. The best part is, there’s really no right or wrong way to create your masterpiece, and you can do it without breaking the bank.
Here’s What You’ll Need
@mehree.bDIY plaster wall art. It was so simple and budget friendly anyone can give it a try 🎨🖌️ I reccommend drydex spackling plaster. Its easier to create a textured wall art without all that mess. Canvas from hobby lobby and putty spatuala from ace hardware. I also link similar products in my amazon storefront for one stop shop 🫶♬ original sound – Michal
When it comes to creating the texture in your art, you have to think outside the box. If you want to use more items than just the drywall mud and plaster, grab items that have no use or can be re-used. Items like old crumbled newspaper, yarn, or old rose petals would be great. If you want to opt for just drywall on canvas, here are the items to do so:
- A canvas to paint on. You can buy a new one or re-use an old one since you’ll be covering it up.
- Drywall mud/joint compound
- Plastic (or metal) putty knives to lay and spread the drywall mud
- A notch tool to create your design. (You can also use a fork or a butter knife to create the same effect.)
- Colored spray paint and clear sealant (optional)
- Painter’s tape
- Paint brushes
How To Create Textured Wall Art
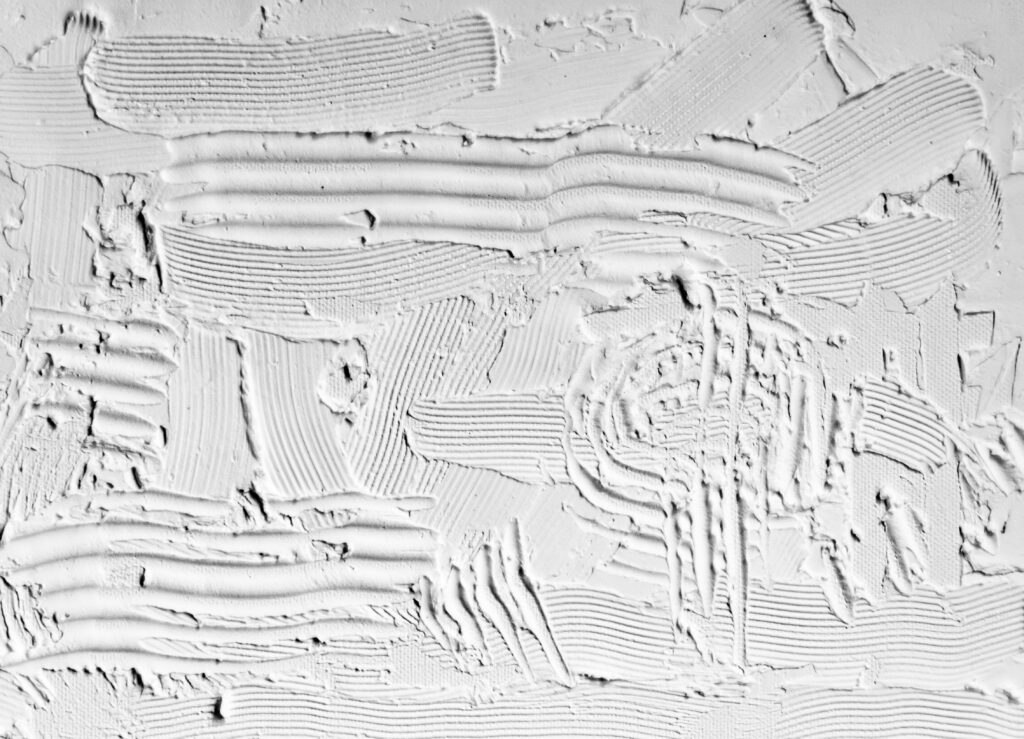
Now that you have all of your materials, it’s time to get to work and have some fun. This project is so easy, anyone can do it. Whether you’re an experienced DIYer or a beginner, you’ll have no problem following along.
Step 1: Spread Your Drywall Mud
Lay out your canvases on a flat surface. To prevent making a mess on your floors, you can also lay newspaper or a sheet down as well. Then, take your putty knife and spread the drywall mud evenly across the full canvas, including the sides and edges. You’ll want to make sure the coat of drywall is thick and between 1/4 inch and 1/8 inch to create visible indentations using your tools.
Step 2: Let the Fun Begin
This is the fun part! Grab those texturizing objects to experiment and create texture. If you aren’t pleased with the selected items, use your finger. Just do what feels natural and create the best look that suits your style and the look you’re going for. Use different items for different effects. Mistakes might be made in this process, but no worries. Use your putty knife to smooth the canvas, basically “erasing” and starting over. Keep in mind though, you don’t have a lot of time before the drywall mud starts to dry.
Step 3: Let the Art Dry
Once you’ve designed the perfect texture, set your masterpiece out to dry. Follow the instructions according to the drywall label. The drying time is usually 24-48 hours. Keep in mind if you have any pets to keep this project away to prevent paw prints.
Step 4: Painting Your Art (Optional)
Though white is the most common color for textured art, it doesn’t have to be. Grab your colored spray paint and add some color to emphasize those specific textured areas. To prevent flakes and breakage, you can also spray clear sealant. Sometimes the finished look can be grey and not fully white, so you can paint over the art with white as well. Then, let it dry.
Step 5: Frame It (Optional) and Hang It
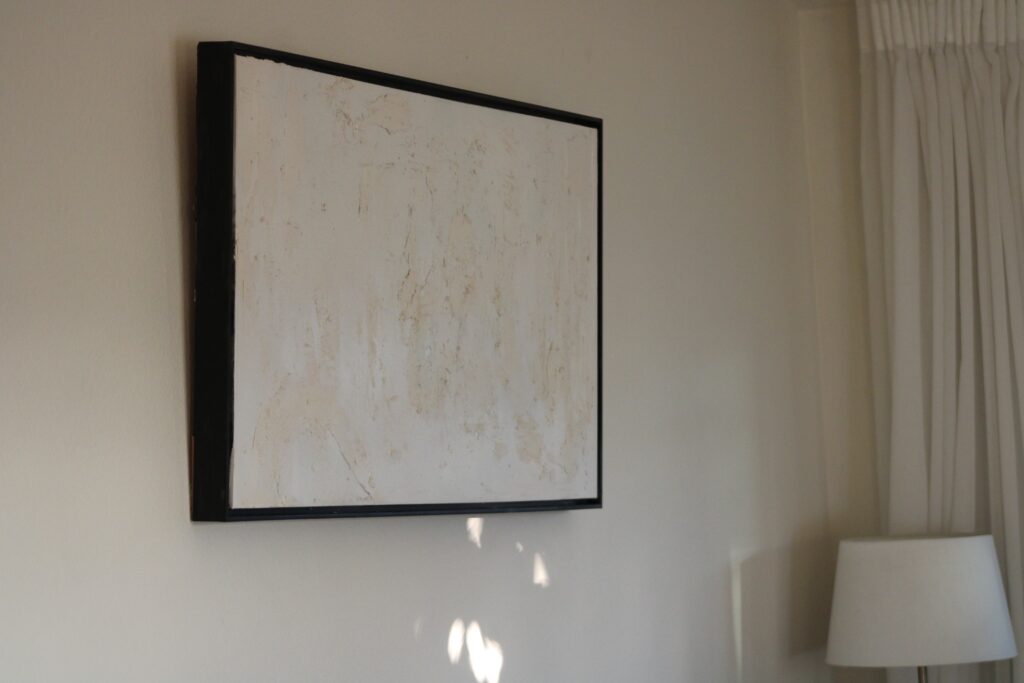
The final step is framing your art or simply choosing an area to hang it on the wall. Now, you’ve made a big statement for little cost and have enhanced your wall space. The finishing touch is appealing, unique, and made by you, so sit back and enjoy what you’ve created.
popular posts
Here are 4 Small Home DIY Projects That Can Make a Big Difference
by Karina Young | December 18, 2023
Track Shelving Is the Coolest Thing to Happen to Walls Since Paint
by Stixx Matthews | August 4, 2025
Spaces
Whether it’s luxury or ease, every area of your home should be as fabulous and unique as you.
Before & After: This Blank Corner Got a Colorful, Cozy Makeover
by Kaniya Rogers | October 27, 2023
The Hot Girl Summer Salad Is Going Viral for a Good Reason
by Julia Peterson | July 31, 2024
FOLLOW ALONG ON INSTAGRAM
#homeandtexture
Find us on social for more home inspiration where culture, personal style, and sophisticated shopping intersect to help you create a home where you love to live.
