December 1, 2023 at 7:30 AM PST
DIY DIY Scented Candles
How To Create Your Own Scented Candles At Home
December 1, 2023 at 7:30 AM PST
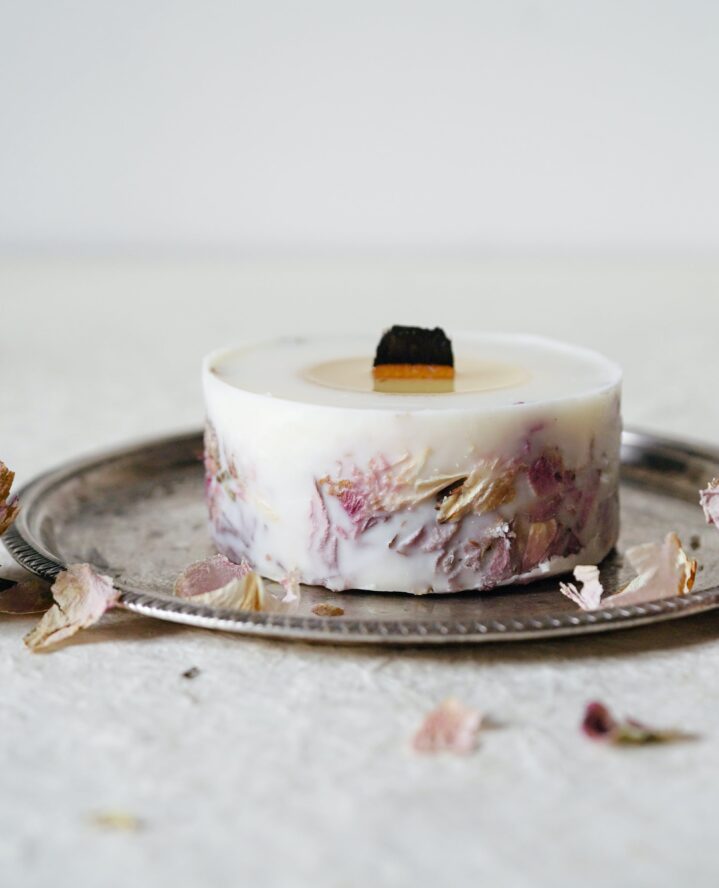
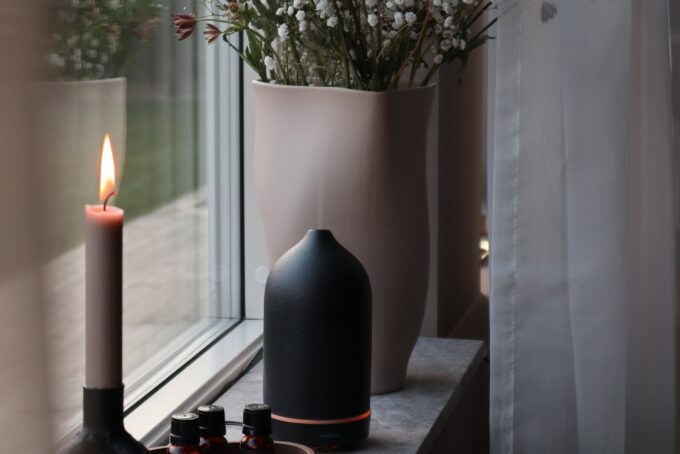
Scented candles are the perfect pick-me-up for your living space. Not only do they make fabulous decor, but they can be a fantastic way to incorporate more aromatherapy into your day-to-day routine as well.
Scented candles come in a wide range of fragrances, colors, shapes, and sizes, making it easy to find the perfect one for your space. But if you’re into crafting, you can make your own scented candles to show off your unique personality instead. To learn how to create your very own scented candle, follow these seven steps.

Gather your supplies.
To create a beautiful scented candle, you’ll need the proper supplies. You can find everything you need at your local craft store or an online craft retailer like Michael’s or Joann Fabrics. To get started, you’ll need the following items:
- Candle wax made from soy, paraffin, or beeswax
- A candle wick
- A candle container — i.e. glass jars or empty tins
- Fragrance oil
- A double boiler
- A thermometer
- Candle molds or containers
- A heat-safe pouring pitcher
- Liquid candle dye (optional)
- Decorative elements such as dried flowers or herbs (optional)
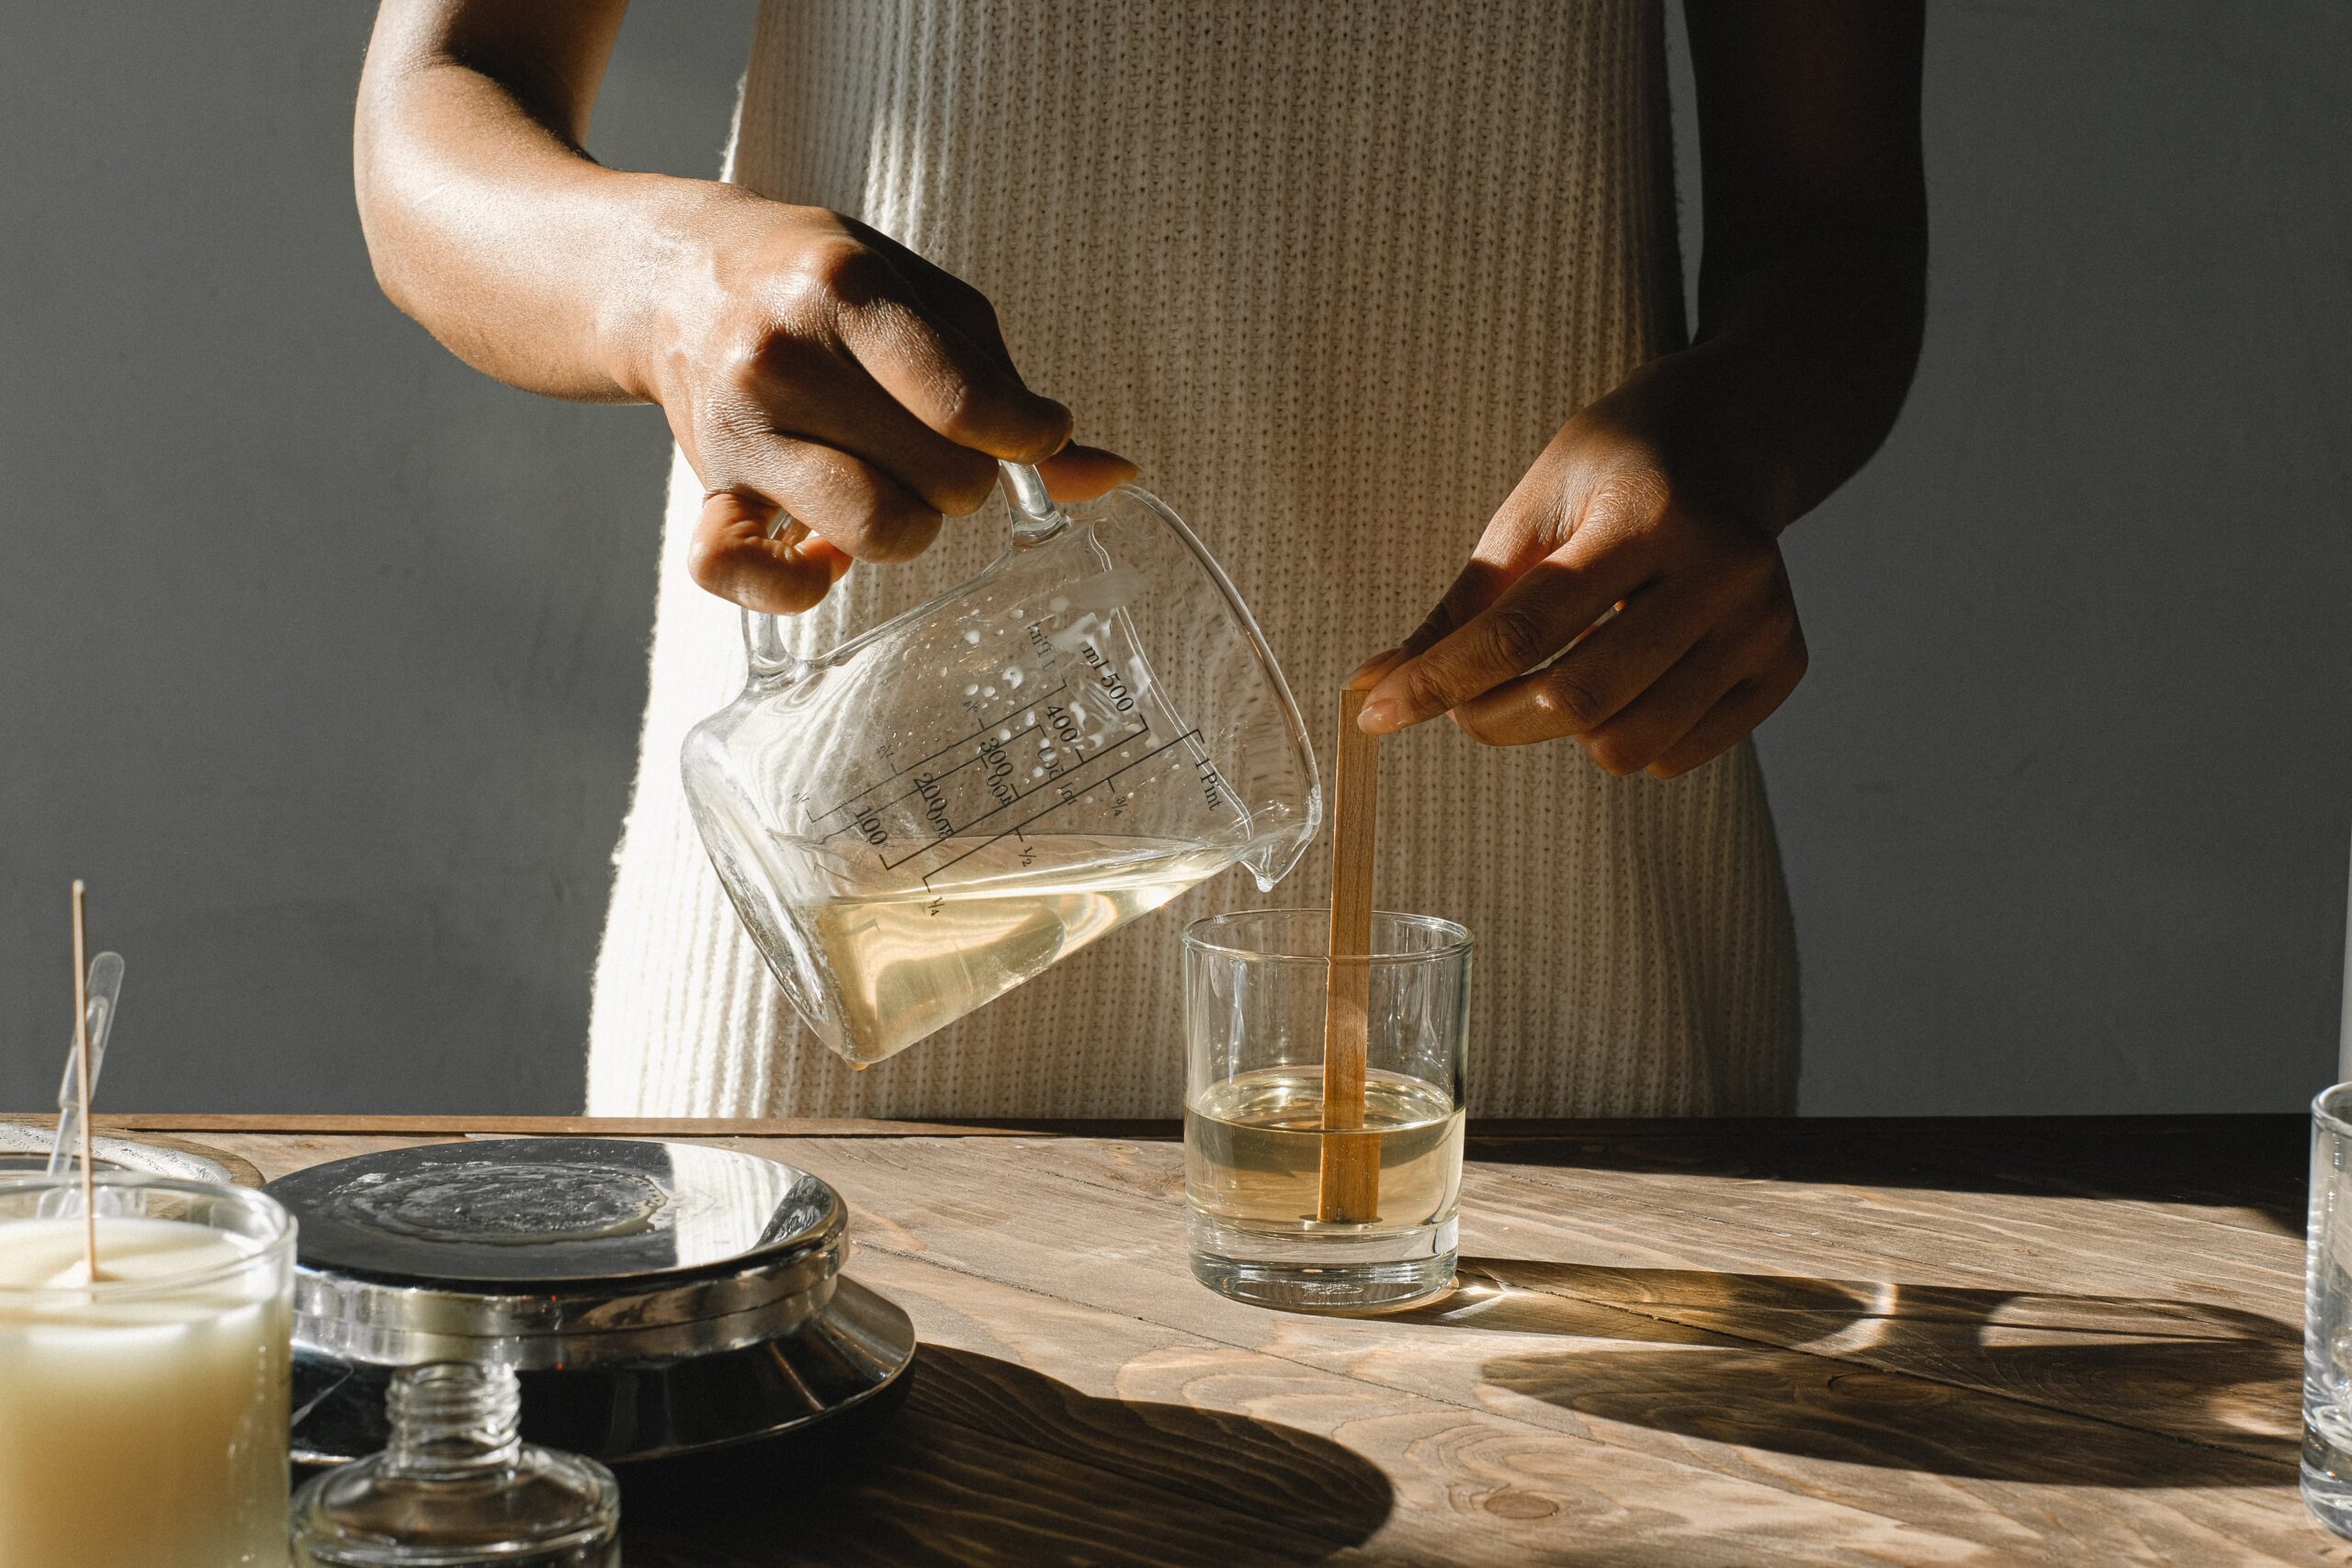
Melt the wax.
Once you’ve gathered all your supplies, it’s time to start making your scented candle! First, slowly heat your wax in a double boiler on low heat, using your thermometer to monitor the temperature. The wax should be heated to between 185 to 205 degrees Fahrenheit in order to better hold the fragrance.
Add your fragrance and dye.
After your wax is heated to the perfect temperature, you can add your scent. To make a sweet-smelling candle, stir in your fragrance oil, starting with a few drops and working your way up as needed.
If you have liquid candle dye, you can stir it in at the same time you add your fragrance. Be sure to gently mix the fragrance oil and dye thoroughly to ensure an even distribution.
Pour the wax into containers.
Now that you’ve added your fragrance, pour your wax into a container so it can start the hardening process. When pouring, try to leave enough empty space at the top of your container so the wax can expand without spilling over when it hardens. You can also add in your decorative elements during this step for an extra special touch.
Remember, working with hot wax is dangerous, so it’s important to handle the liquid with care and caution to avoid harm.
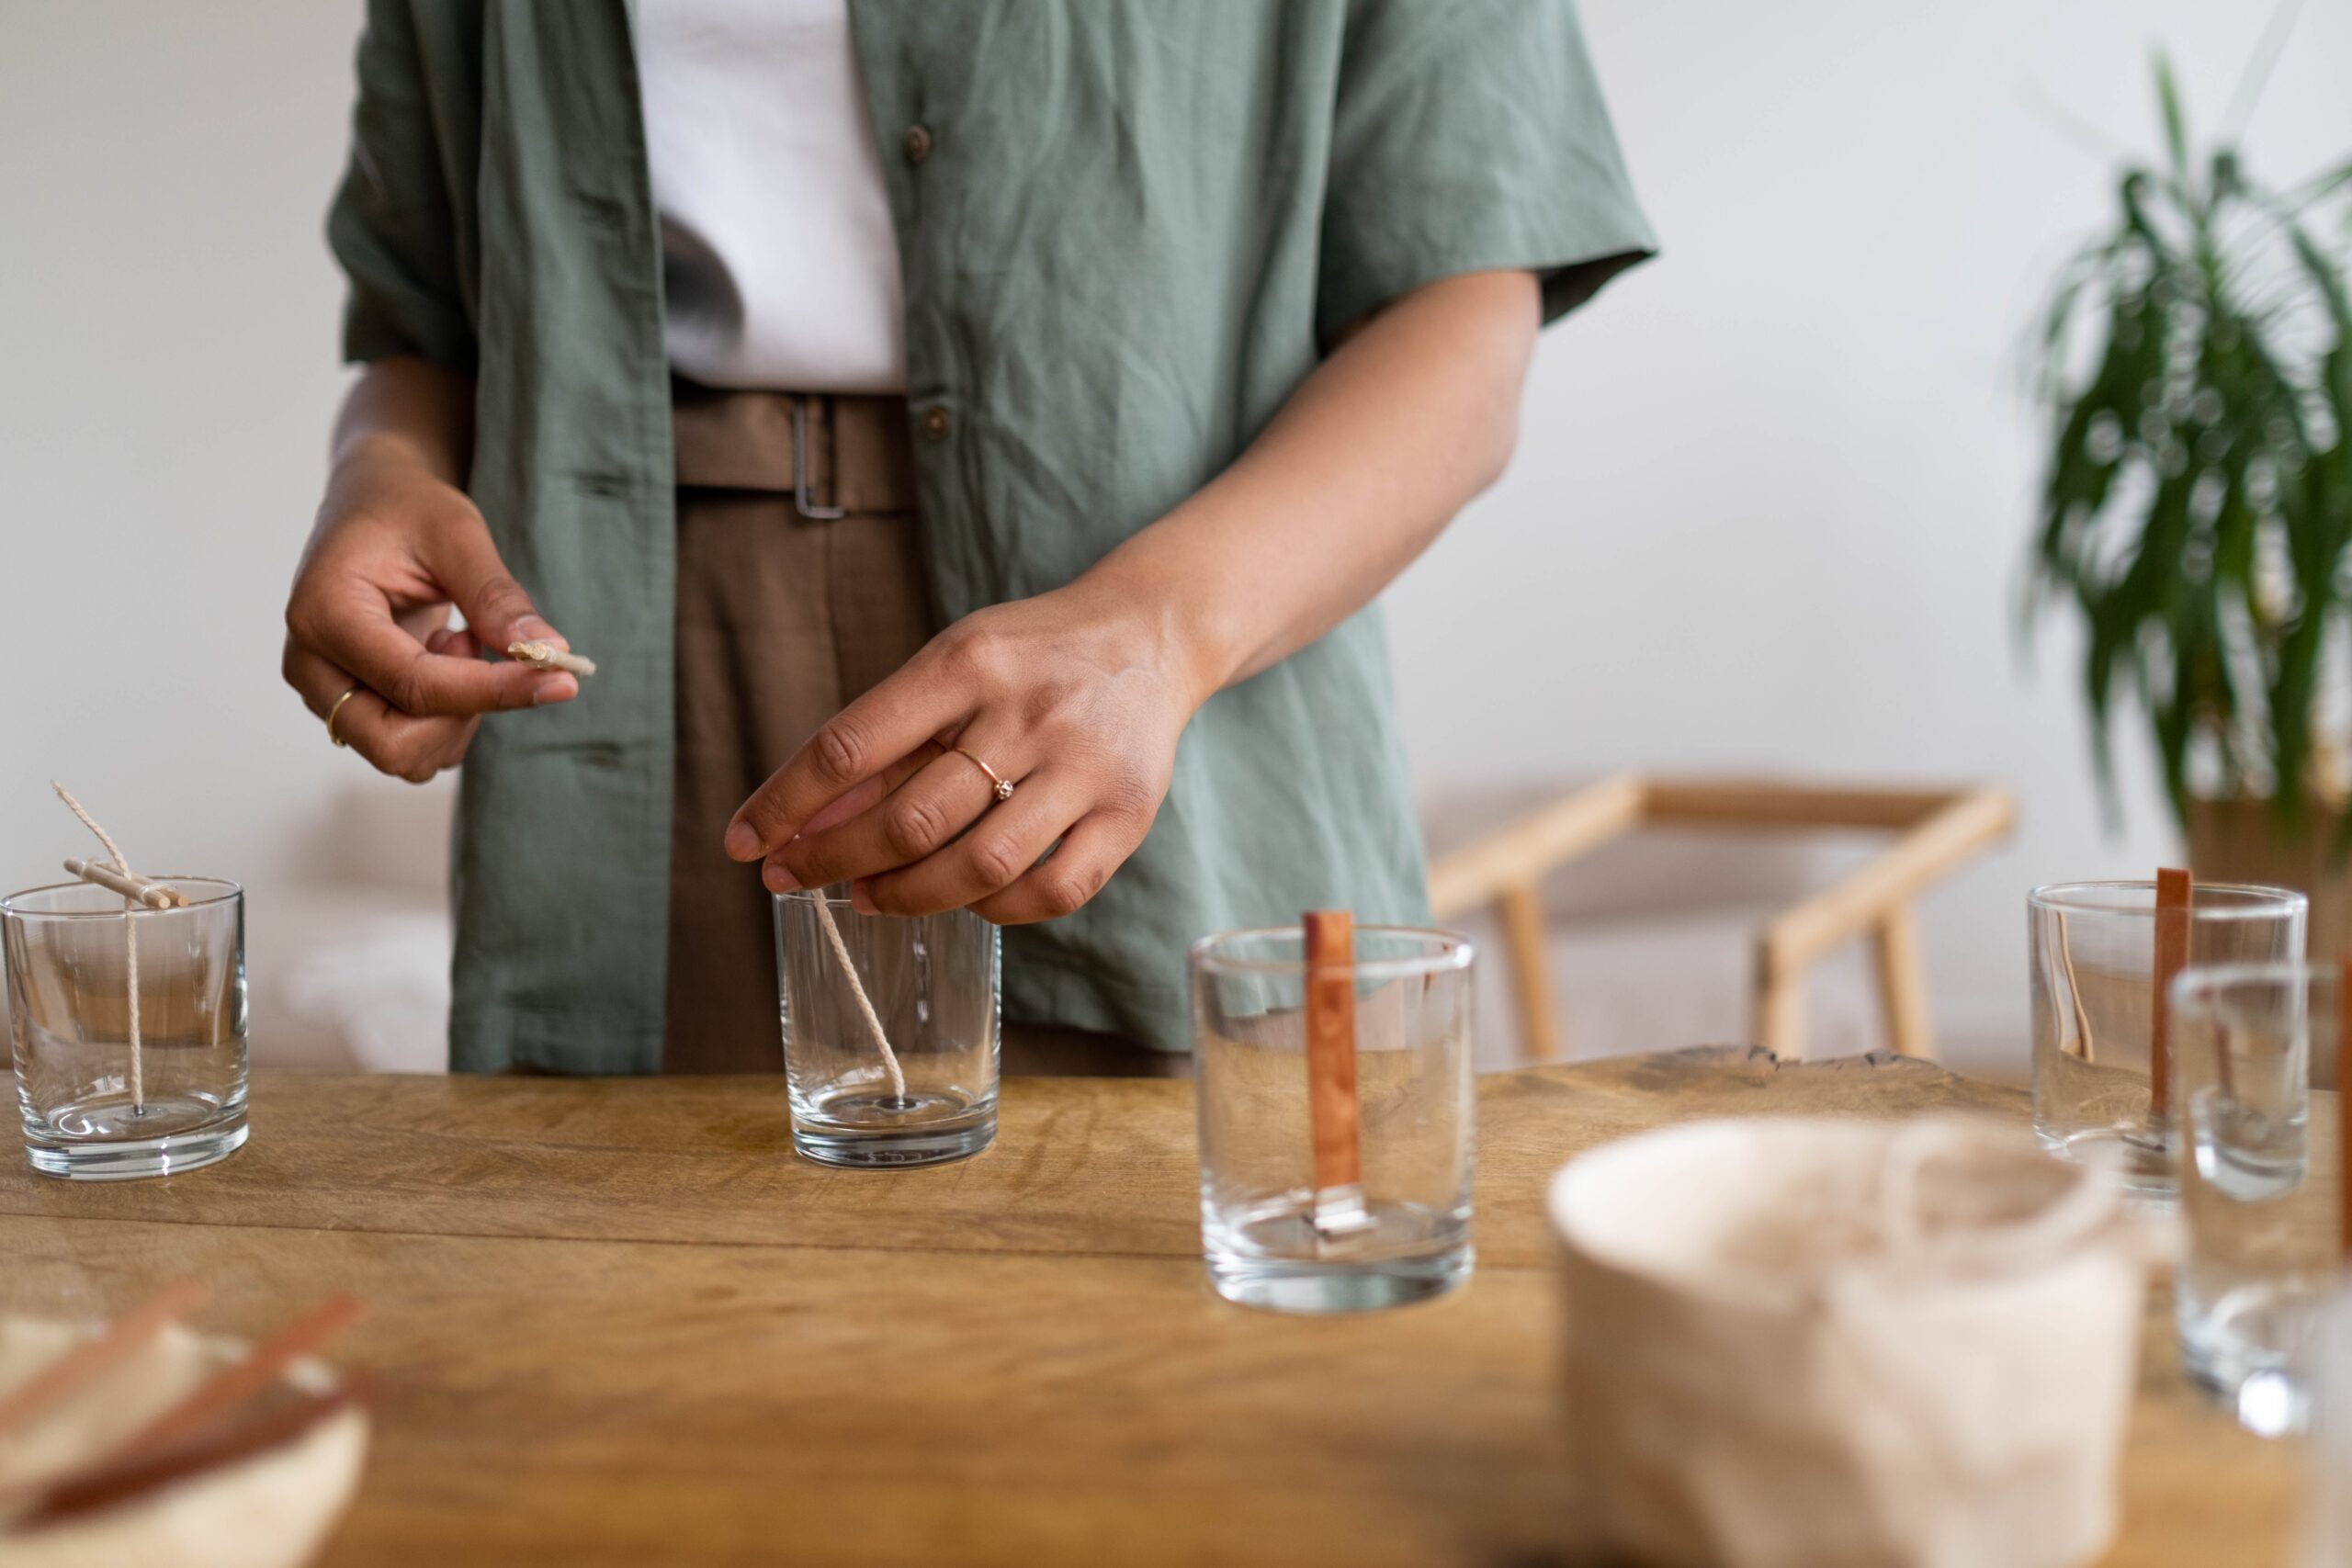
Place your wicks.
Before your candle completely cools, place your wick(s) in the center of your container or mold. When picking out a wick, select one that’s straight and held upright with a wick bar or tab. This ensures the wick stays in place as the wax hardens so you don’t end up with a crooked, uneven burn.
Allow it to harden.
After successfully placing your wick comes the hardest part: waiting. It can take between 24 and 48 hours for the candles to cool down, set up, and harden. You can even let your new candle cure for a few weeks for the best results.
Either way, once your candle wax has hardened, be sure to trim the wick to 1⁄4 inch before burning. That way, you can prevent soot, smoking, and tunneling — all of which can have a negative impact on your candle’s performance.
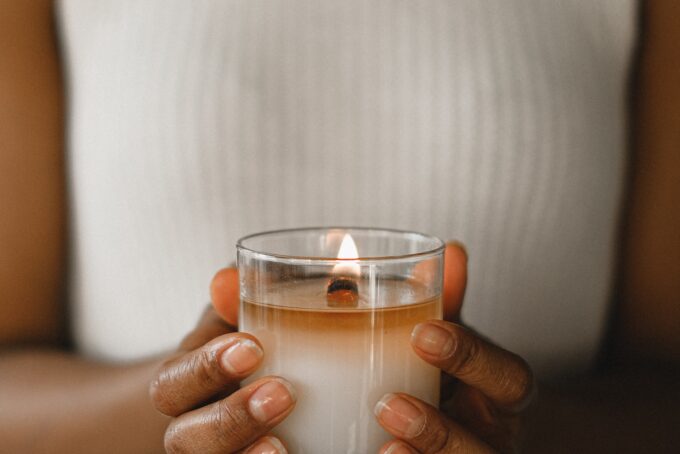
Light and enjoy!
After you’ve trimmed your wick, all that’s left to do is light up your new, scented candle and take in the sweet aroma. But don’t stop at just one candle — try experimenting with different scents, colors, and containers to create unique candles that you can use in the bathroom, bedroom, or even to gift to loved ones.
Most Popular
popular posts


Spaces
Whether it’s luxury or ease, every area of your home should be as fabulous and unique as you.

Here's How To Curate Your Signature Home Scent With Candle Layering
by Kelsey Marie | January 24, 2024
This Is What Your Signature Candle Scent Says About You
by Melody Beuzelin | August 22, 2023
FOLLOW ALONG ON INSTAGRAM
#homeandtexture
Find us on social for more home inspiration where culture, personal style, and sophisticated shopping intersect to help you create a home where you love to live.