March 5, 2025 at 4:54 PM PST
Recipes homemade granola
Save Money By Learning How To Make Your Own Granola at Home
While you can walk into any neighborhood grocery store and buy granola bars, it's cheaper to learn how to make your own granola at home.
Recipes homemade granola
Save Money By Learning How To Make Your Own Granola at Home
While you can walk into any neighborhood grocery store and buy granola bars, it's cheaper to learn how to make your own granola at home.
March 5, 2025 at 4:54 PM PST
Food deserts aside, granola (or granola bars) isn’t hard to come by in grocery stores and convenience stores. The ready-to-eat containers may be filled with enough chocolate chips, sugar, peanut butter, yogurt, honey and even snickerdoodles to the point where the nutritional value could be questionable, but they’re accessible.
However, for homeowners who would prefer to have more control over the protein, the dietary fiber, the sodium, total sugars and fat, learning how to make your own granola at home resolves it all. The best part is it’s fairly simple to prepare and lasts for up to three months. Here’s how to make granola and granola bars, how to avoid common granola baking obstacles, and how to store it for best freshness.
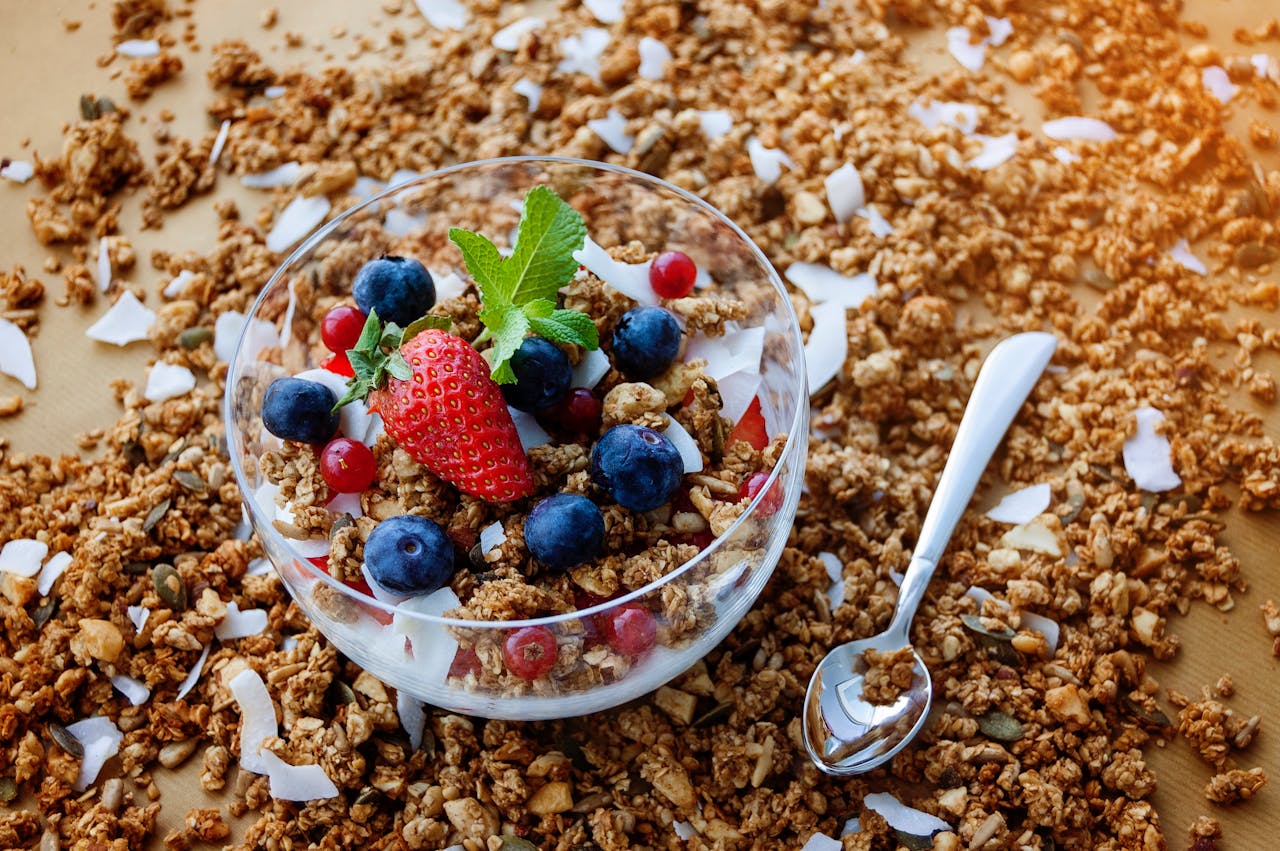
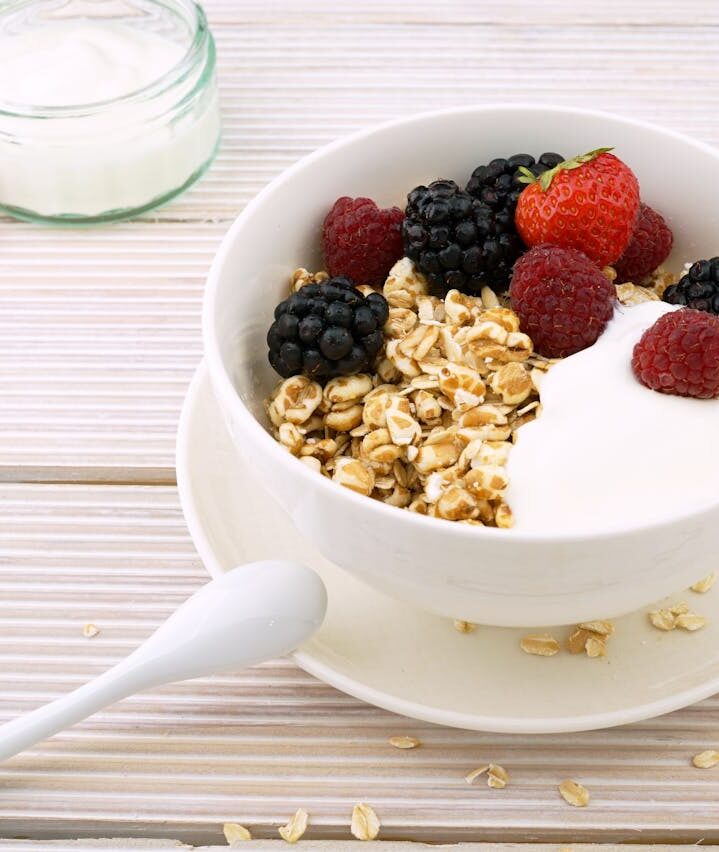
How To Make Homemade Granola
Ingredients:
- 3 cups rolled oats
- 1 cup nuts (such as almonds, walnuts, pecans), roughly chopped
- 1 cup seeds (such as pumpkin seeds or sunflower seeds)
- 1 cup dried fruit (such as raisins, cranberries, chopped apricots)
- 1/2 cup honey or maple syrup
- 1/2 cup coconut oil or olive oil
- 1 teaspoon of vanilla extract
- 1 teaspoon of ground cinnamon
- 1/2 teaspoon of lite salt
Directions:
- Preheat your oven to 300°F, and line a baking sheet with parchment paper.
- In a large bowl, combine the rolled oats, chopped nuts, seeds, ground cinnamon and salt.
- In a small saucepan, heat the honey (or maple syrup), coconut oil (or olive oil) and vanilla extract over low heat until melted and combined.
- Pour the wet mixture over the dry ingredients, and stir until everything is evenly coated.
- Spread the mixture evenly on the prepared baking sheet.
- If you notice some granola clumps are bigger than others, break them up with a fork. Return them to the oven.
- Bake for 20-25 minutes, stirring halfway through, until the granola is golden brown and fragrant.
- Remove the granola from the oven, and let it cool completely on the baking sheet.
- Once cooled, stir in the dried fruit.
Granola can be eaten with milk (or plant-based milk), on top of yogurt or on its own. If you find yourself wanting to have a granola bar, the ingredients are about the same. The preparation is the main difference.
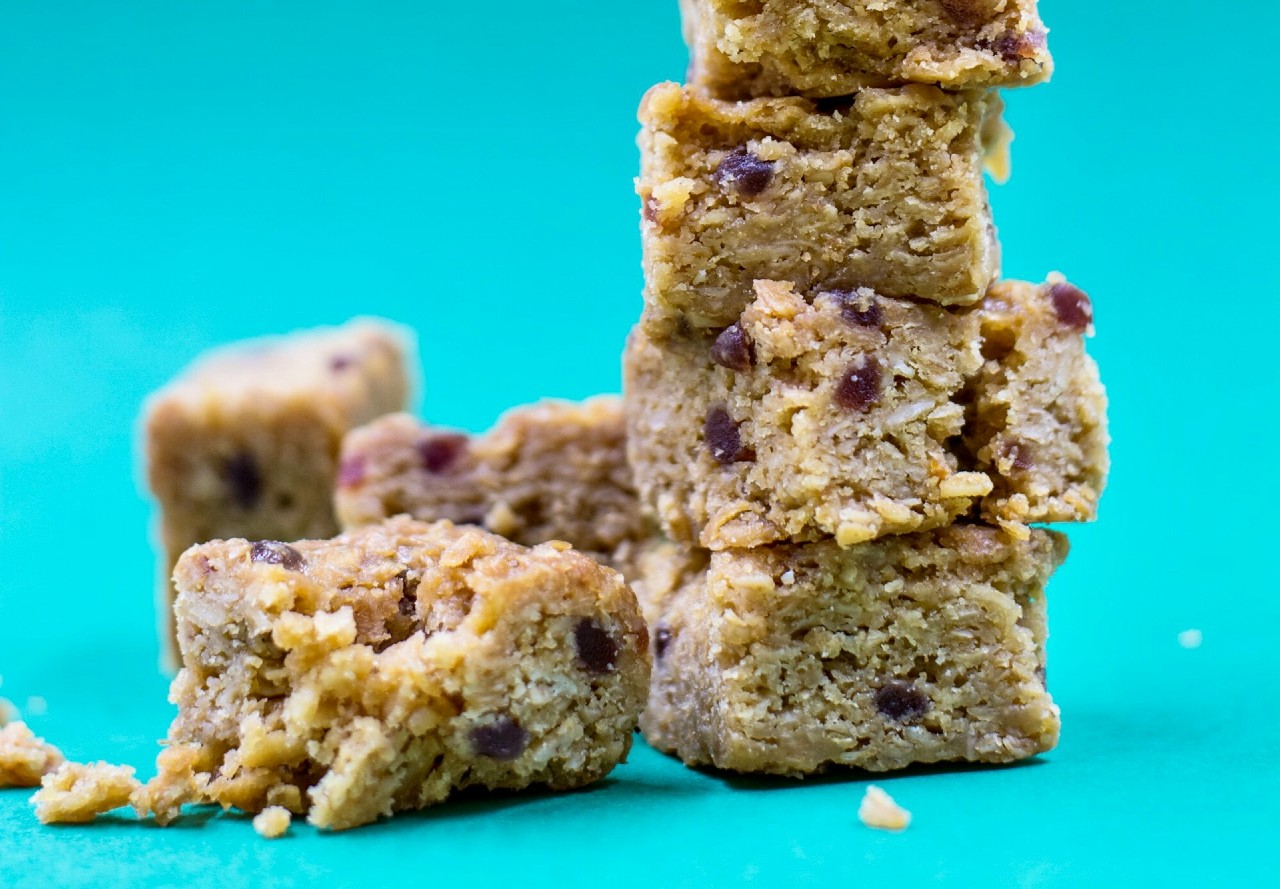
How To Make Homemade Granola Bars
Ingredients:
- 2 cups of old-fashioned rolled oats
- 1 cup of chopped nuts (almonds, walnuts, pecans)
- 1/2 cup of honey or maple syrup
- 1/2 cup of natural peanut butter or almond butter
- 1/3 cup of dried fruit (raisins, cranberries, apricots)
- 1/4 cup of unsweetened shredded coconut (optional)
- 1/4 cup of dark chocolate chips (optional)
- 1 teaspoon of vanilla extract
- 1/4 teaspoon of lite salt
Directions:
- Preheat your oven to 350°F, and line a 9×9 inch baking pan with parchment paper.
- In a large bowl, combine the oats, chopped nuts, dried fruit, (optional) shredded coconut and lite salt.
- In a small saucepan, warm the honey (or maple syrup) and peanut butter (or almond butter) with low heat, stirring until well-combined.
- Remove from heat, and add the vanilla extract.
- Pour the warm mixture over the dry ingredients, and mix it until everything is evenly coated.
- If using chocolate chips, let the mixture cool slightly before adding them to prevent melting.
- Transfer the mixture to the prepared baking pan. Use a spatula or your hands to press it down firmly into an even layer.
- Bake for 20-25 minutes, or until the edges are golden brown.
- Let the granola bars cool completely in the pan before cutting them into bars.
- Store the granola bars in an airtight container at room temperature.
How To Store Homemade Granola for Later
While homemade granola can be healthier than some store-bought options, there are a few downsides. Generally, homemade granola only lasts up to two weeks. If homemade granola is frozen, the storage life extends up to 90 days. Meanwhile, unopened, store-bought granola can last up to one year (in a cool, dry place away from sunlight). Opened, store-bought granola can last up to six months in an airtight container.
Why doesn’t homemade granola last as long? The primary reason is fresh ingredients. Nuts, dried fruit and natural sweeteners were never intended to last as long as processed versions of these ingredients. For example, if dried nuts are left out on a coffee table for a few weeks, they will start to smell sour and taste soft and bitter. Store-bought granola also includes preservatives, which are food additives that make it last longer by protecting against bacteria, yeast and mold. And because store-bought granola bars were designed to have a consistent moisture content within the packages, they can stay on store shelves longer than a home kitchen counter.
Avoid Common Mistakes When Making Granola
Although homemade granola and granola bars aren’t overly complicated to make, there are some common errors that happen if the instructions aren’t followed exactly.
Granola is not sticking together as individual bars: This usually means there’s not enough of a binding agent (i.e., honey, syrup, nut butter) holding them together. If they are overbaked, even after cooling, this may also result in granola “bark.”
Granola is too chewy or soft: Texture is an individual decision. What may be “too chewy” or “too soft” is just right for some bakers. If you want a crunchier texture, try baking at 300°F or 325°F for 30-35 minutes. Allow them to cool and firm up before cutting granola into individual bars.
Granola is too hard: Either increase the binding ingredients or cut back on the baking time. For ovens that get hotter faster, 15-20 minutes may be a better baking time frame than 20-25 minutes.
Granola is too sticky: Cut back on the amount of liquid sweetener, or add more oats and nuts to make up for the extra sticky ingredients.
Granola is too chunky and uneven: Before baking, the ingredients should be smoothed out and level so they can all rise at the same height while baking and cooling. If it’s still uneven, the nuts and dried fruit may be too big. Chop them into smaller amounts in a food processor.
Granola is too bland: Adding extracts, seasonings and spices will alter the flavor. Choose between cardamom, cinnamon, coconut flakes, lemon zest, nutmeg, orange zest, pumpkin spice and vanilla extract. If choosing chocolate ingredients, cacao powder and cocoa powder differ in taste; cacao beans are natural with a slightly bitter flavor. Cocoa powder, which is processed, is smoother, milky, mild and sweeter than cacao powder.
Dried Fruit Versus Fresh Fruit
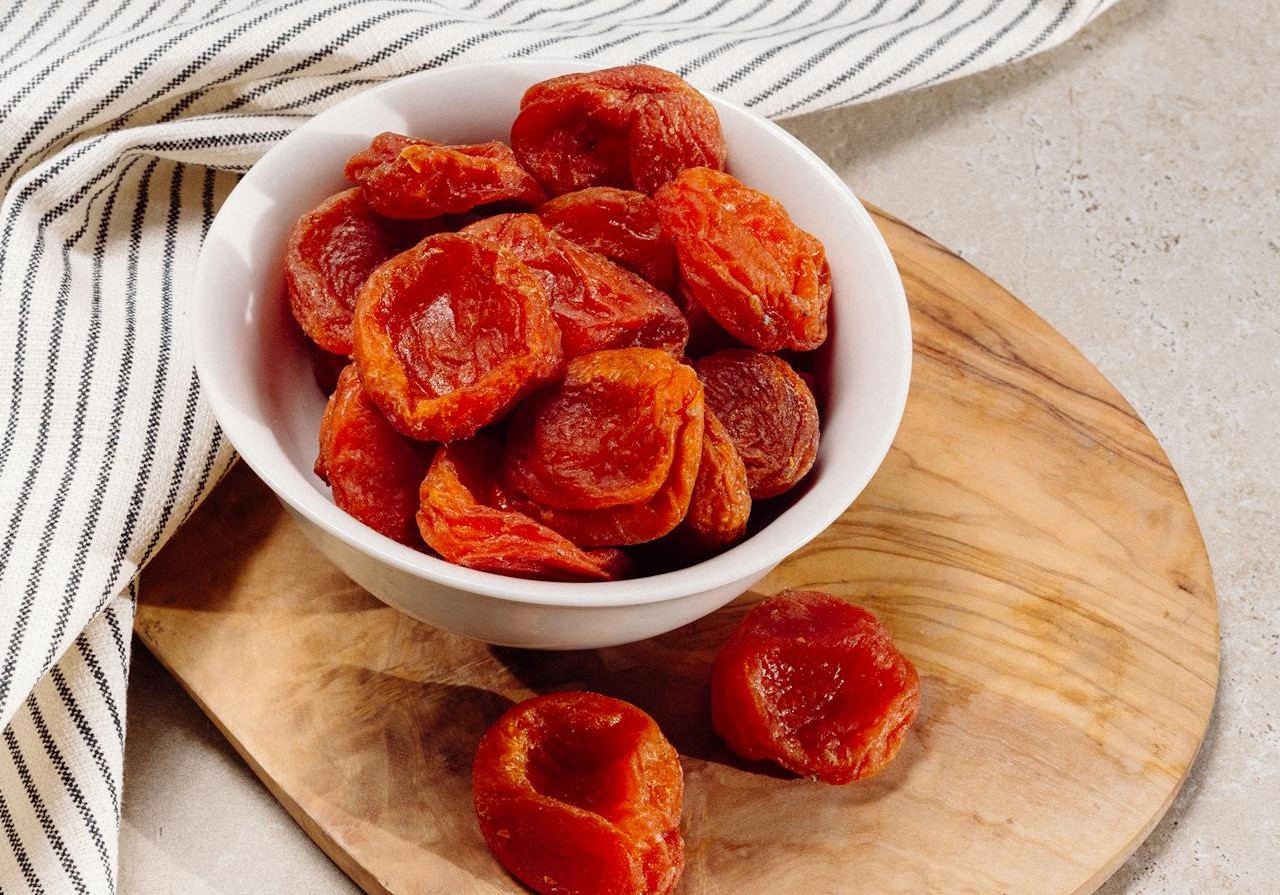
Considering it’s all going in the oven anyway, some bakers may choose to use fresh fruit instead of the dried version. However, dried fruit has a longer shelf life than fresh fruit. If the granola isn’t eaten immediately, it will likely need to be frozen instead of refrigerated to avoid ruining the granola bars. Additionally, dried fruit is more intense and sweeter. Imagine eating a fresh apricot versus a dried apricot. Dry fruit is also chewy like granola. Fresh fruit will make parts of a soft granola bar too chewy.
If you would prefer to dry your own fruit instead of getting a store-bought option, dry the fruit before you test out how to make your own granola at home. Preheat your oven to 140°F. Then wash and peel fruit, slicing it so each piece is even and consistent. Arrange all fruit onto a single layer of parchment paper, which will be placed onto a baking pan. With a wooden spoon in place to prop the oven door open, place the baking sheet inside. (The oven door will have a gap purposely to allow moisture to escape.) Let the fruit bake for four to eight hours. If you have a dehydrator, set it for 135°F, and allow the fruit to dry for six to 12 hours. The door can stay closed.
While each fruit has its own completion time, you’ll know it’s done when it’s leathery and plump. Remove the dried fruit, and let it completely cool before following the baking instructions for how to make your own granola at home.
Frequently Asked Questions
Are granola bars healthy?
They can be healthy, but this depends on which ingredients are mixed in with the oats. One cup of raw oats has only 0.8 grams of sugar with 10 grams of protein and 4 grams of fiber.
How should you store granola?
Use a shallow, airtight container with parchment paper or wax paper in between each layer to avoid it sticking together and to keep it as fresh as possible. Refrigerate for up to two weeks if you’ll be eating it regularly. Freeze if you don’t plan to eat the granola on a repeated basis.
How do you make granola bars toasty (crunchy)?
The nuts, seeds and oats should be fresh and dry to ensure ultimate crunchiness. Cut back on the liquid sweetener or nut butter by about half to avoid it being sticky before baking. After the granola bars are done baking, let the baked bar cool completely before cutting it so each granola bar is crispy and doesn’t stick together.
Most Popular
popular posts
Recipes
From weeknight dinner ideas to show-stopping desserts, discover recipes that make every meal feel special.

Don't Ignore Vitamin-Rich Foods With a High-Protein Breakfast
by Shamontiel Vaughn | January 31, 2025
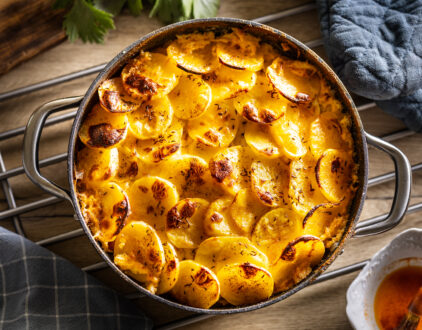
This Viral TikTok Scalloped Potatoes Recipe Is Perfect for Thanksgiving
by Stixx Matthews | November 21, 2024
FOLLOW ALONG ON INSTAGRAM
#homeandtexture
Find us on social for more home inspiration where culture, personal style, and sophisticated shopping intersect to help you create a home where you love to live.