December 31, 2024 at 10:00 PM PST
Cleaning clean oven racks
3-Month Stove Cleaning Complete, But What About the Oven Racks?
Even if you use the self-cleaning option for your stove, make sure your oven racks were properly cleaned too.

Cleaning clean oven racks
3-Month Stove Cleaning Complete, But What About the Oven Racks?
Even if you use the self-cleaning option for your stove, make sure your oven racks were properly cleaned too.
December 31, 2024 at 10:00 PM PST
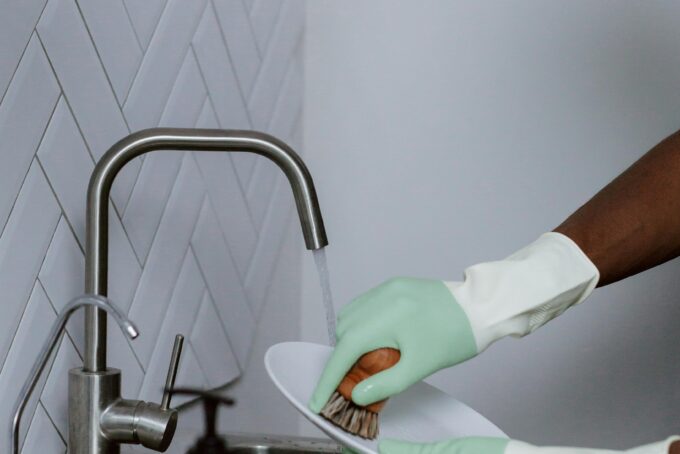
When the oven needs to be cleaned every three months, there’s a sigh of relief for appliance owners with a self-cleaning feature. Press the button, lock the stove door, open a couple of windows for air circulation and, voila, you’re done. Unfortunately, you’re not. That combination of baking soda, vinegar, dish soap or lemon juice you may have abandoned for self-cleaning ovens is still needed for oven racks. Here’s why.
Why Self-Cleaning May Affect Stove Parts
Before using a self-cleaning feature on your own, check the manufacturer warranty agreement and directions for how to clean oven racks. Not removing the oven racks is generally frowned upon. This is because if the oven racks are left inside, the heat (which can get as high as 800 degrees) may remove the smooth, factory finish and discolor the racks. While tough stains may come off of the racks if left inside by accident during self-cleaning, it would take a generous amount of oil placed onto the parallel bars to help to return that finish. Ideally though, the oven racks should be removed each time the oven is cleaned and, if food stains are stubborn, clean the parallel racks as needed in between quarterly cleanings.
How To Clean Oven Racks While Running the Self-Cleaning Stove Feature
In addition to the previously mentioned cleaning supplies (baking soda, vinegar, dish soap or lemon juice), you’ll also need a microfiber rag. (A sponge can work too, but they tend to break apart and leave sponge remnants in the stove and even in the soapy water.) If the racks are really in bad shape from food particles, try soaking them overnight in a bathtub filled with baking soda and water, which will help to break up grease and soften food remnants enough to wipe them off. Dishwashing liquid may also work. Ammonia trash bags and spray oven cleaners are additional options, but that would require wearing a mask, gloves and goggles to make sure none of the chemicals stain skin or eyes.
What Not To Use on Oven Racks
While baking soda and vinegar are highly recommended for cleaning oven racks, the fizzling that happens when they’re mixed is also when the most cleaning and stain removal will be done. Once the fizzle dies down, you can still use these two to clean. Baking soda on its own just may be more effective. (This isn’t always the case though. For example, baking soda and vinegar work magically for unclogging showerheads.)
Additionally, tablets used in dishwashers aren’t ideal for the same reason you wouldn’t handwash clothing with laundry detergent pods. The primary reason both work so well in their respective appliances (i.e., a dishwasher and an electric washing machine) is because of the power of the machine to break them apart. Dishwashers go through various temperature changes and water pressure so the dishes are cleaned. Just sticking oven racks in tablets won’t achieve the same results.
Good News About Cleaning Oven Racks
Self-cleaning ovens can run anywhere from one hour to six hours, depending on the brand and preferences. Considering you’ll want to stay away from the strong smell emitted while it runs, cleaning racks in the tub may be a much-needed aroma break. If the smell doesn’t bother you, cleaning oven racks in the kitchen sink is fine too. Either way, once both the stove and oven racks are sparking clean, you won’t (usually) have to deal with this again until next season.
Most Popular
popular posts

Keep Your Bathroom Spotlessly Clean With These 5 Simple Strategies
by Kelsey Marie | January 14, 2024


Spaces
Whether it’s luxury or ease, every area of your home should be as fabulous and unique as you.


FOLLOW ALONG ON INSTAGRAM
#homeandtexture
Find us on social for more home inspiration where culture, personal style, and sophisticated shopping intersect to help you create a home where you love to live.