January 18, 2024 at 6:55 PM PST
Cleaning Cleaning Your Fridge and Freezer
It's Time To Clean Out Your Fridge and Freezer—Here's Exactly How To Do It
Keep things fresh and odor-free with our guide to cleaning out one of the most important appliances in your kitchen.

Cleaning Cleaning Your Fridge and Freezer
It's Time To Clean Out Your Fridge and Freezer—Here's Exactly How To Do It
Keep things fresh and odor-free with our guide to cleaning out one of the most important appliances in your kitchen.
January 18, 2024 at 6:55 PM PST
If there’s one thing that gets neglected the most in our cleaning routine, it might just be the fridge and freezer. Being that it’s one of the most important appliances in your home since it keeps your delicious ingredients cool and fresh, it deserves some extra attention from time to time. Here’s a guide to cleaning out your fridge and freezer to keep it sparkling and odor-free!
Why Cleaning Your Fridge and Freezer Matters
Why do the fridge and freezer not get the attention it deserves? First, it’s kind of a pain . . . you have to take everything out, literally get on your hands and knees, and put everything back in time before it has time to melt. Second, you sometimes have to deal with some stubborn messes. If contents from a bottle spilled a couple of weeks prior, it’s likely to be near solid by the time you go in for cleanup. There are also a few other reasons why you might want to pay attention to it.
1. Food Safety
The cleanliness of your fridge and freezer directly impacts the safety of the food you store. Bacteria and mold can thrive in neglected spaces, potentially leading to foodborne illnesses. Cleaning regularly helps maintain a hygienic environment for your perishables.
Also, keeping your fridge and freezer spotless minimizes the risk of cross-contamination and the growth of harmful bacteria.

2. Energy Efficiency
A clean fridge and freezer work more efficiently. When ice accumulates and dust settles on coils, your appliances have to work harder to maintain the desired temperature, resulting in higher energy bills. You might not realize it, but a layer of ice buildup in your freezer can make it less efficient. Your freezer’s job is to keep things frozen, but when it’s clogged with ice, it can’t do its job properly.
3. Odor Control
We’ve all opened the fridge to be greeted by some offensive odor at least once. Maybe it’s from old leftovers that got crammed in the back, out of sight, or veggies that got waterlogged in the crisper for too long. It’s a no-brainer that regular cleaning eliminates mystery smells and keeps your fridge smelling fresh.
Cleaning Out Your Fridge
The moment you decide to clean out your fridge, the clock starts. Here’s how to go about it quickly and efficiently.
Step 1: Gather Your Supplies
To begin, gather the following supplies:
- Warm soapy water
- Baking soda
- Microfiber cloth or sponge
- Toothbrush
- Trash bags
Step 2: Empty the Fridge
Start by removing all items from your fridge. Yes, even that half-empty jar of pickles at the back! Check expiration dates and toss out anything past its prime.
Step 3: Remove Shelves and Drawers
Take out all removable shelves, drawers, and trays. Wash them in warm, soapy water and dry them thoroughly. If there are a few hard-to-remove stains, soak them for a while to soften things up while you move on to the next step.

Step 4: Clean the Interior
Using your microfiber cloth or sponge, wipe down the interior of the fridge with warm, soapy water. Pay extra attention to spills and sticky spots. For stubborn stains, use a toothbrush to scrub them away gently.
Step 5: Deodorize
Sprinkle a thin layer of baking soda on a plate and place it in the fridge. Baking soda helps absorb odors and keeps your fridge smelling fresh. Baking soda is a natural odor absorber and works wonders in keeping your fridge smelling pleasant. It’s a simple yet effective trick to maintain a fresh-smelling fridge.
Step 6: Restock Mindfully
Organize your items neatly, with the oldest ones at the front for easy access. If you think about it, restocking your fridge is like a mini inventory check. You get to see what you have, what you need to use up, and what needs replacing. This organized approach ensures that you never have to deal with expired items again.
Cleaning Out Your Freezer
The freezer is somewhat of a different beast. If it helps to break it up into different days, it might make the task feel less labor-intensive, but it’s up to you! Here’s what to do.
Step 1: Unplug and Defrost
Ice buildup can compromise its performance and increase energy consumption, so defrosting is almost like giving your freezer a tune-up. If you have a manual-defrost freezer, unplug it and let it defrost. This may take some time, so be patient. You can speed up the process by placing bowls of hot water inside.

Step 2: Remove Contents
Just like with the fridge, remove all items from your freezer. Check for any expired or freezer-burned items and toss them.
Step 3: Clean the Interior
Once the freezer is defrosted, use warm, soapy water to clean the interior
Step 4: Reorganize
Before putting items back in, take this opportunity to organize your freezer. Use labeled containers or bags to keep items easily identifiable.
Step 5: Plug Back In
Plug your freezer back in, and let it reach the desired temperature before reloading it with your frozen goods!
Most Popular
popular posts


Spaces
Whether it’s luxury or ease, every area of your home should be as fabulous and unique as you.

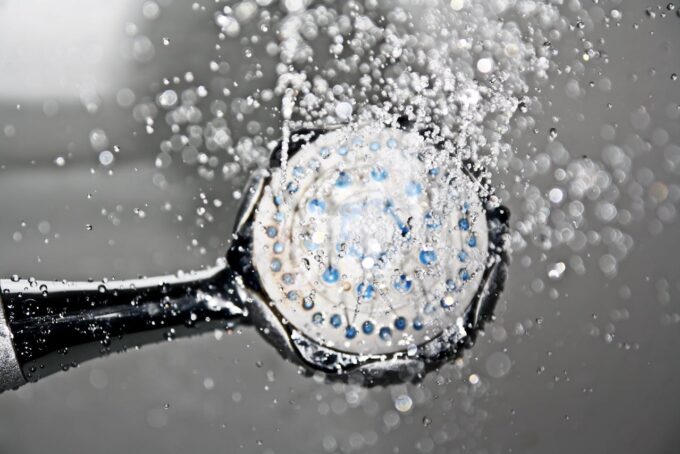
In Between Showerhead Replacements, Make Sure It's Properly Cleaned
by Shamontiel Vaughn | November 25, 2024

Here's How To Create a Cleaning Schedule That Keeps Your Home Spotless
by Melody Beuzelin | November 8, 2023
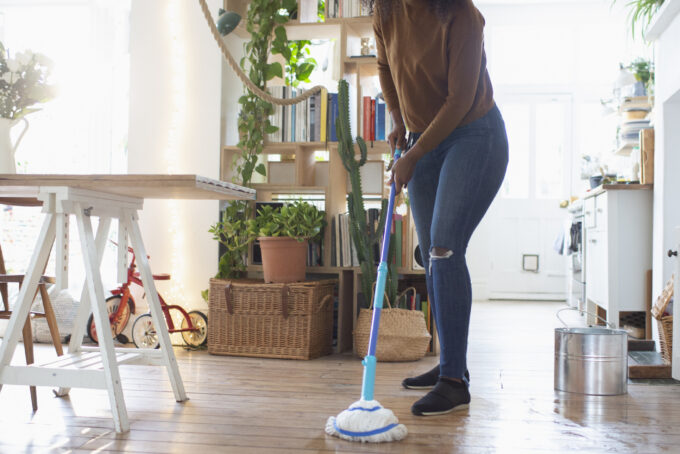
Upgrade Your Cleaning Routine With These 5 Quality Mops
by Brittni Williams | July 20, 2023
FOLLOW ALONG ON INSTAGRAM
#homeandtexture
Find us on social for more home inspiration where culture, personal style, and sophisticated shopping intersect to help you create a home where you love to live.