April 10, 2025 at 6:26 PM PST
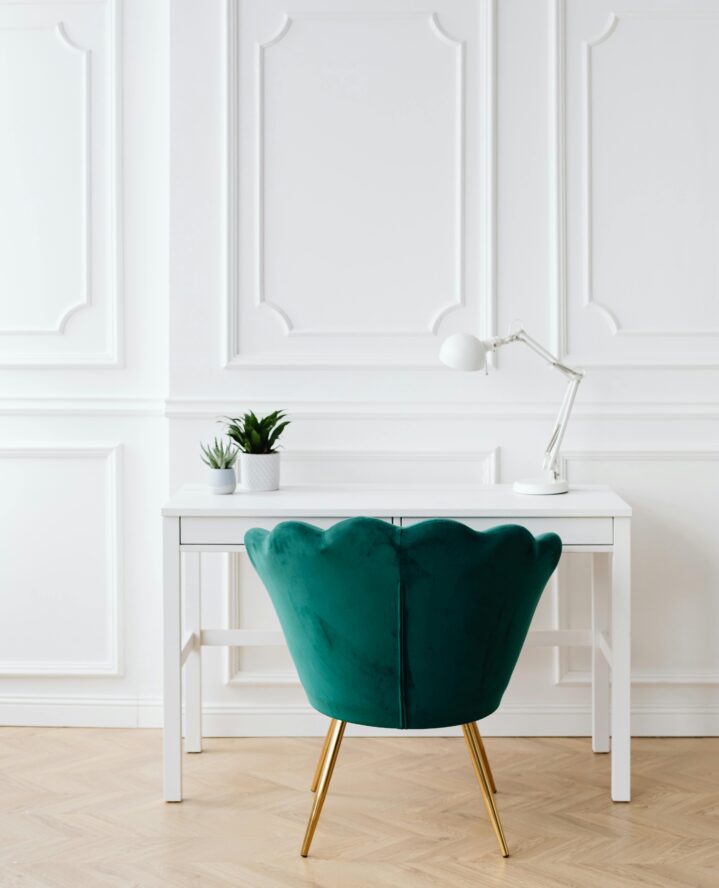
DIY Renter-Friendly Wall Molding
We Found the Perfect Wall Molding Hack for Renters
Renter-friendly DIY molding that’s removable, stylish, and budget-friendly.
DIY Renter-Friendly Wall Molding
We Found the Perfect Wall Molding Hack for Renters
Renter-friendly DIY molding that’s removable, stylish, and budget-friendly.
April 10, 2025 at 6:26 PM PST
Content creator Tara Bullington Fairbanks (@tara.bulll) is giving renters everywhere a new way to elevate their space with a genius wall molding hack that’s both temporary and damage-free. Her approach — using PVC molding and Command Strips — proves that you don’t need to own your home to create a custom, high-end look.
The process starts in the molding aisle at Home Depot, where Fairbanks chose eight 7-foot colonial casings made from budget-friendly PVC. While Home Depot offers in-store cutting services, she opted to make the cuts herself for full control. One key step in the process was color matching: She brought a paint sample from her walls to Home Depot to ensure the finish would blend seamlessly and make the molding appear built-in.
Installation is where this DIY hack really shines. After taping out the frame design on her wall, Fairbanks used Command Strips to secure the molding in place — a renter-friendly solution that won’t leave damage behind. With help from her husband for leveling, the end result looks custom and professional but can be removed easily when it’s time to move out.
@tara.bulll if I can do it, you can do it 💫 #diywallmoulding #wallmoulding #renterfriendly #rentershack #renters #interiordesign #apartmentdecor #apartments #removablewallmoulding #removeable #interiordesigntips
Essential Tips for Renter-Friendly Wall Moulding:
Measure Twice, Cut Once: Precise measurements are crucial for professional-looking results.
Consider Scale: Choose a molding width that complements your room size—wider for larger spaces, narrower for smaller rooms.
Pattern Planning: Sketch your design before starting and use painter’s tape to visualize the layout.
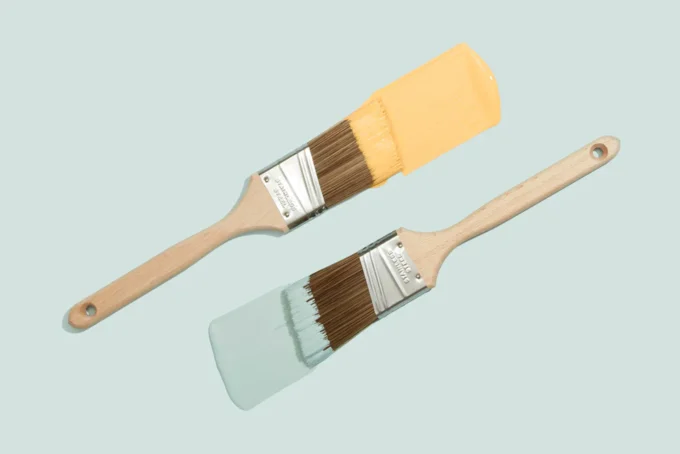
Paint Selection: Always test paint matches in different lighting conditions to ensure a perfect blend.
Common Design Patterns
When planning your wall molding design, consider these popular options:
Picture Frame: Classic rectangular frames that add architectural interest.
Grid Pattern: Multiple squares or rectangles for a more traditional look.
Wainscoting Effect: Lower wall applications that create depth and dimension.
Additional Project Tips
Tools Needed: Level, measuring tape, pencil, command strips, and cutting tools if doing it yourself.
Installation Height: Generally, moldings should be placed at eye level for the most impact.
Spacing: Keep consistent spacing between frames for a professional look.
Corners: Use a miter box for precise 45-degree angle cuts at corners.
Most Popular
popular posts

Meghan Markle's One-Pot Pasta: The Recipe Causing Controversy
by Sarah Rand | March 17, 2025

Creating a Better Bed With These 5 DIY Headboard Ideas
by Shamontiel Vaughn | September 12, 2024

Spaces
Whether it’s luxury or ease, every area of your home should be as fabulous and unique as you.

FOLLOW ALONG ON INSTAGRAM
#homeandtexture
Find us on social for more home inspiration where culture, personal style, and sophisticated shopping intersect to help you create a home where you love to live.