By Karina Young
December 19, 2023 at 8:44 PM PST
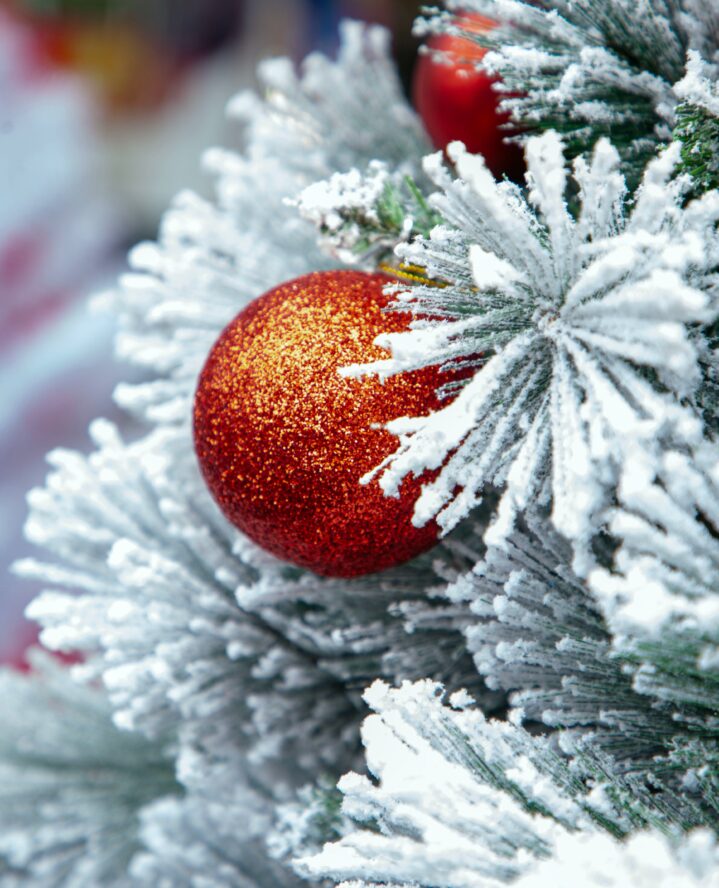
Christmas tree decorations look like anything you can imagine. That said, specialty ornaments come with a price, and with it being a season of giving, you’re going to want to save all you can. That’s why you should consider creating your own DIY glitter ornaments. You don’t have to worry about breaking the bank, searching each store for the perfect bauble, or go through any other hassle that comes with holiday decor shopping. Instead, you can get your creative juices flowing and be the reason your tree shines so bright.
A DIY glitter ornament will be the perfect addition to your tree for a bit of sparkle. Not to mention, with the instructions below, you can make them best align with your style for a personalized touch—it’s all up to you. Keep reading for the materials you’ll need to create your own glittery ornaments this season.
This DIY glitter ornament is so easy, anyone can make it. This process can get messy though, so be sure to grab an old towel or newspaper to lie down before getting started. Here are the materials you’ll need:
View this post on Instagram
The first step is blowing up your balloon. Go as big or as small as you want with sizing. Consider different sizes if you want to create a varied look.
Set your balloon onto a cup. This will stabilize it and make it easier for you to cover the balloon in glue. In this step, you don’t have to cover the entire balloon in glue. You can leave the bottom half untouched because when you’re ready to place it in the tree, it won’t show. On the top half, thoroughly spread the glue and cover it in its entirety.
Now, take your glitter and sprinkle it on the areas where there is glue. You’ll need enough glitter to ensure that all spaces are covered. If you have a color scheme for your Christmas tree, use more than one color to complement your other tree decorations.
Now, set your newly DIY’d ornament aside and let it dry. You can either leave it overnight or let it sit for about 30 minutes or more. To check if it’s fully dry, use your finger to try to move the glitter. If you can, that will indicate that the glue is still wet and needs a little more time to dry.
Here comes the fun part—decorating your tree with your brand-new ornaments! Find a larger space to place your ornament. If the area is too big, rearrange the tree branches to close the space. Make it so that the balloon doesn’t fall or slip through the branches. If the space is on the smaller side, move the branches around to make room.
Placement is key here. Spread them evenly throughout the tree and repeat this step until you’re satisfied with each embellishment and their placements, and enjoy your holiday decor!
Whether it’s luxury or ease, every area of your home should be as fabulous and unique as you.

Find us on social for more home inspiration where culture, personal style, and sophisticated shopping intersect to help you create a home where you love to live.