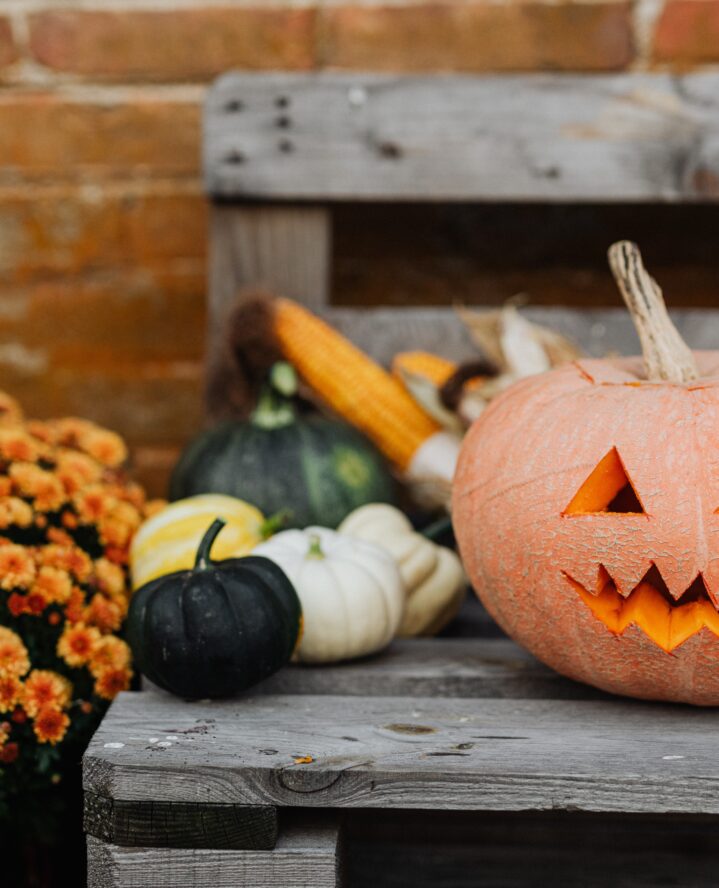
The spooky holiday is quickly approaching and by now, most of the homes on your street are decorated. From pumpkins and wreaths to lanterns and flowers, fall front porch decor is the perfect way to show your holiday spirit and embrace the seasons changing. If you’re trailing behind on your decor and are looking for an affordable way to decorate, this DIY project is for you.

What are two items most commonly used for fall front porch decor? You guessed it—pumpkins and flowers. With this project, you can combine the two and create pumpkin planters. A pumpkin planter is a hollow pumpkin filled with your favorite florals. Welcome trick-or-treaters, spruce up your decor, and embrace nature all in one! It’s easy, creative, and a fun project for the family. Here’s a step-by-step guide to repurposing your pumpkin with a blossoming touch.
Gather your materials.
First, grab your materials. Here’s what you’ll need to turn your pumpkin into a planter:
- A large pumpkin
- A pot small enough to fit into the pumpkin
- Marker or pen
- Potting soil
- Seasonal flowers and plants
- Gloves
- Garden trowel
- Newspaper
Choose and prepare your pumpkin.
Find a large fresh pumpkin of your choice. Prep the pumpkin by using a knife to cut a generous hole at the top of the pumpkin. You want to make sure the hole is big enough to fit a small pot to hold your flowers. Pro tip: Place your plant pot upside down over the stem of the pumpkin, then trace a circle and use your knife or sharp object to cut out the shape so it’s exactly the same size. You may also want to lay down newspaper or an old towel to catch the excess.
Clean your pumpkin out.
With a fresh pumpkin, you have to make sure it’s hollow. Use your garden trowel to scoop the pumpkin clean. The cleaner it is, the longer-lasting it will be. For a faster process, consider cutting a hole or two at the bottom of the pumpkin to drain it.
Get crafty and carve your pumpkin.
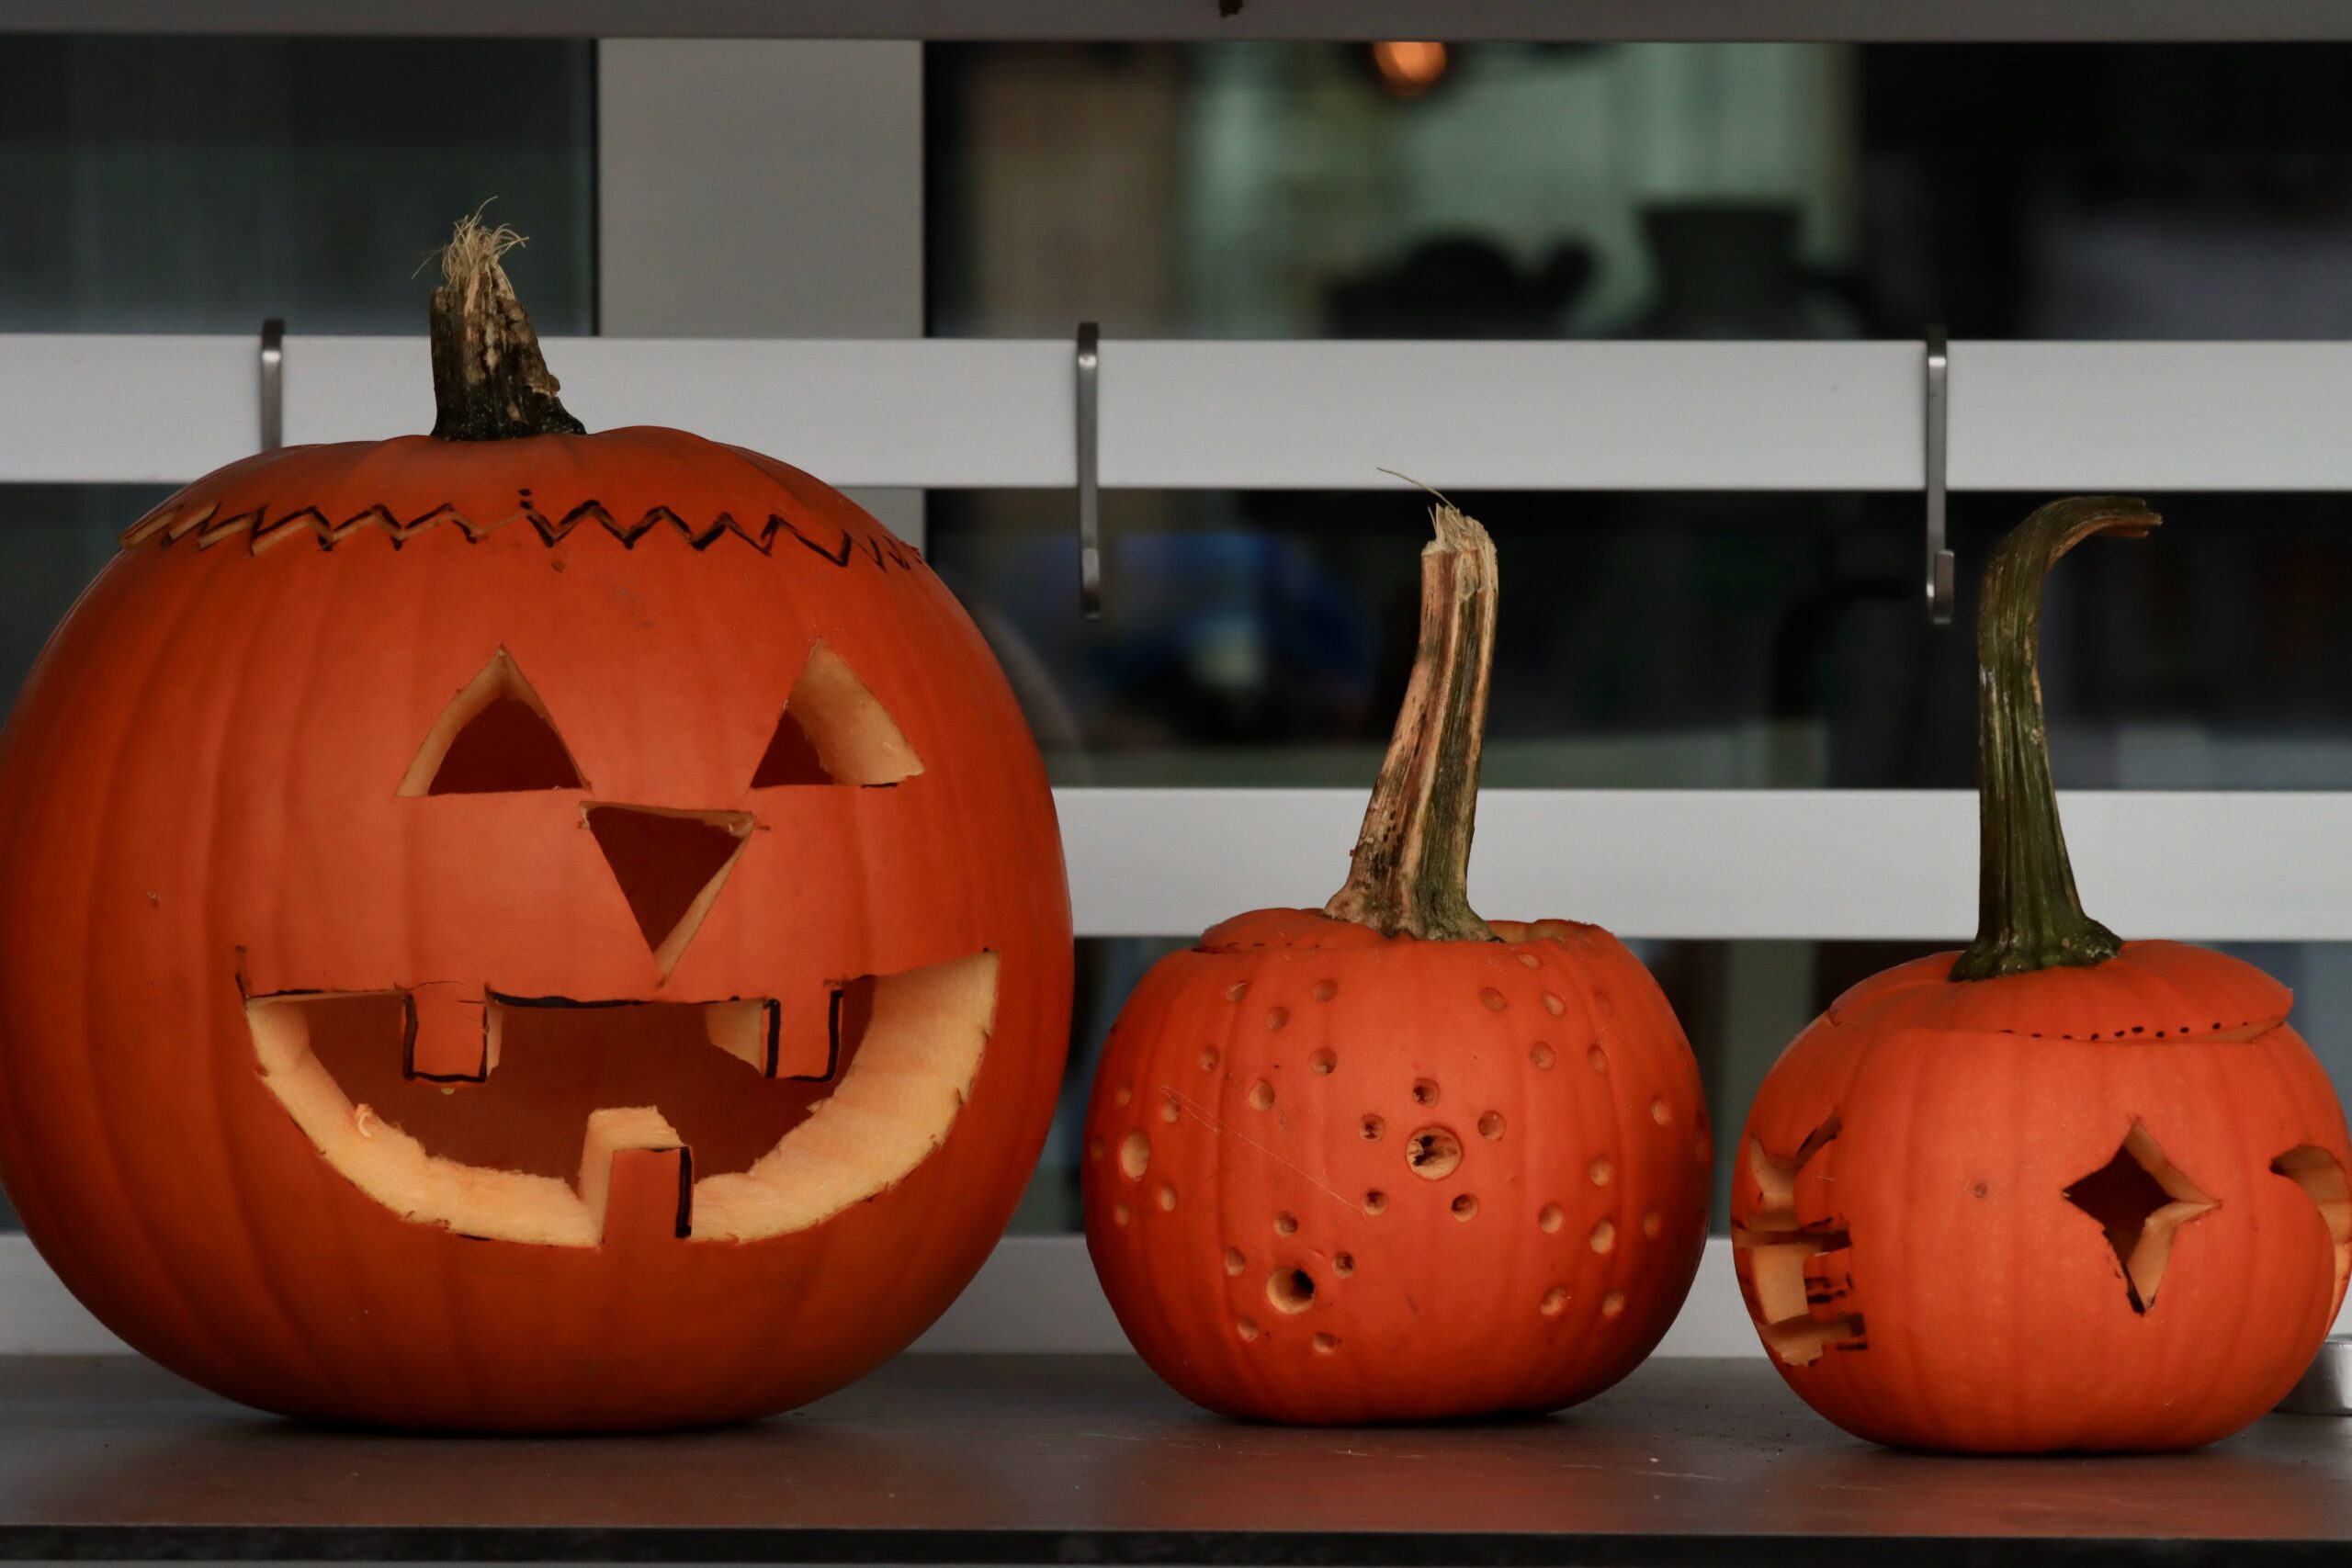
This step is optional and for those who really want to show their carving skills and holiday spirit. Carve out a pumpkin face to add a fun touch to your planter. This idea is especially great for children. If you don’t feel like carving your pumpkin, use the marker to draw a face of your choosing.
Place your pot inside the pumpkin planter.
Take your pot and place it inside the pumpkin planter. Adjust it to sit in the center of your pumpkin and make sure the fit is a little snug. If the pot is too big, trim the opening of the pumpkin for the right fit. If it’s too small and short, use other items to make it sit higher. Consider newspaper, stacked cardboard or styrofoam at the bottom of the pumpkin to make the pot appear higher, and adjust it until you’re happy.
Now that you know your pot fits, take it out. Add your seasonal plants and be sure to pat the soil around the roots very well. Then go ahead and water it throughout. Next, place the pot back into your pumpkin planter and let the flowers and greenery float and trail over the sides. Voila! You just made your pumpkin planter!
Tips To Preserve Your Pumpkin Planter and Plants
The autumn season is long, and pumpkins will never go out of style. Preserve your planter with these few tips:
- Water it regularly.
- Apply petroleum jelly or hairspray to the areas that are cut to prevent your pumpkin from drying out too quickly.
- When the pumpkin is old, toss it and transfer your greenery to another planter.
- Prevent mold by applying a store-bought preservative spray before you add your plants.
popular posts
- 1It’s Black Business Month, So Let’s Go Shopping and #BuyBlack!
- 2These Home Decor Items Will Instantly Make Your Space Look Outdated
- 3Black-Owned Home Decor Stores To Support Across the United States
- 4A Look Inside Elon Musk's Tiny $50,000 House
- 57 Black and Multicultural Designers To Follow For Design Inspo
Unique Backsplash Ideas That Add Luxury to Your Kitchen
by Stephanie Taylor | January 19, 2023
These Candle Making Kits Will Elevate the Vibe of Your Home
by Arielle Clay | January 19, 2023
These 4 Mid-Century Modern Faucets Will Give You A Surge Of Inspiration
by Stephanie Taylor | January 20, 2023
Spaces
Whether it’s luxury or ease, every area of your home should be as fabulous and unique as you.

DIY Throw Pillows: These 5 Fabrics Add Both Texture & Culture
by homeandtexture | February 22, 2023
FOLLOW ALONG ON INSTAGRAM
#homeandtexture
Find us on social for more home inspiration where culture, personal style, and sophisticated shopping intersect to help you create a home where you love to live.
