By Karina Young
October 18, 2023 at 8:08 PM PST
If you’re looking for a living room refresh, look no further. Living room decor can get old and boring, but there are ways to upgrade and level it up, all on your own. Here are three DIY projects that will elevate your space at an affordable price while allowing you to show your personality through pattern and design choices.
For the first DIY project, the focus is your wall. If you’re looking for a quick upgrade for your wall, this is by far the easiest project and way to create an abstract accent wall. Accent walls are extremely trendy in the interior design world and will certainly catch the eyes of your guests. It’s also renter-friendly, so no need to worry about damaging your walls.
@itskushvibes @onthecheaptip thank you for the inspiration 🥹 luxury look for $1.25 #diyproject #dollartree #dollartreefinds #diydollartreehacks #homehacks #accentwall #geometricalwall #viral #dollartreehaul #dollartreediy ♬ Pieces (Solo Piano Version) – Danilo Stankovic
Simply use the tape to create lines and abstract shapes on your wall and cut where you feel is best. From squares to triangles and perpendicular shapes, you have total creative control. Make it whatever you’d like.
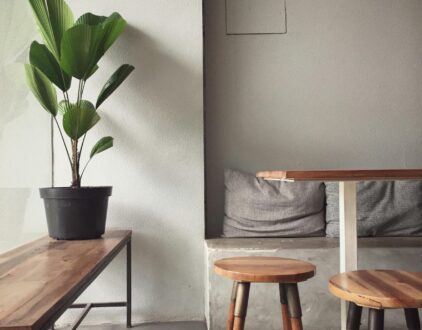
The centerpiece of your living room is the coffee table. It essentially brings the living room together and can impact the style of your home. From rounded and squared shapes to stone or wood, a coffee table comes in all shapes, sizes, and styles. They offer that stylish touch that can upgrade your space. Take a look at how to create your own coffee table.
@siriworku DIY COFFEE TABLE ☕️ part two coming soon! #diy #coffeetable #homedecor #blacktiktok #diycoffeetable ♬ Golden Hour: Piano Version – Andy Morris
Take each piece of wood and sand it. By sanding, it’ll guarantee a smooth surface, making it easier to apply paint. It also improves the overall look of your wood. Once all the pieces are sanded, it’s time to assemble.
First, glue your two tabletop pieces together. Then, glue the smaller pieces together. They will serve as the base of the table. Start at the bottom, apply the glue, and stack the next piece. Hold it down for a few seconds and continue. Repeat this process until you’ve glued all the pieces together.
Lastly, glue both the table top and base together. Let it sit to dry, and get ready to paint!
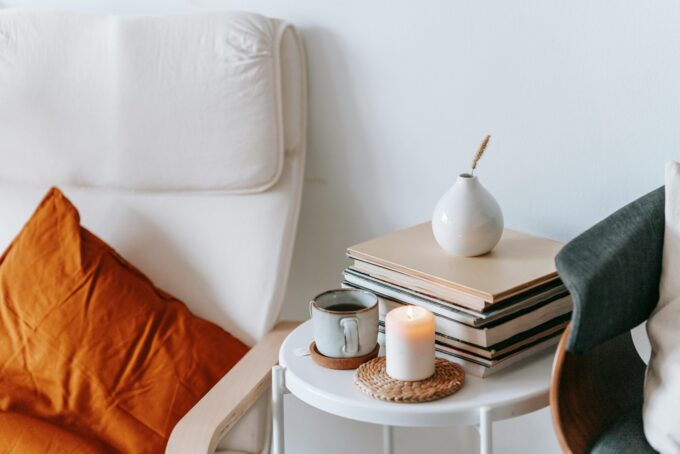
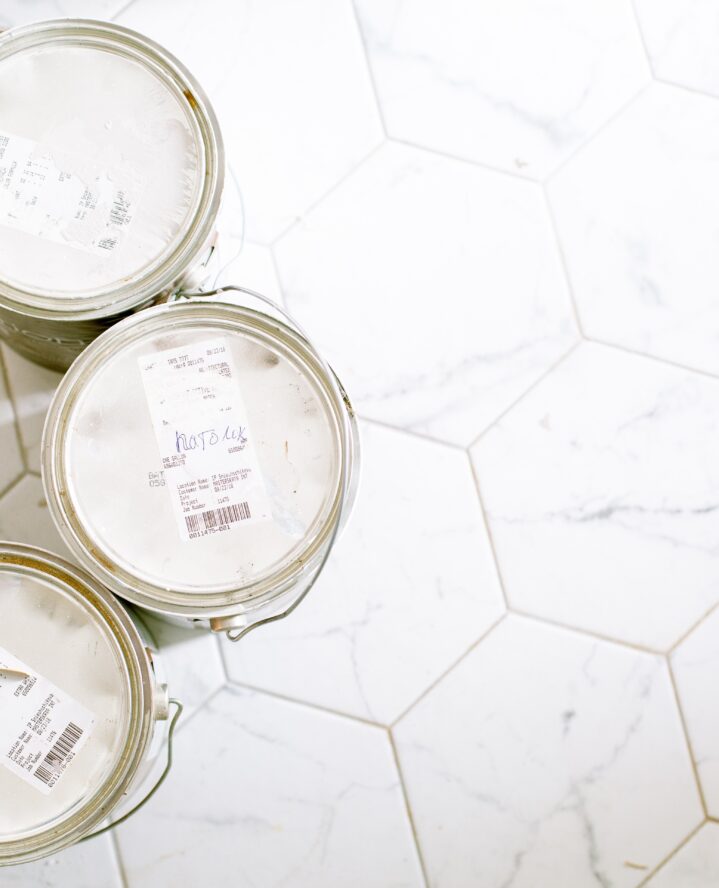
Grab your primer, paint, and elbow grease because it’s time to transform this piece and bring it to life. Use the primer to spray the entire table. Apply 1-2 coats of your preferred paint color and make sure you cover all sides, even in the creases, too. Let it dry and then start to style it. Add books, trinkets, or a flower vase for a modern look. Keep it simple, as you don’t want a cluttered coffee table.
Rugs create a comfy, cozy environment that allows you to feel more relaxed in your home. They also add texture and charm while complimenting your home decor. Many will splurge on rugs, but you don’t have to. Learn how to create your own rug that perfectly fits your space.
@saraheartmann making a wavy rug with tesa Ultra Power Extreme 🧡 the tape is perfect to keep everything together & to prevent the rugs from slipping you can use the tesa Anti-Slip mat underneath. would you try this fun little diy? #tesa #diy #diyrug #diyhomeprojects ♬ bad habit by steve lacy sped up – chromse
Turn your rugs over so the back side is facing up. Use your marker to draw whatever shapes you’d like. If you’re working with a larger rug, consider using a ruler for perfect lines and/or shapes. Cut up both of the rugs and take the pieces from both to create one new rug. Play with it to see which pieces work well together and to make sure the overall new design is what you want.
Once you’re satisfied, use the duct tape to tape the rugs together on the back side. Grab your anti-slip mat to place down in your designated area. If it’s too big, cut the excess sides off to make sure it’s the same size as your rug. Then, place your rug on top, and you’re good to go.


by Stixx Matthews | September 11, 2024
Whether it’s luxury or ease, every area of your home should be as fabulous and unique as you.

by Melody Beuzelin | January 23, 2024
Find us on social for more home inspiration where culture, personal style, and sophisticated shopping intersect to help you create a home where you love to live.