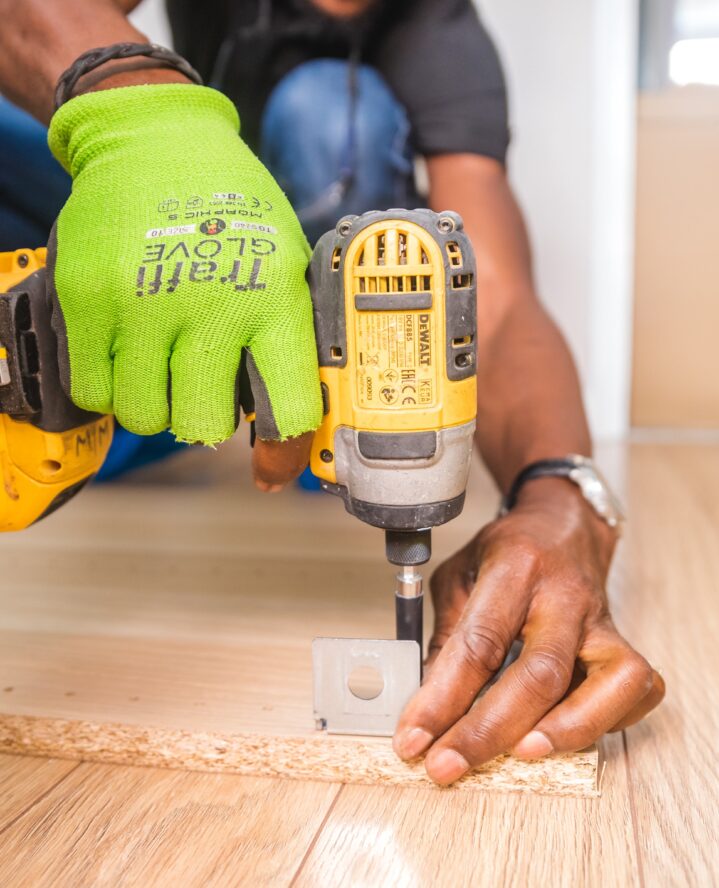
If you’re on a tight budget, building your own furniture can be really easy on your wallet. Not only do you get furniture at a much cheaper cost, but you also get to personalize your pieces according to your preferred aesthetic. And if you’re really savvy, you can repurpose materials you already have lying around such as old wood pallets or crates.
The best part? You don’t have to be a professional to do it. There are tons of easy DIY furniture projects that even the newest beginner can manage. To learn more about DIY furniture, here are the top three easiest furniture items to build yourself.
1. Shelving
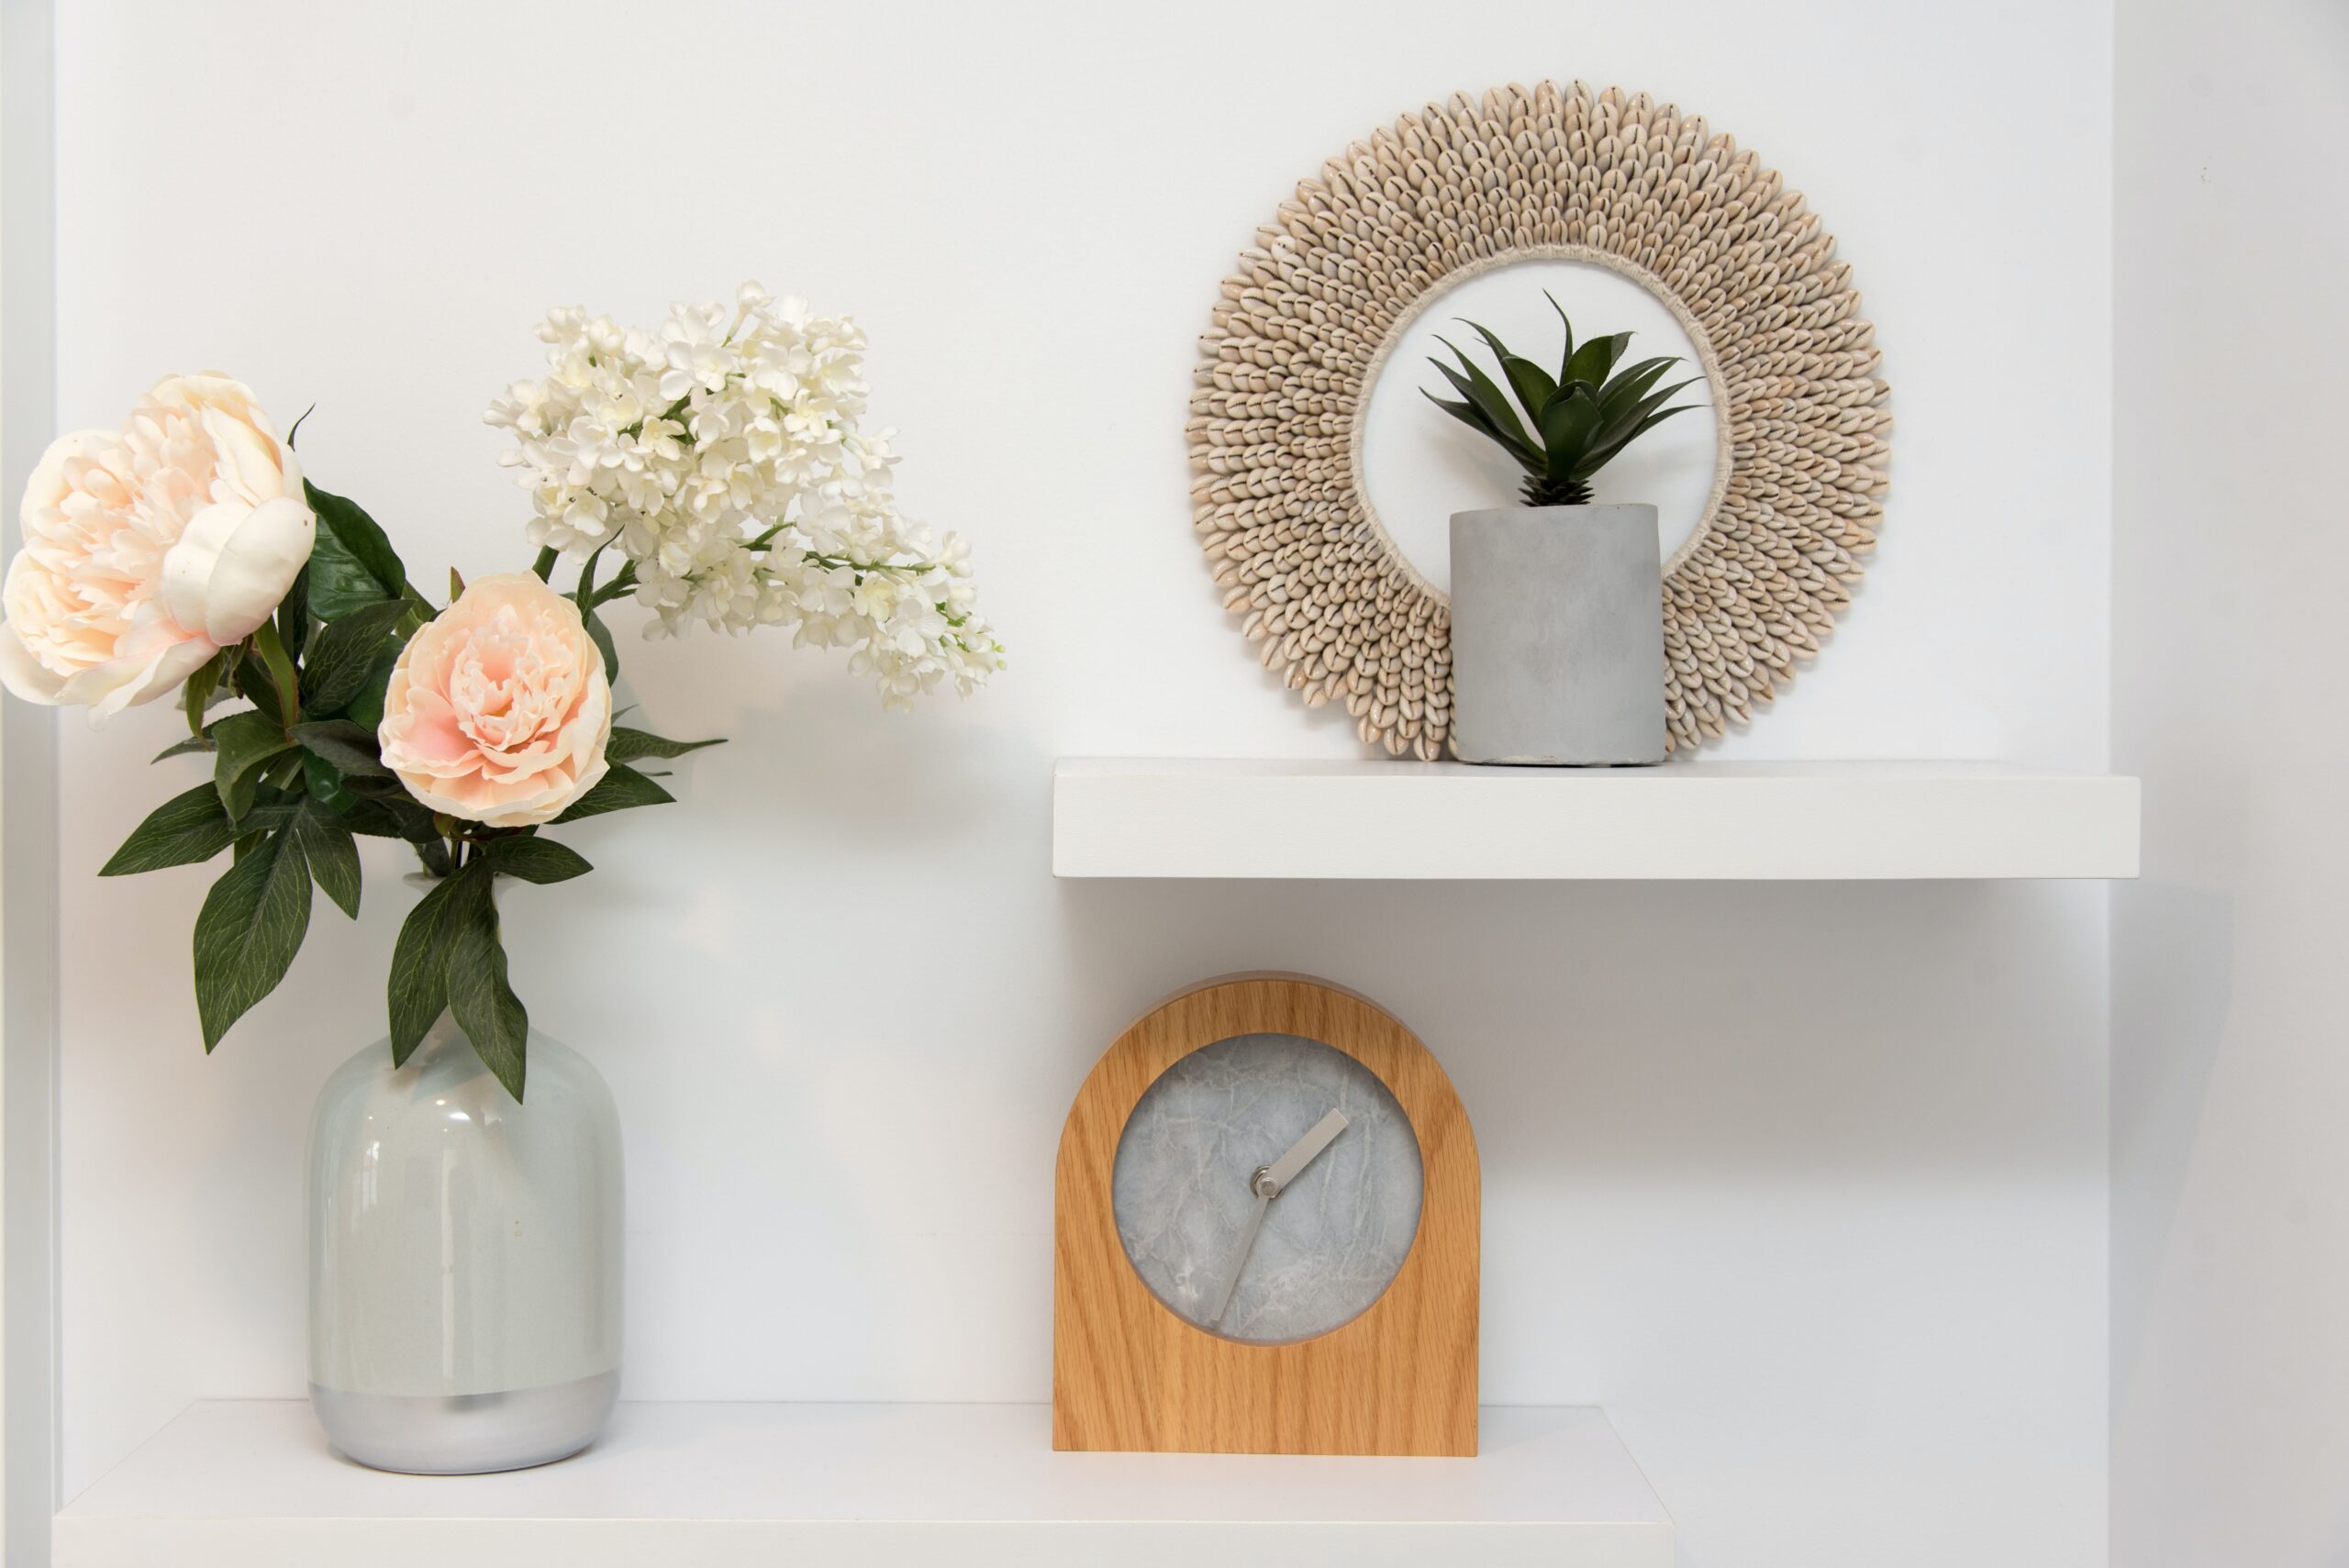
Shelves are super easy to make. After all, they’re just strips of wood or another material attached to the wall. Plus, they’re extra versatile — perfect for storing books, displaying pictures and decor, or even as a makeshift desk. Here’s a quick look at what you’ll need to complete the job:
- Wood or other shelf material
- Measuring tools such as a tape measure, ruler, or carpenter’s square
- A saw
- Sandpaper
- Fasteners such as screws, nails, brackets, and anchors
- A drill and bits
- Mounting hardware such as wall anchors, brackets, or cleats
- Wood glue
- Finishing supplies such as wood filler, stain, polyurethane, or varnish
The Gist of It
To create your shelving, use a saw to cut your boards to your desired length. Then, smooth out any rough edges or imperfections using your sandpaper. After it’s as smooth as you’d like, use your fasteners (screws or brackets) to attach your shelving to the wall. To ensure it stays put, add mounting hardware such as wall anchors or cleats.
2. Coffee Table
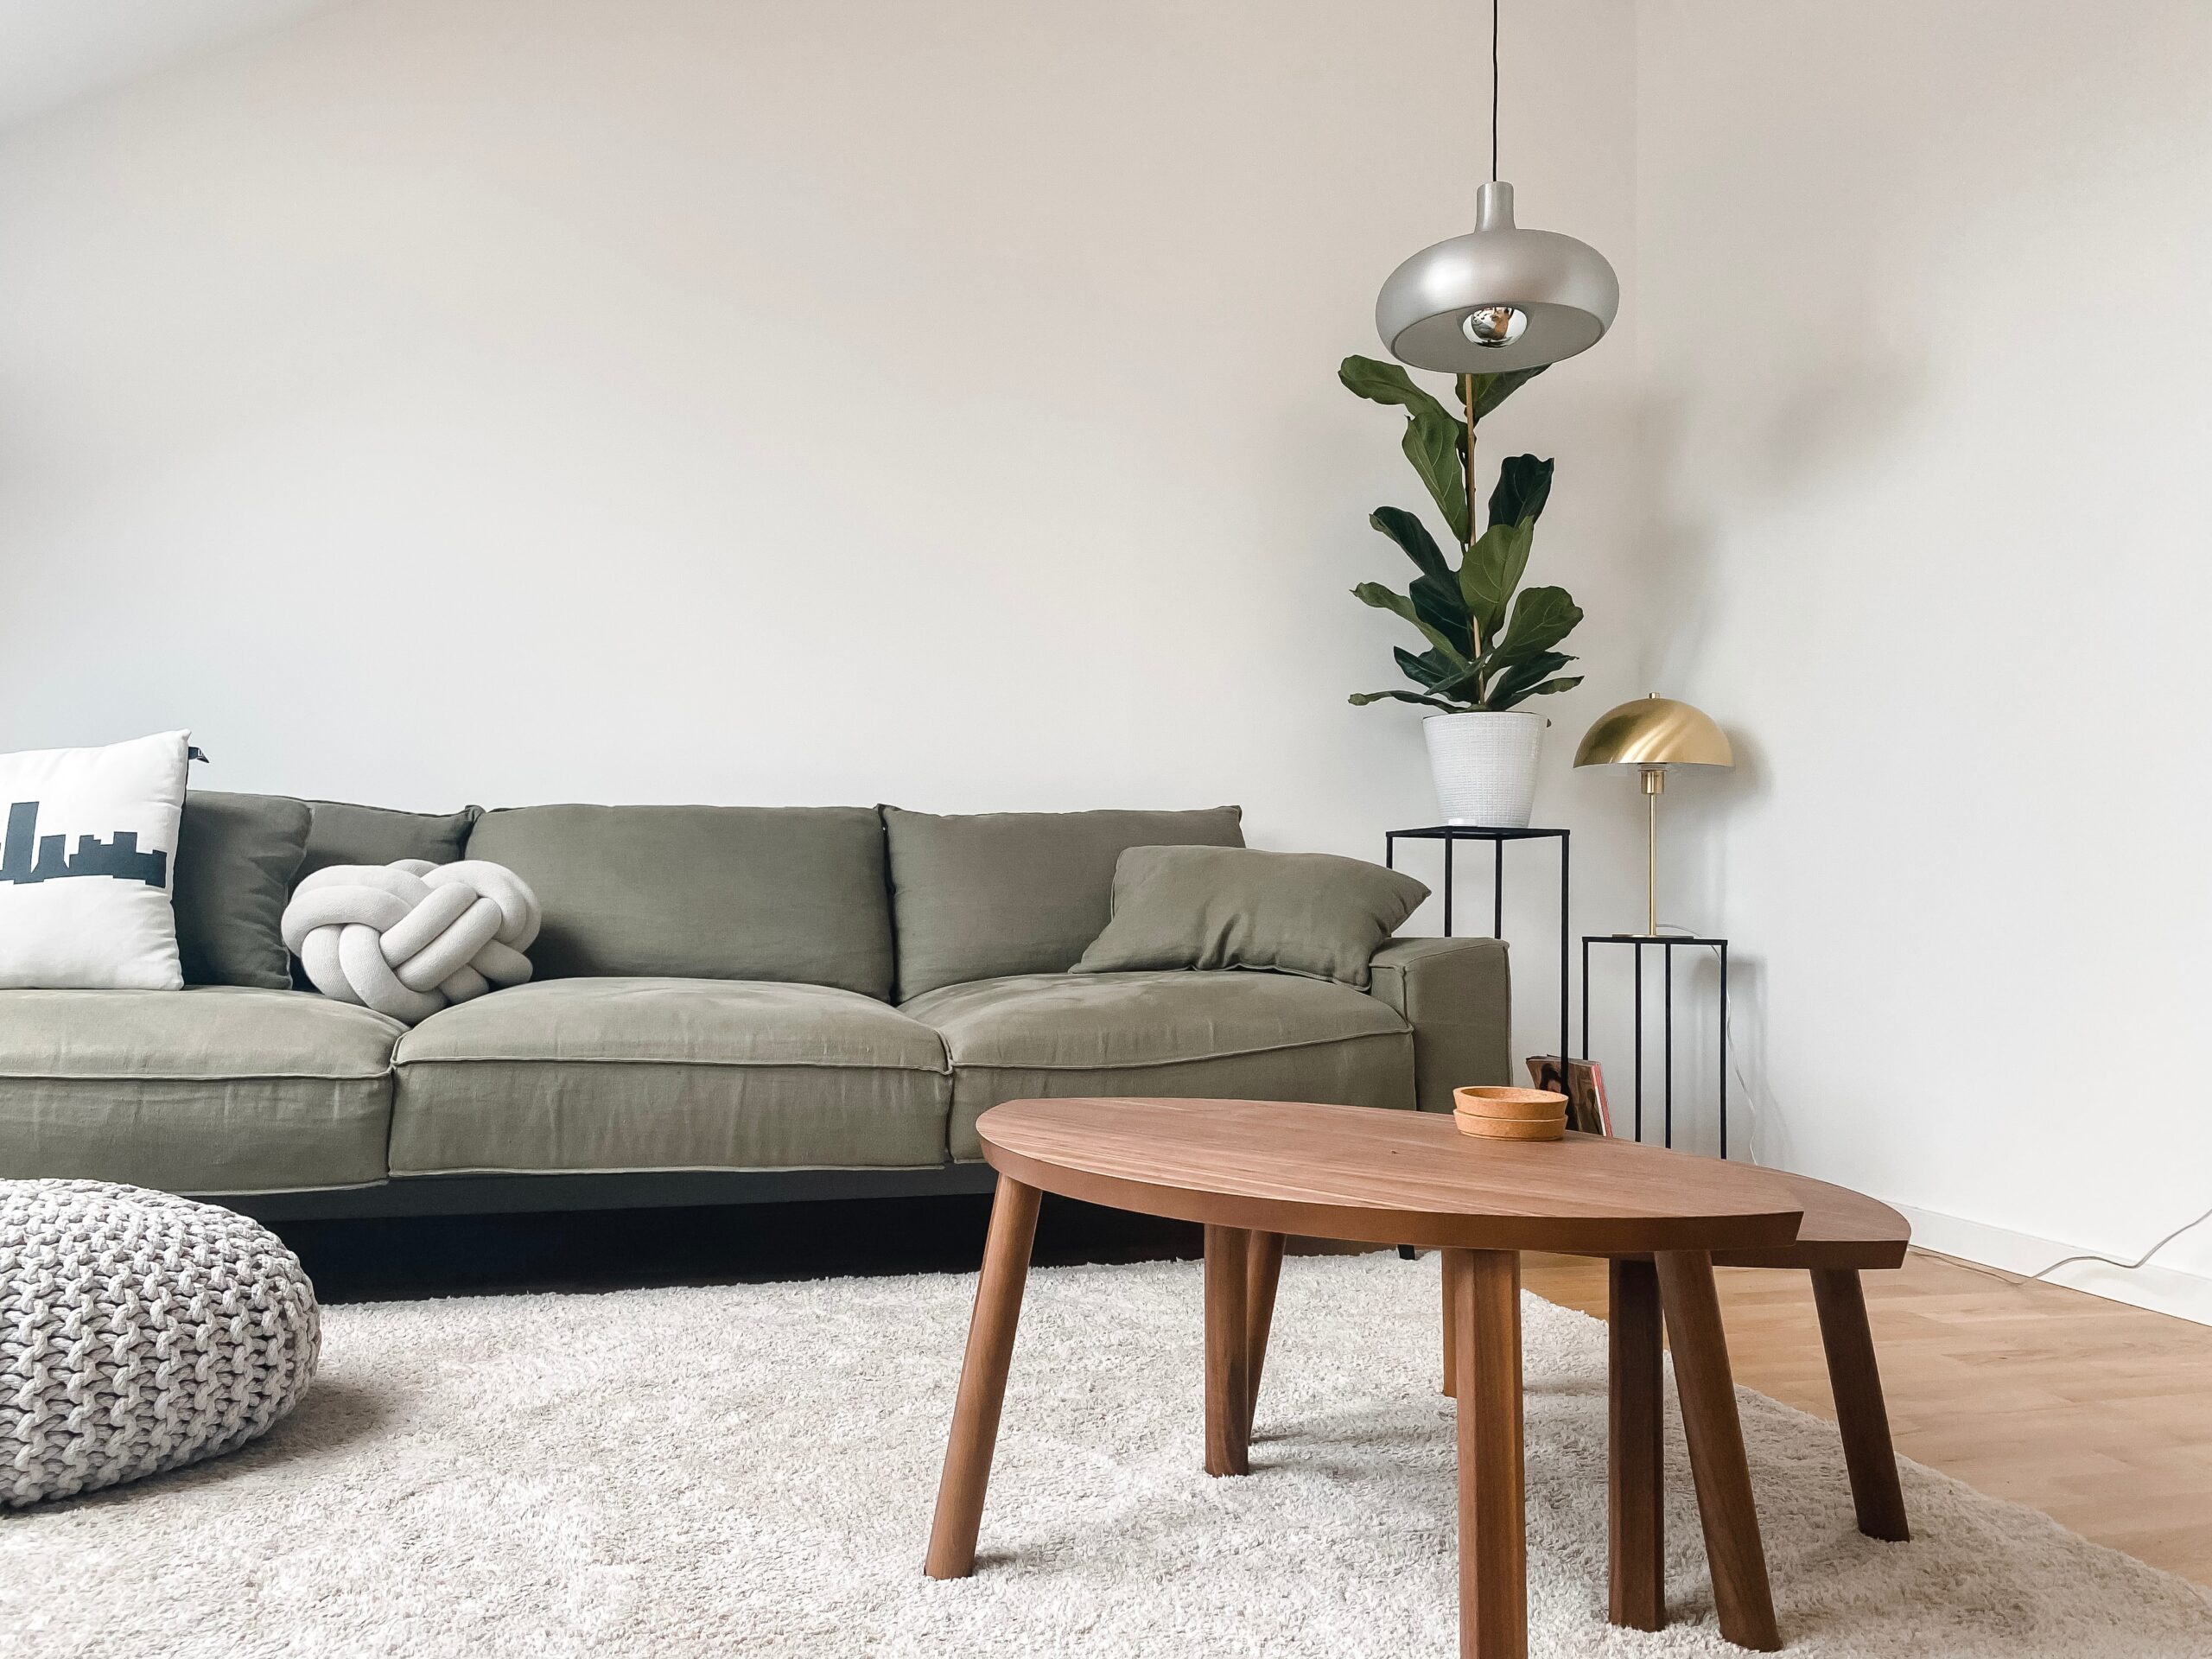
Coffee tables are another super easy yet rewarding DIY furniture project for beginners. You can display your favorite magazines and books atop them, or just use them as a footrest. To make your very own coffee table, here’s a brief list of what you’ll need:
- Wood
- Fasteners
- Sandpaper
- A saw
- A drill
- Measuring tools
- Finishing supplies
The Gist of It
To make your coffee table, start by cutting five pieces: one large board for the tabletop and four thin boards for the legs. Then, smooth out any imperfections using your sandpaper. Next, using your drill and fasteners, attach the four legs to the tabletop. After that, add your finishing touches like staining, painting, sanding, etc. to complete the project.
Pro Tip: If you want to make a side table or nightstand, simply use three boards for the legs instead of four.
3. Crate Furniture
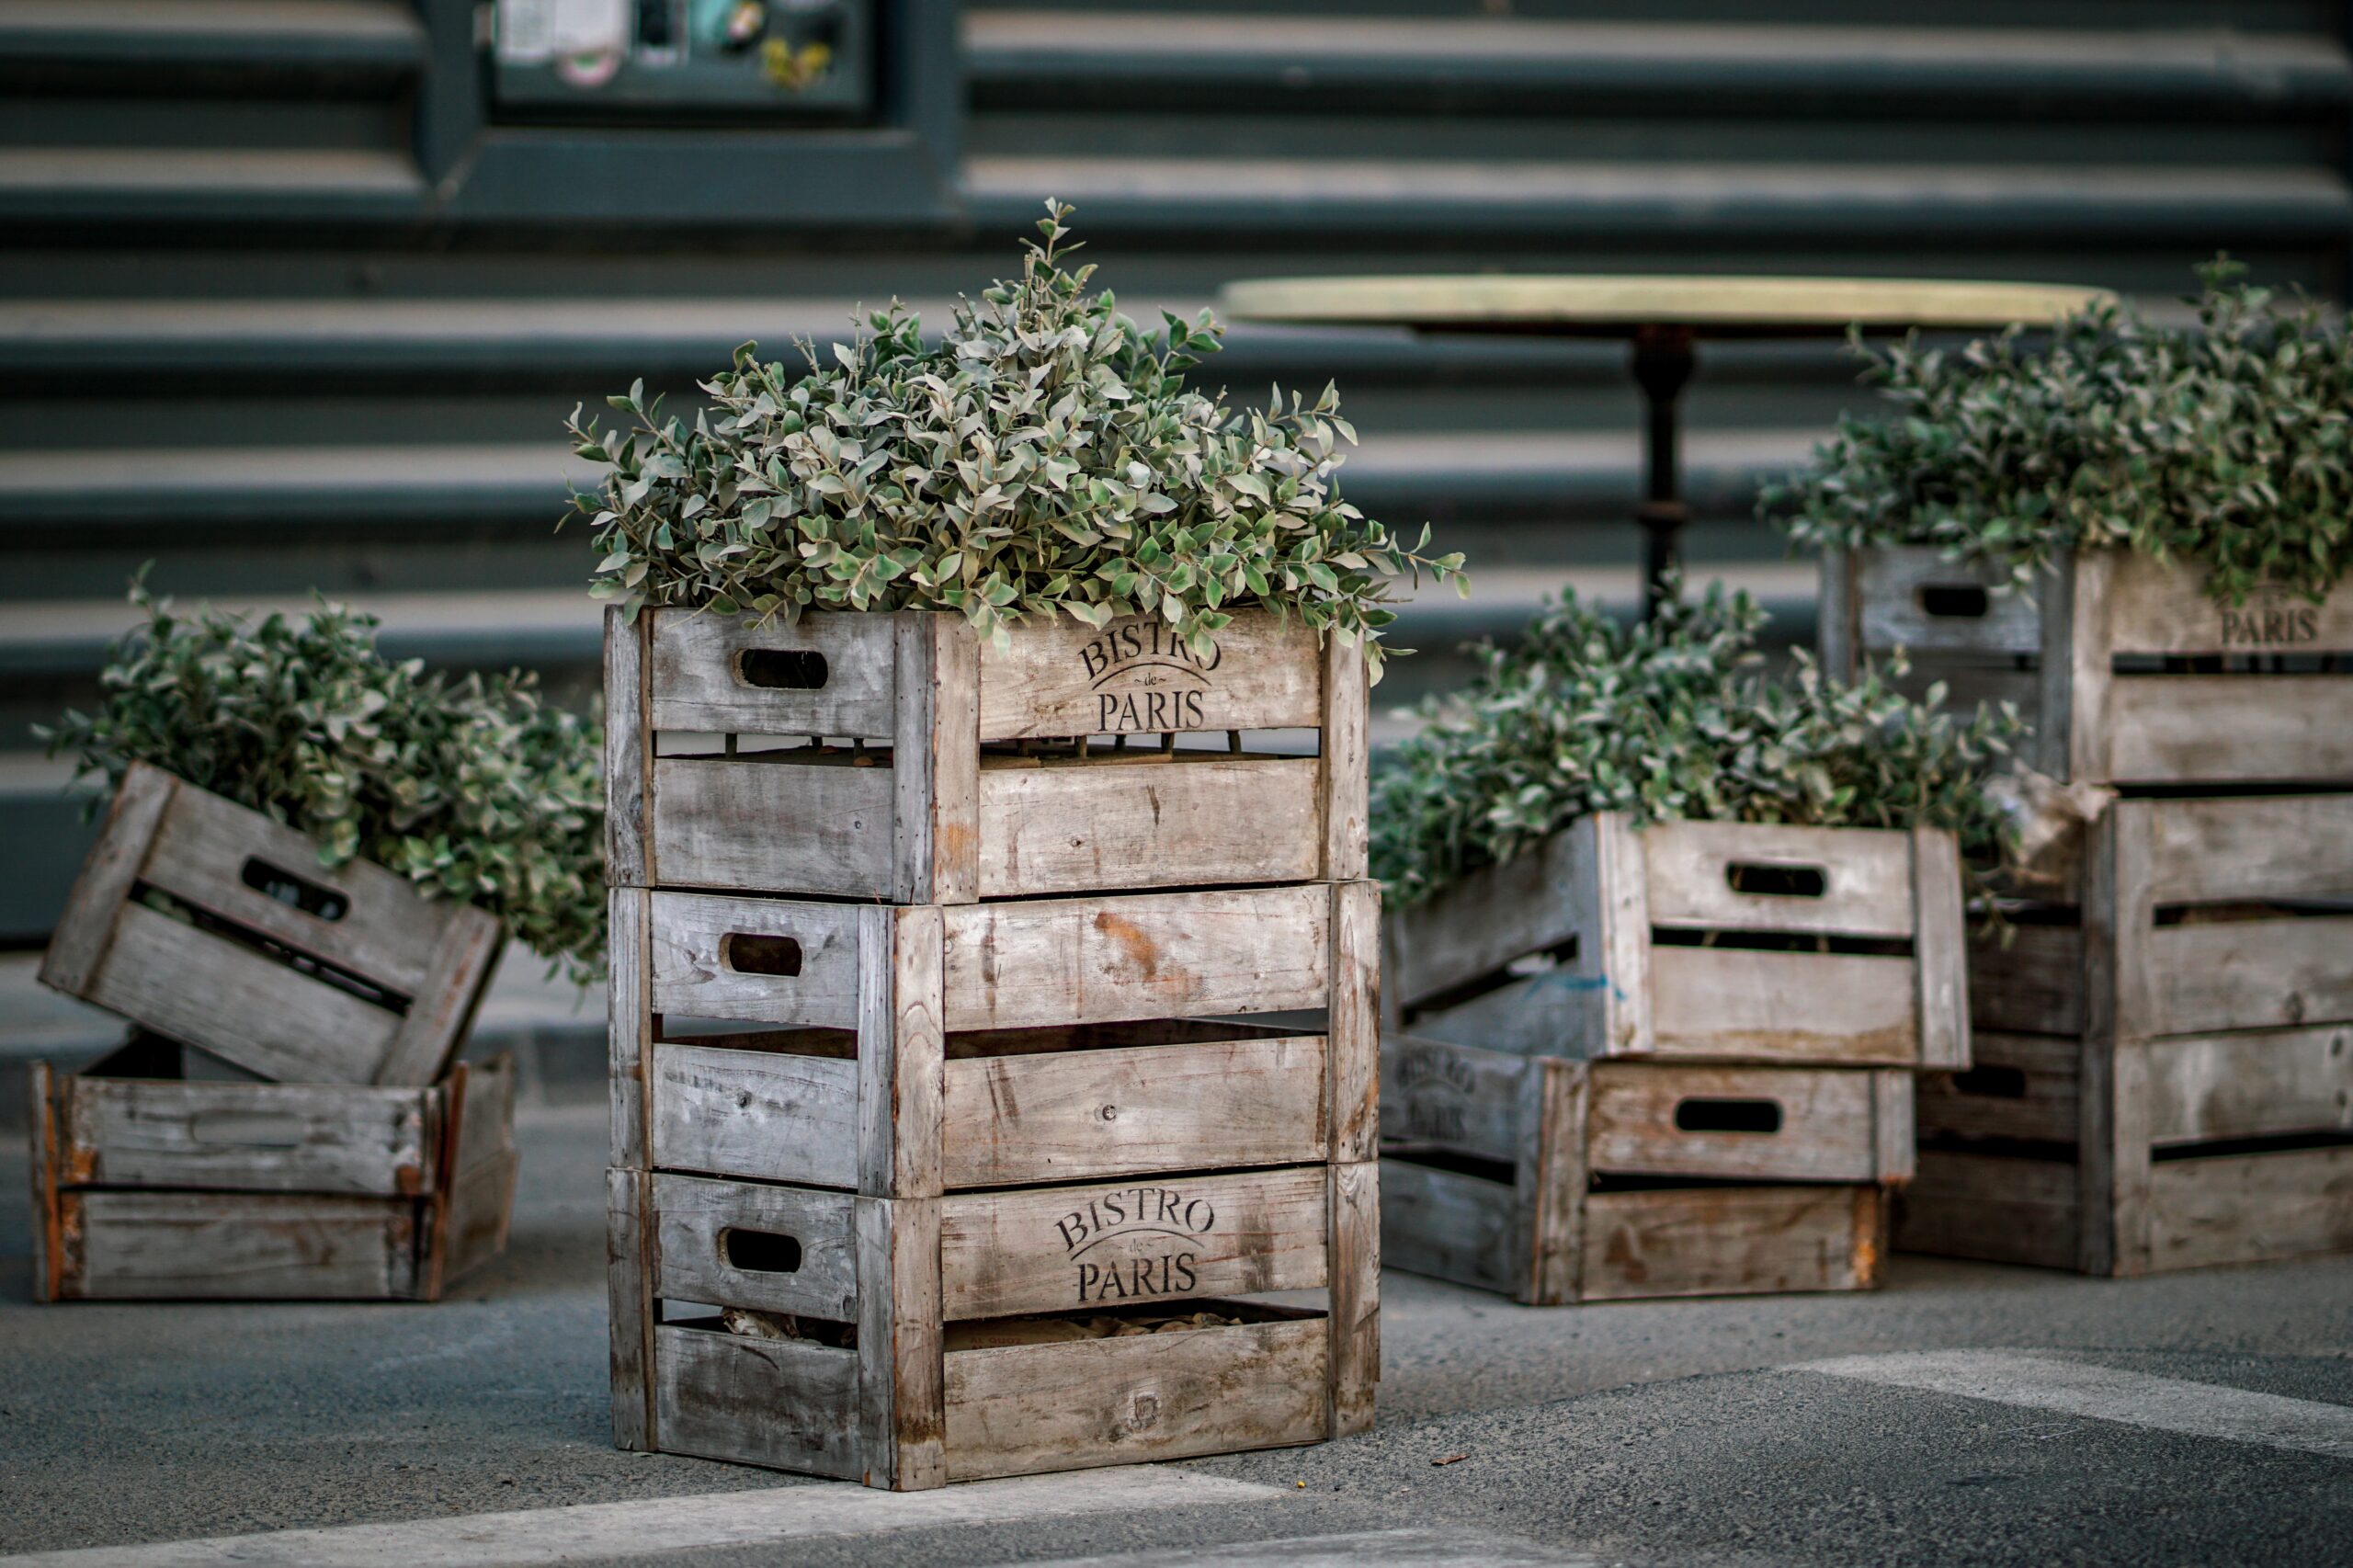
You can use wood and other materials to create crate furnishings like end tables or cabinets. And because there are so many things to do with crate furniture, you can truly let your imagination run wild, from stacking them to even adding wheels. Take a look at a few things you’ll need to make your own:
- Wood
- Fasteners
- Wood glue
- Sandpaper
- Felt pads (for protecting floors)
- A drill
- Measuring tools
The Gist of It
Sure, you could just buy a crate from a store, but where’s the fun in that? To create your own, start by cutting six slabs of wood: four vertical corner strips, four horizontal side strips, and two or more bottom strips. Depending on how you want your crate to look, you can always cut out more wooden slabs.
If you need to, carefully smooth out the edges with your sandpaper. Next, using your drill and fasteners, attach the two bottom strips you’ll need to make the base of your crate. Make sure your base is sturdy before attaching the four vertical strips to each corner. Then, after that’s done, attach your final four strips — one on each side — and there you have it.
popular posts
- 1It’s Black Business Month, So Let’s Go Shopping and #BuyBlack!
- 2These Home Decor Items Will Instantly Make Your Space Look Outdated
- 3Black-Owned Home Decor Stores To Support Across the United States
- 4A Look Inside Elon Musk's Tiny $50,000 House
- 57 Black and Multicultural Designers To Follow For Design Inspo
Unique Backsplash Ideas That Add Luxury to Your Kitchen
by Stephanie Taylor | January 19, 2023

These Candle Making Kits Will Elevate the Vibe of Your Home
by Arielle Clay | January 19, 2023
These 4 Mid-Century Modern Faucets Will Give You A Surge Of Inspiration
by Stephanie Taylor | January 20, 2023
FOLLOW ALONG ON INSTAGRAM
#homeandtexture
Find us on social for more home inspiration where culture, personal style, and sophisticated shopping intersect to help you create a home where you love to live.
