April 27, 2023 at 6:52 PM PST
Interior painting is a skill that many homeowners hire a professional to do. Trying to paint the inside of your home can be an intimidating feat for a number of reasons, such as exposure to fumes and chemicals, difficulty in selecting the right color and the potential for making a big mess. For this reason, many homeowners prefer to leave it to a team of professionals to get the job done.
However, hiring painters can cost a lot of money, and many homeowners decide to take matters into their own hands.
The Benefits of DIY Interior Painting
There are quite a few positive sides to DIY interior painting. Saving money on hiring a professional service and full autonomy on customization are big draws for many homeowners. When homeowners paint the interior of their homes by themselves, it allows them to create their dream space in a way that a team of professionals cannot. You can select multiple colors, add texture and incorporate designs.
DIY painting also provides a sense of accomplishment and builds your DIY confidence. You may feel empowered to try other home improvement projects.
Things to Consider
As with any home improvement project, you will need a few supplies to help you get started. To help you select the right tools for the job, here is a list of paints and tools to consider for your interior painting project.
Types of Paint
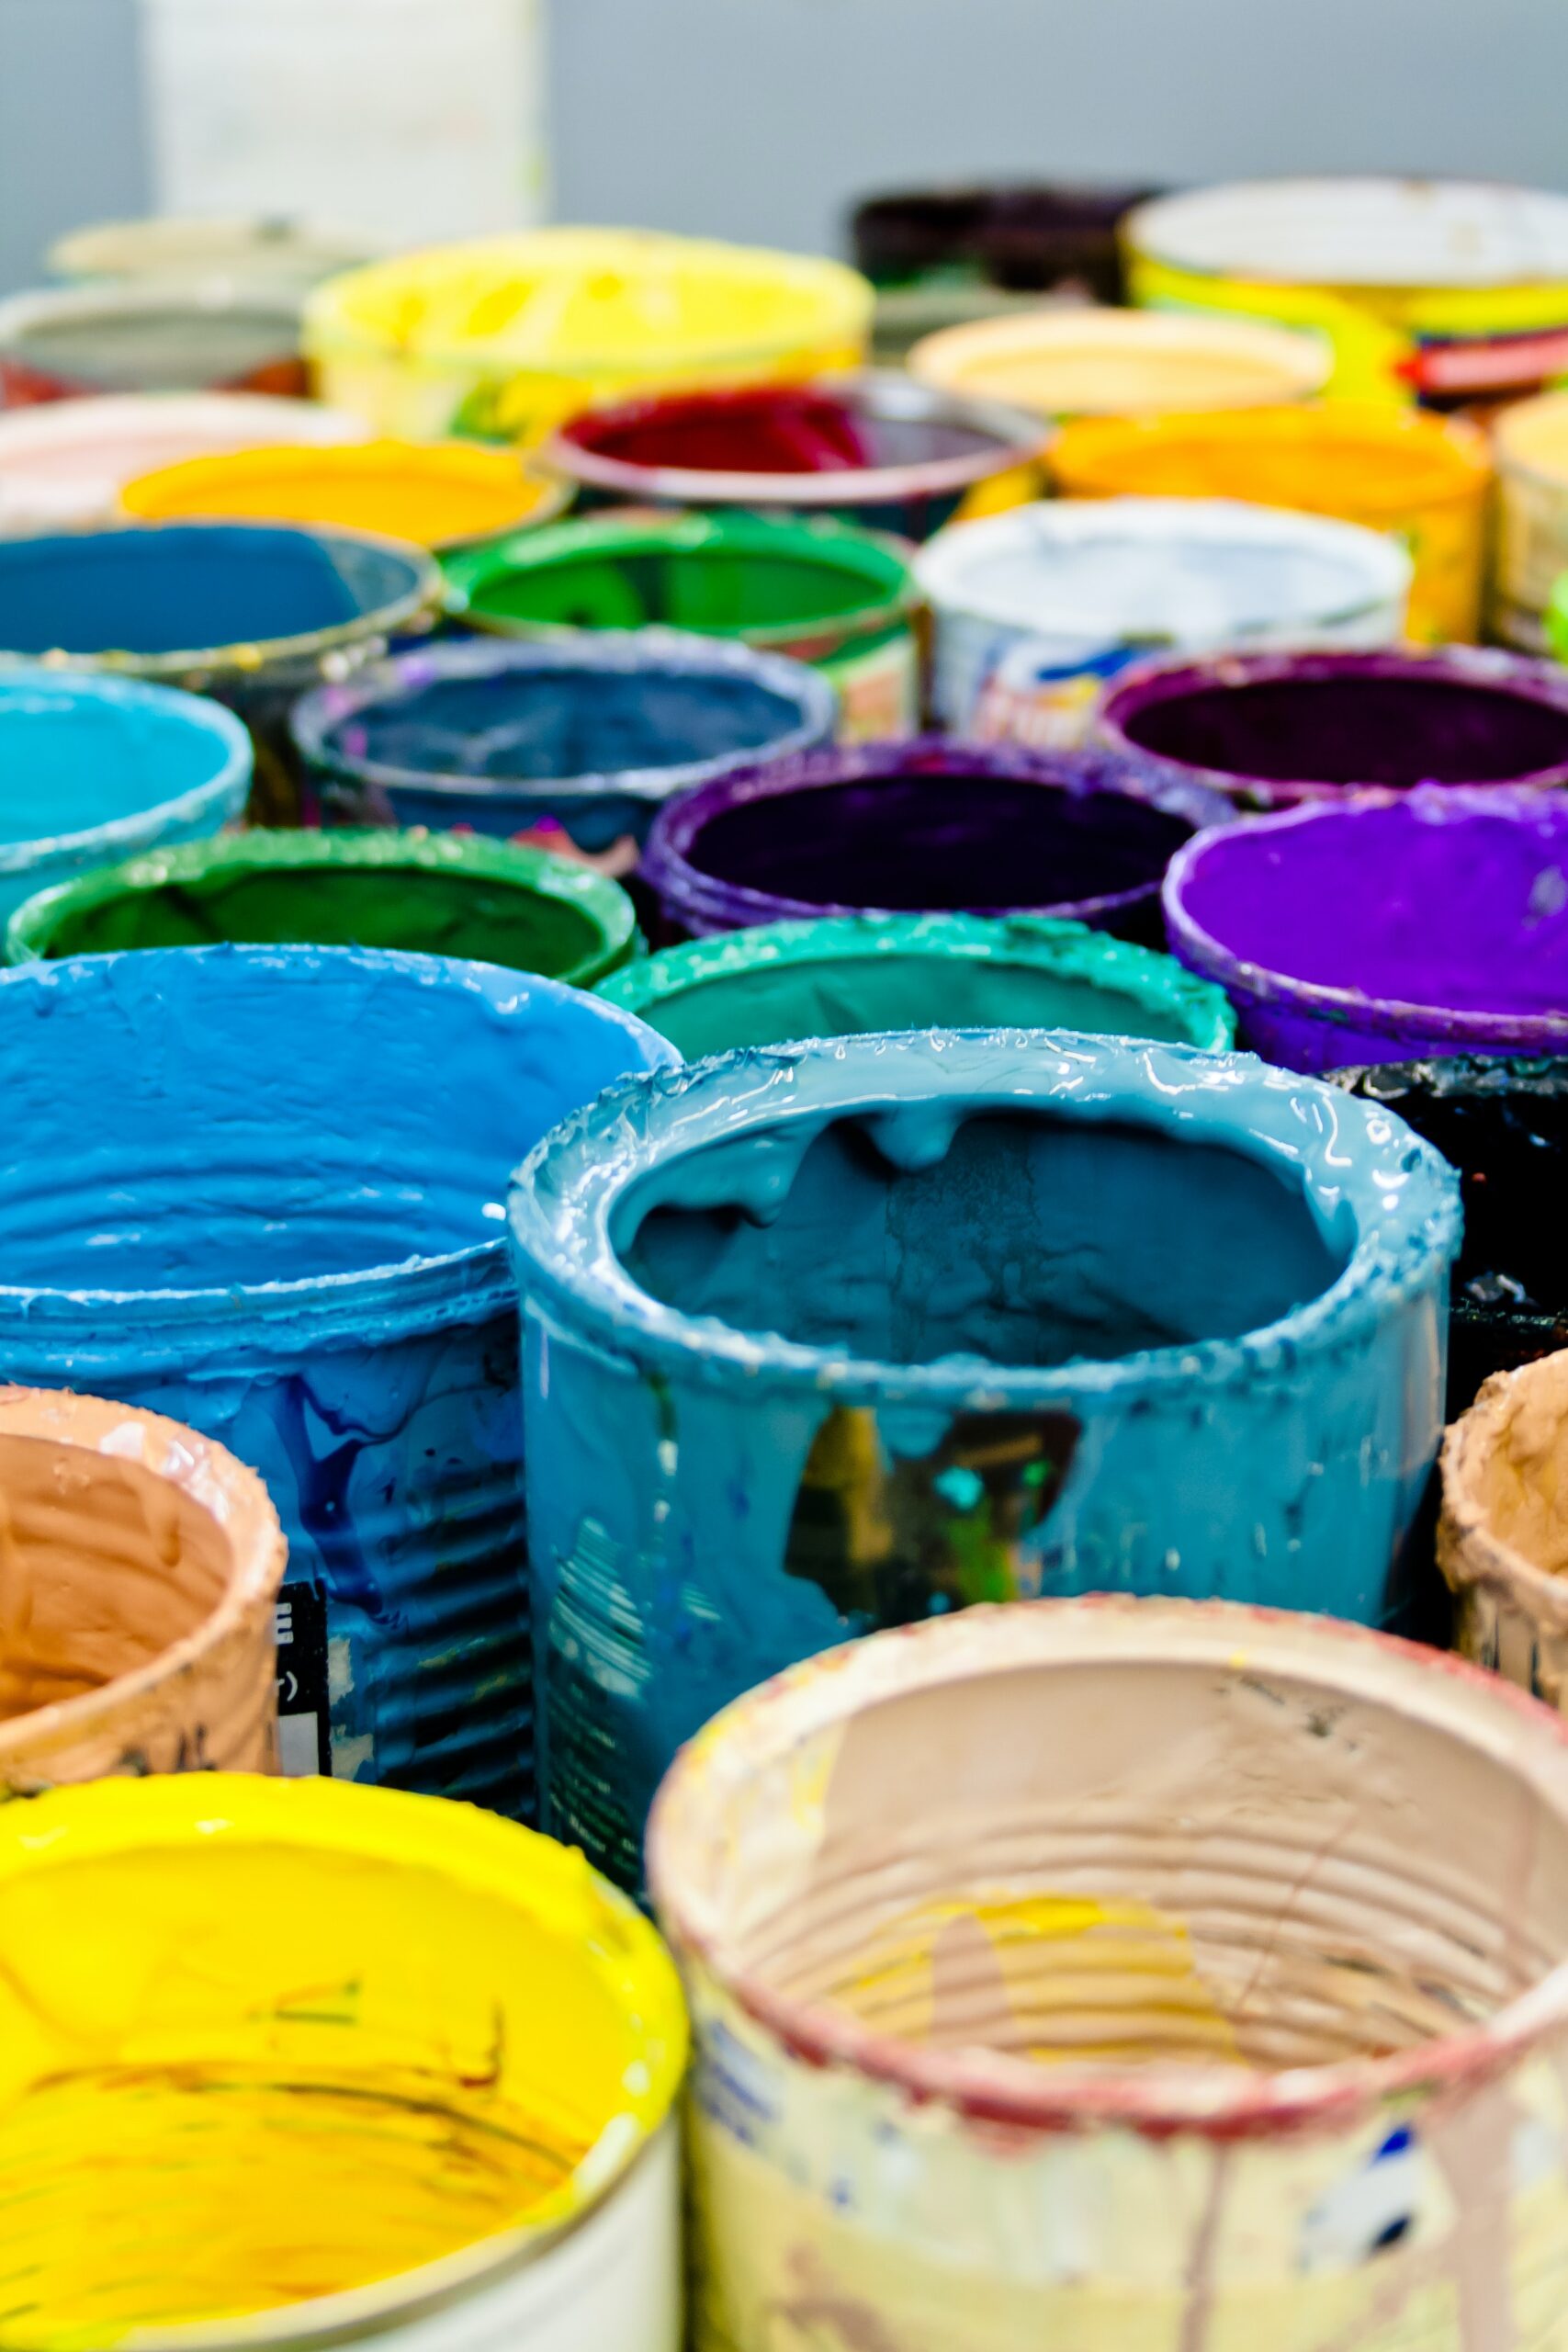
Before you select a color, consider the types of paint necessary to do the job. There are a number of types to choose from, including:
Latex Paint
Latex paint is a popular type of paint because of its quick drying time. It is resistant to cracking, chipping, and yellowing due to age. It also comes in a number of finishes, such as flat, eggshell, satin, and gloss. Even better, latex paint is easy to clean with water, making it a convenient choice for homeowners.
Oil-based Paint
This is another popular option for interior painting because of its durability and resistance to moisture. It has a strong odor and takes a bit more time to dry than other types of paint i.e. latex, but it also provides an opportunity for novice painters to correct their mistakes before the paint dries completely. Once it sets, oil-based paint requires solvents such as mineral spirits or turpentine to clean it.
Paint with Primer
As its name suggests, this product combines paint and primer to remove a step from the painting process. It features increased adhesion and is resistant to staining. This type of paint is commonly used on walls and surfaces that have never been painted, or those that are more challenging to paint.
Textured Paint
Textured paint is a thick and gritty type of paint that includes the addition of sand to imitate stucco or plaster. Textured paint is commonly used on ceilings and walls to create a visually appealing effect.
Interior Painting Tools
To start your interior painting project, you will need a quality set of tools to help get the job done. Having the appropriate tools on hand can make a world of difference in how professional (or unprofessional) your project looks. Take a look at this list tools that you might need:
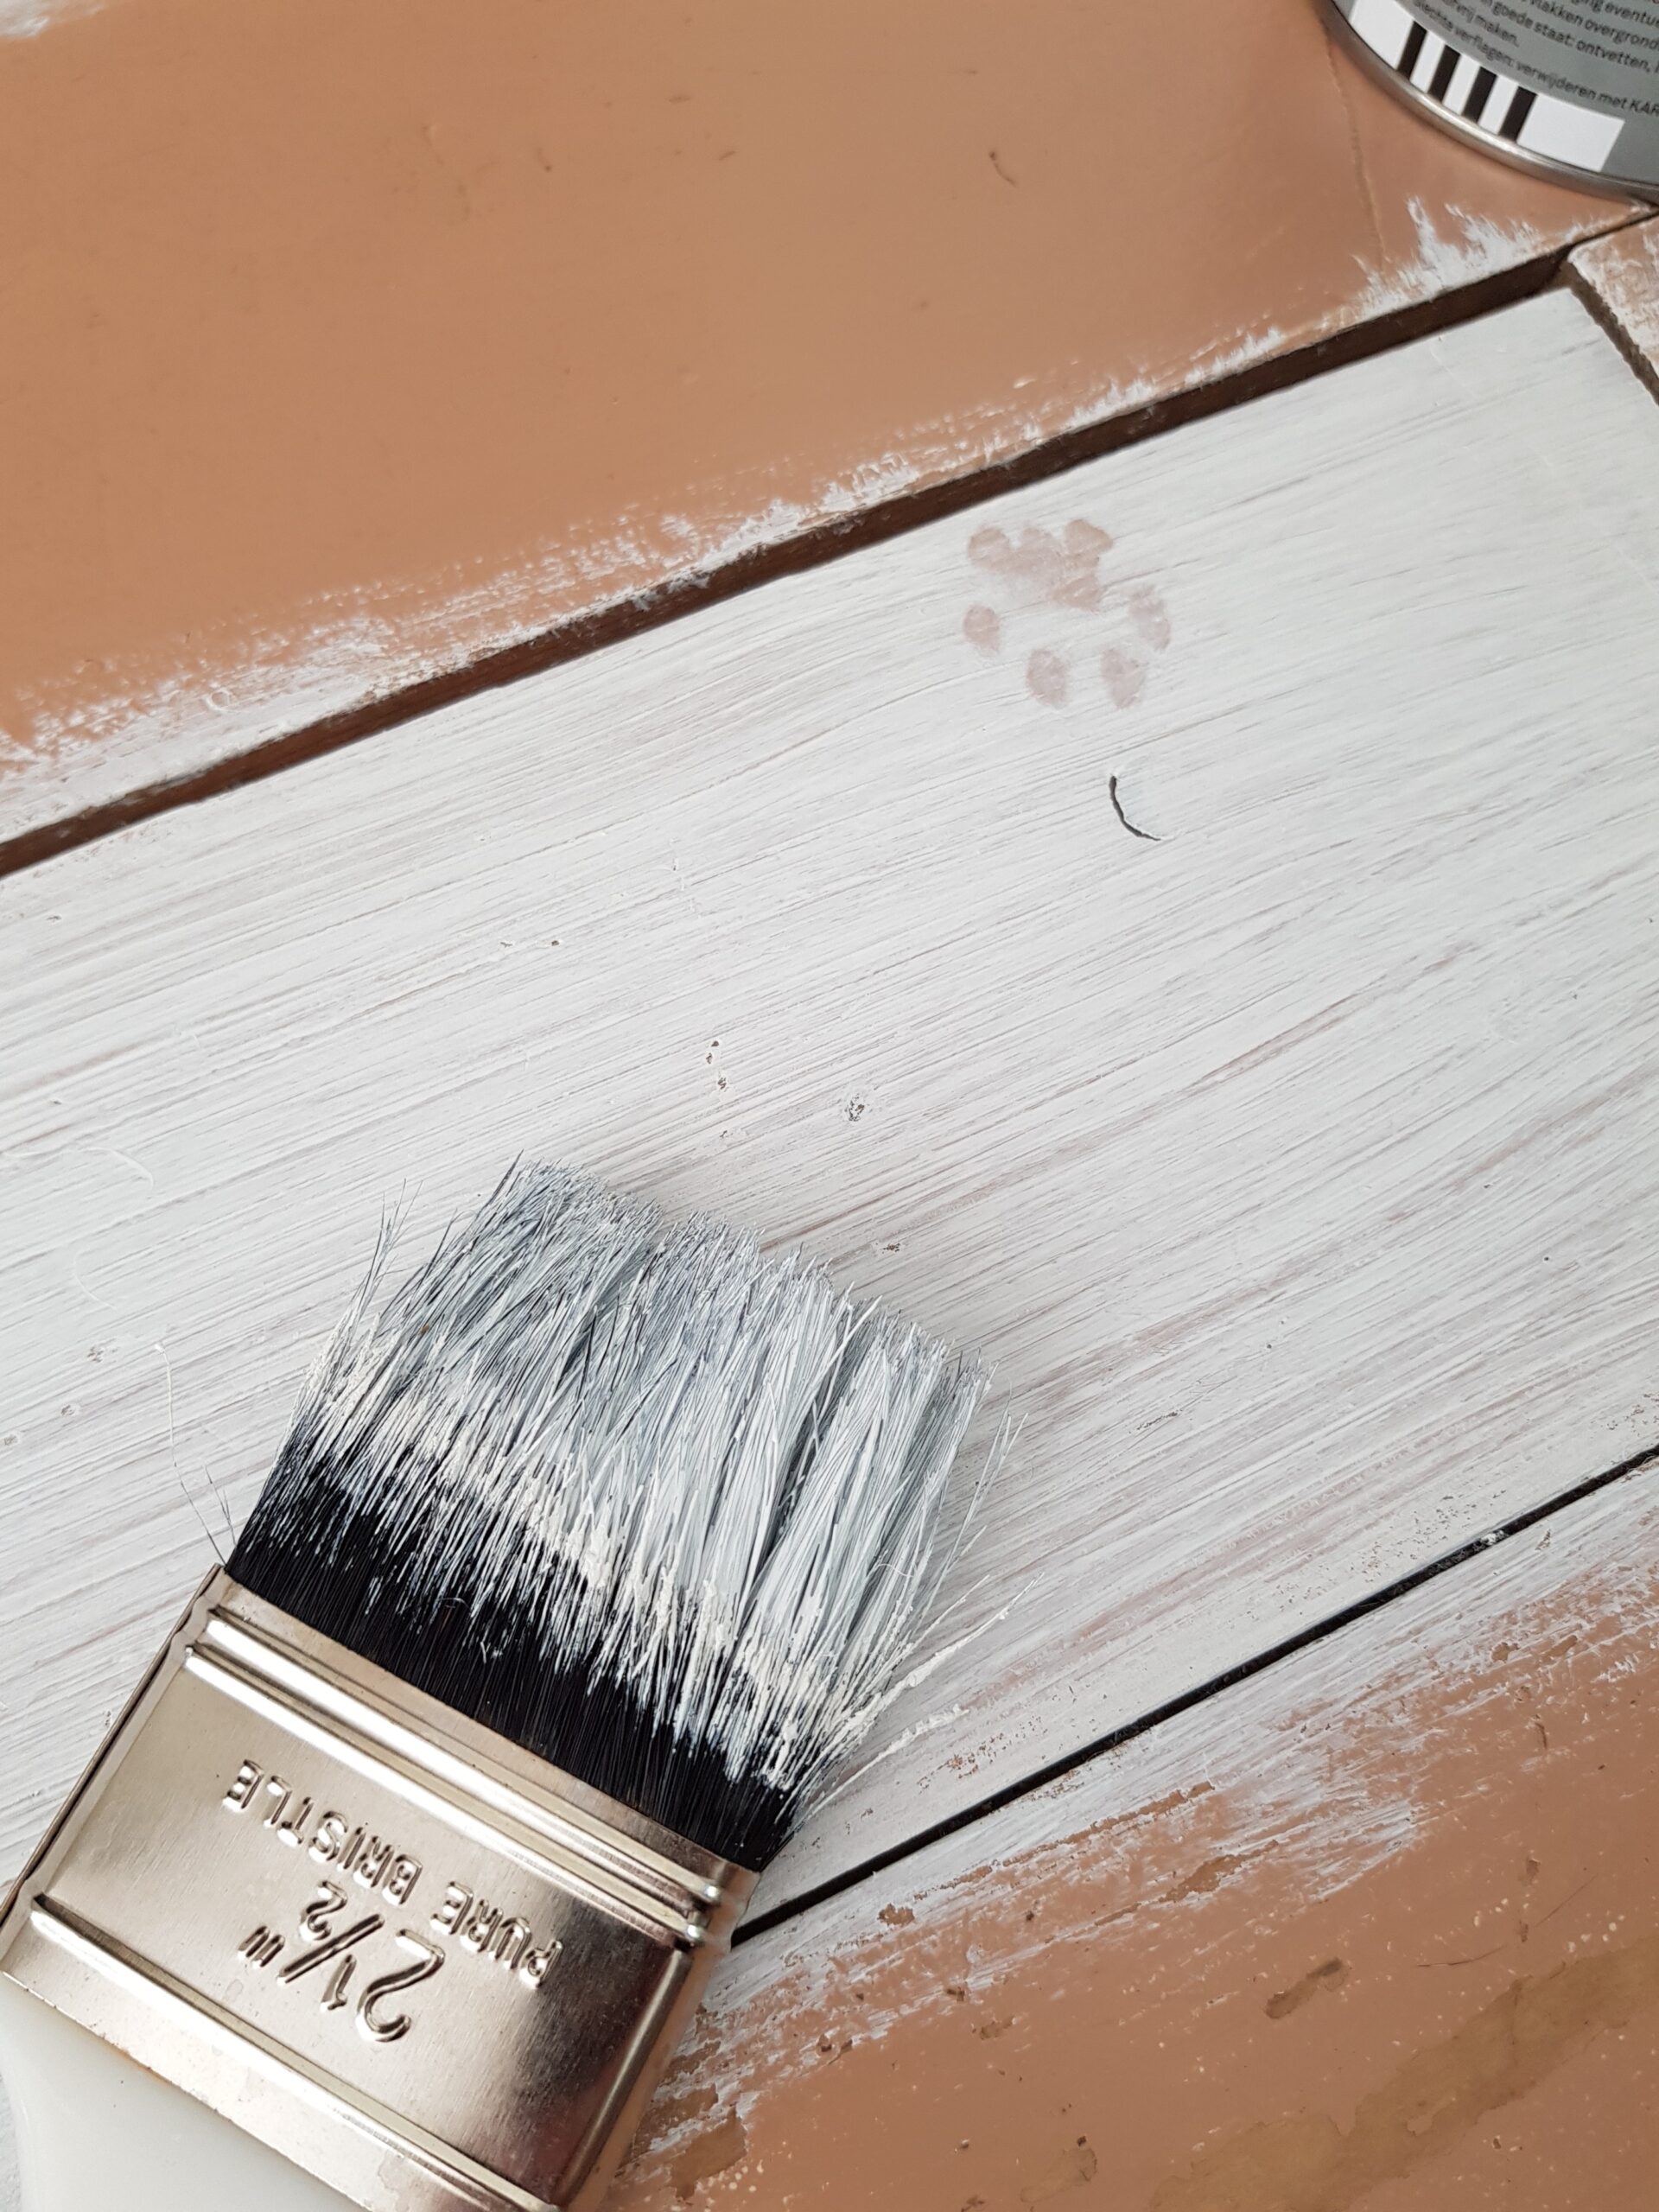
Paintbrushes come in a wide range of sizes, depending on how big or small your surface area is.
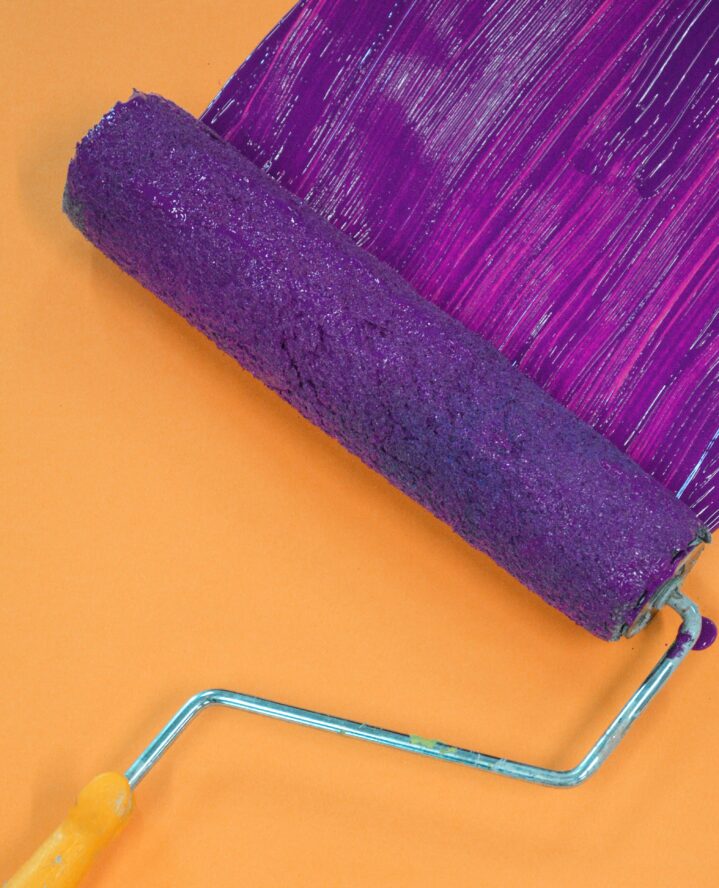
Paint rollers are helpful for covering large surface areas such as walls and ceilings in a short amount of time.
Paint trays hold the paint when painting with a smaller tool such as a brush or roller.
Drop cloths help protect the floor and furniture from paint splatters.
Painter’s tape is applied to areas that should not be painted. It can also help painters create straight lines or avoid overlapping.
Sandpaper is great for smoothing out rough surfaces before painting.
Paint scraper can remove old, unwanted paint from an area before painting for a cleaner canvas.
Having the right supplies can have a significant impact on your interior painting results. And if you want to achieve your dream space, investing in a quality set of tools is a great way to make your dreams a reality.
Technique
Before you begin painting, you should think about which painting technique(s) to employ. Depending on the kind of look you are hoping to achieve, each technique can give you a different result. Here are five of the most common painting techniques to consider:
1. Dry brushing is a technique of quickly running a stiff brush over the surface of the paint to create a soft, textured result on different surfaces.
2. Rolling technique involves the use of a paint roller to cover large surfaces i.e. walls and ceilings.
3. Sponging is a technique that involves dipping a sponge into paint, then blotting it onto a surface to create a textured finish.
4. Stenciling includes using a stencil to create a pattern or design on a surface.
5. Faux-painting is a popular technique that requires specific tools and paints to create different faux finishes i.e. marble, wood grain, or strie painting, which is a faux-painting technique that uses paint glaze and a dry brush to create subtle, natural striping that mimics the appearance of fine fabric.

The Interior Painting Process
After you finish preparing your room, you can start the painting process. Here are five easy steps to follow for the best results:
Step 1: Cut In
Use a tapered paintbrush to “cut in” — a painting technique used for challenging areas i.e. edges and corners, doorframes, skirting boards, etc. Remember, slow and steady wins the race, so take your time as you work carefully to avoid errors.
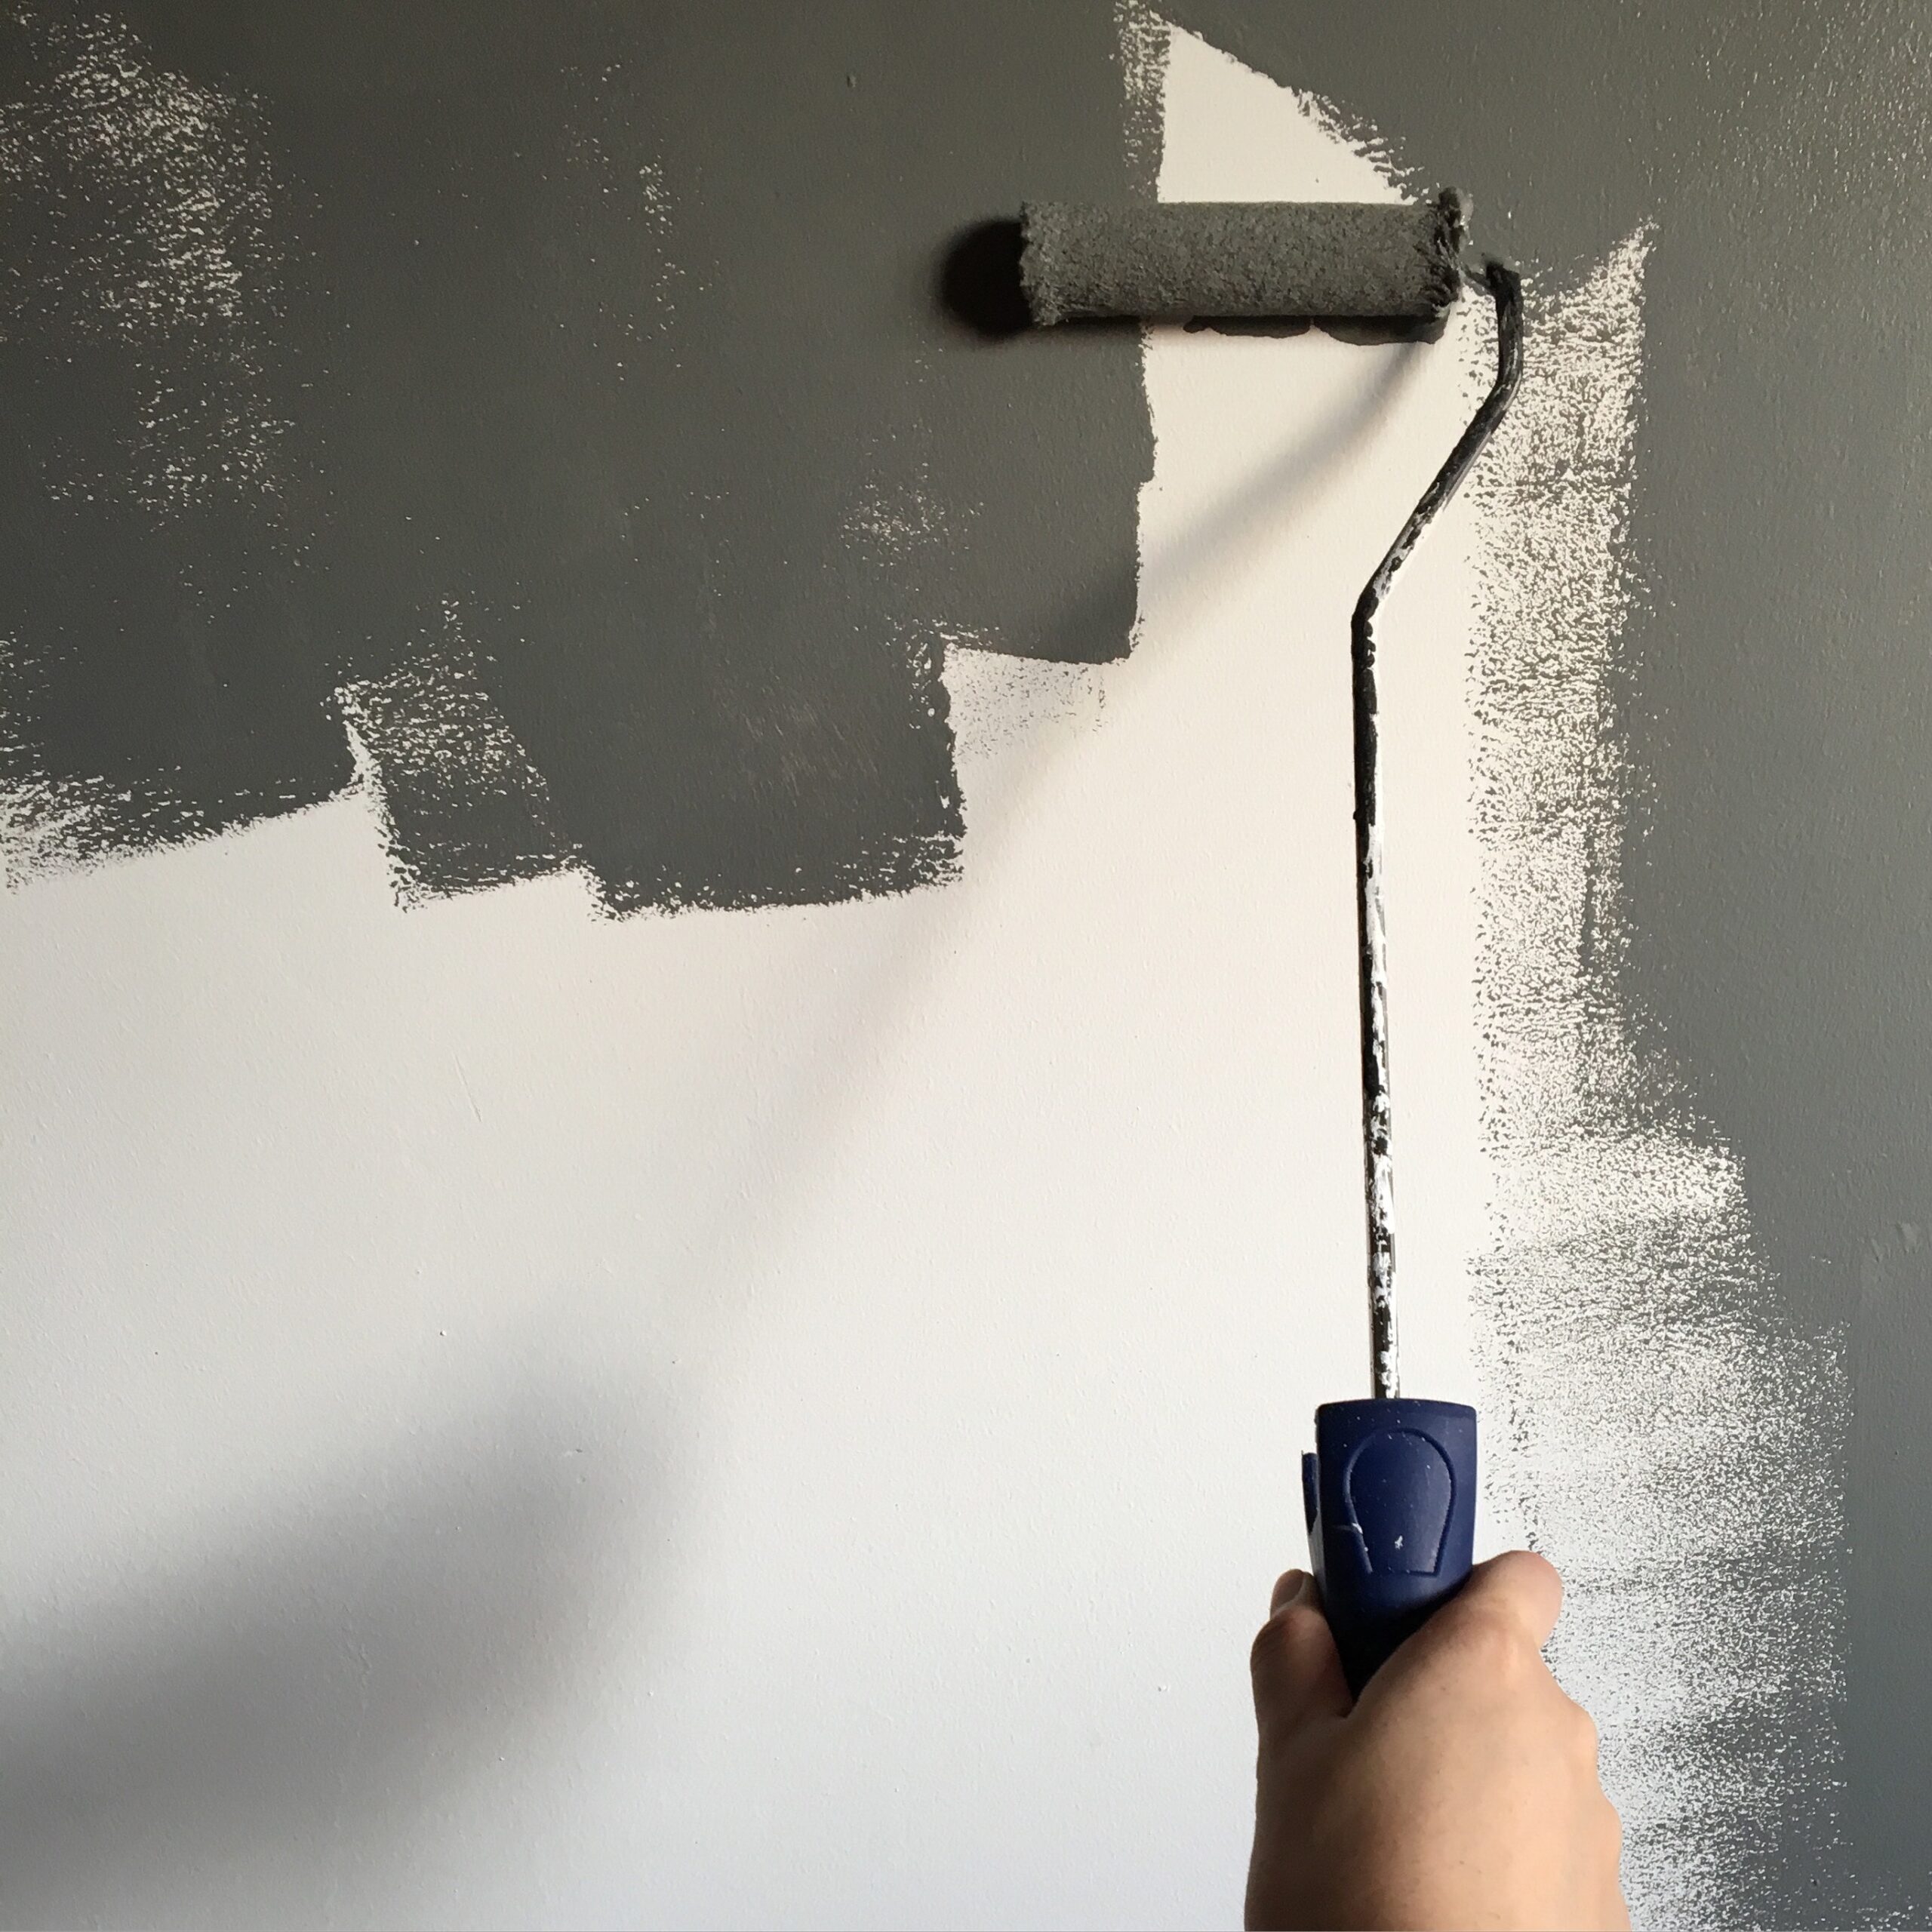
Step 2: Roll the Walls
Starting from the corners, and moving outward, use a paint roller to paint your surface using an “M” motion. For best results, apply consistent pressure with your paint roller, remembering go over each paint stroke for fuller and more even coverage.
Step 3: Let it Dry
After the paint is has been evenly applied, allow it to dry for several minutes. Drying time can vary depending on the type of paint you use and the temperature or humidity in the room. Review the product label for drying time recommendations.
Step 4: Repeat the Process
Once the first coat of paint has fully dried, you can apply a second coat. Repeat steps 2 and 3, allowing the second coat to dry fully before moving on.
Step 5: Clean Up
Use soap and water to clean your painting tools. Keep in mind that different types of paint require different cleaning solutions so soap and water might not suffice for every project. With this in mind, research the appropriate cleaning solutions to use to remove your preferred paint.
Maintaining Your New Space

Now that your interior painting project is complete, all that is left to do is maintain it! Maintaining the paint job ensures your walls, ceilings, and other surfaces remain neat, clean, and free from too much wear and tear. To do this, remember to avoid harsh cleaners or abrasive sponges or cloths. Instead, use a soft cloth, soap and water to gentle remove dirt and debris that accumulates over time.
Also, remember to touch up your paint as needed. This includes using a small brush or paint roller to cover chipping, scratching, and discoloration.
Most Popular
popular posts

New To DIY? This Is the Easiest Furniture To Build Yourself
by Brittni Williams | October 8, 2023
The Best Paint for Wood To Transform Your Wooden Surfaces
by Melody Beuzelin | May 17, 2023
FOLLOW ALONG ON INSTAGRAM
#homeandtexture
Find us on social for more home inspiration where culture, personal style, and sophisticated shopping intersect to help you create a home where you love to live.