December 1, 2023 at 11:00 AM PST
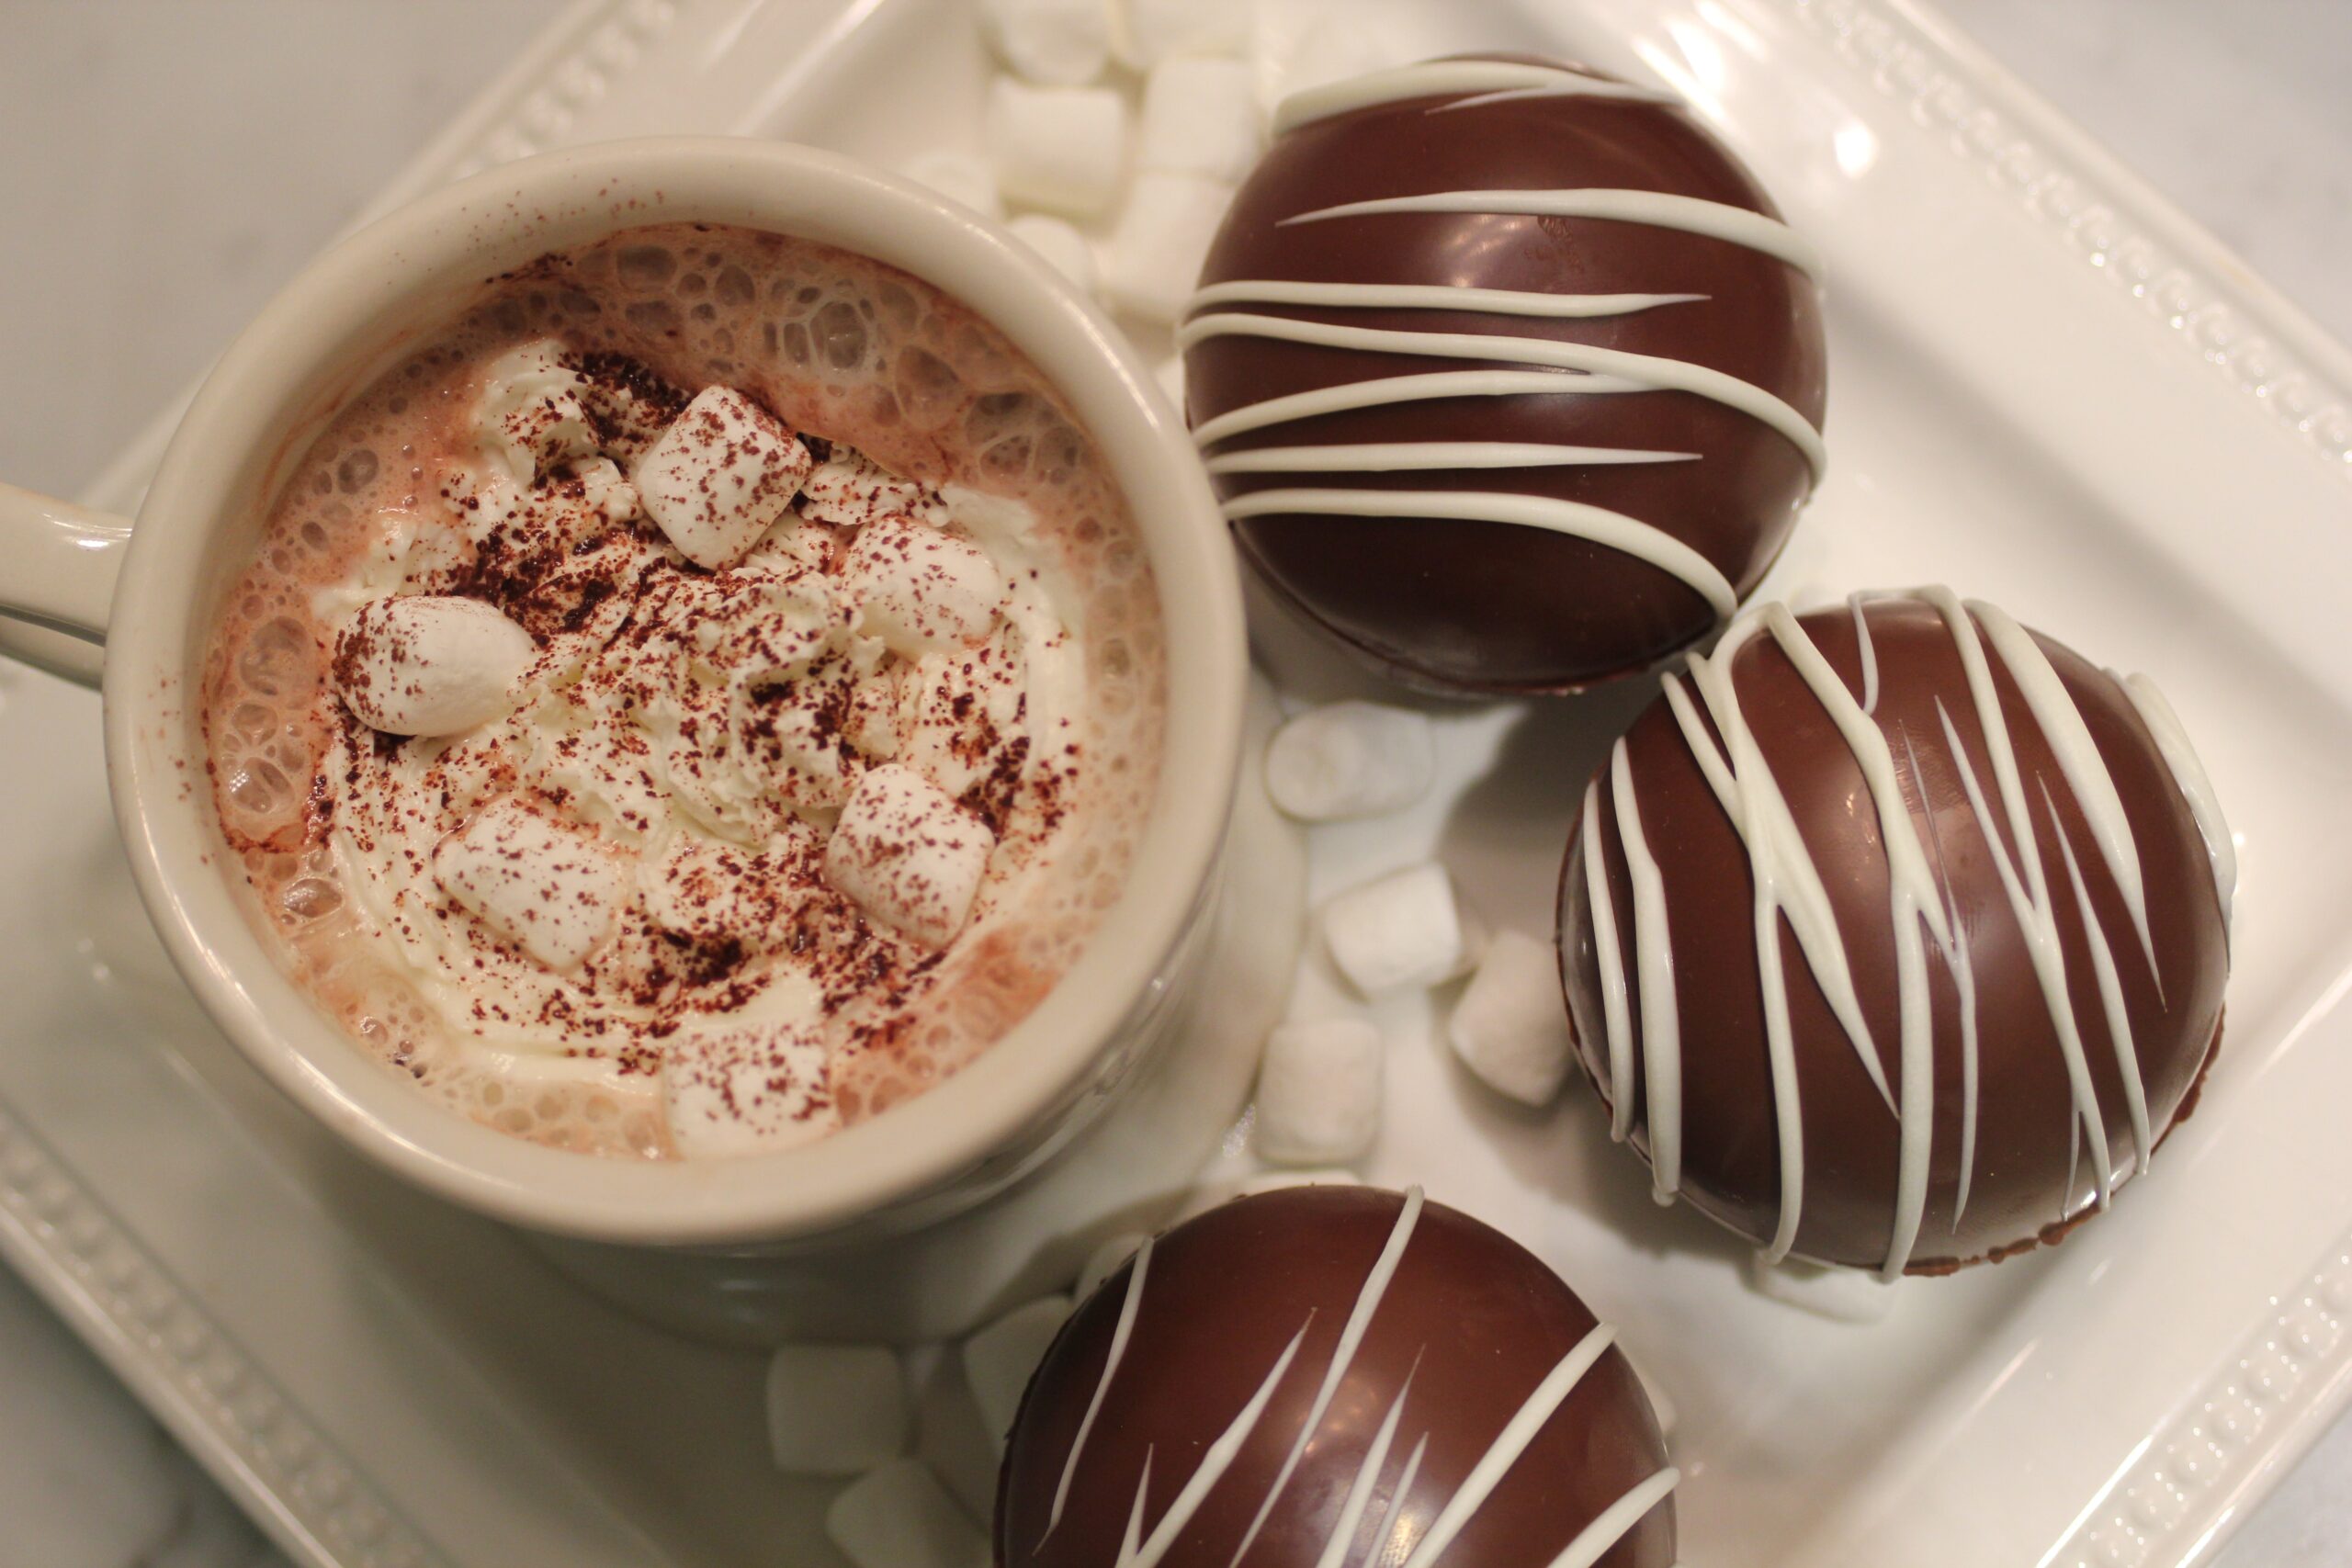
Cooking DIY Hot Chocolate Bombs
How To Make DIY Hot Chocolate Bombs in 6 Easy Steps
December 1, 2023 at 11:00 AM PST
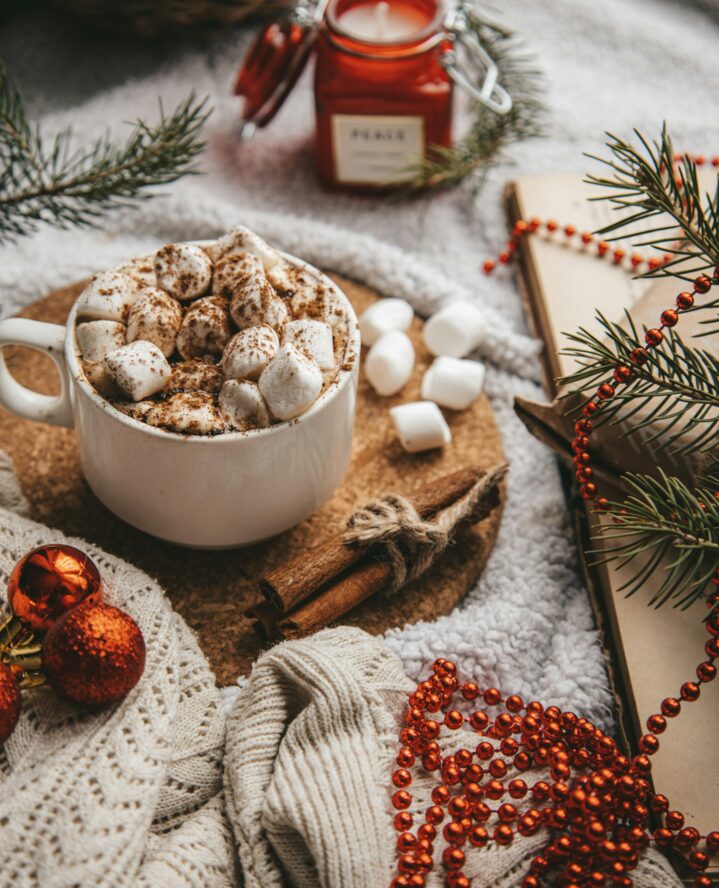
What’s even better than sipping a rich and creamy hot chocolate on a cold, winter day? DIY hot chocolate bombs, of course. You can add virtually anything you want to your hot chocolate bomb, from crushed peppermints to buttery caramel chews. And for the adult sipper, a touch of flavored liqueur can really kick your beverage up a notch.
Hot chocolate bombs make great gifts, especially for the holiday season. Or if you have little ones, making these sweet, holiday treats is a great way to bond together.
To learn how to turn your boring hot chocolate upside-down, here are six steps to follow to make DIY hot chocolate bombs at home.
Ingredients and Supplies
Before you can start assembling your hot chocolate bombs, you’ll need to gather what you need to make them. Here are the ingredients and supplies needed to build your bomb:
- Chocolate (either milk, dark or white)
- Cocoa powder
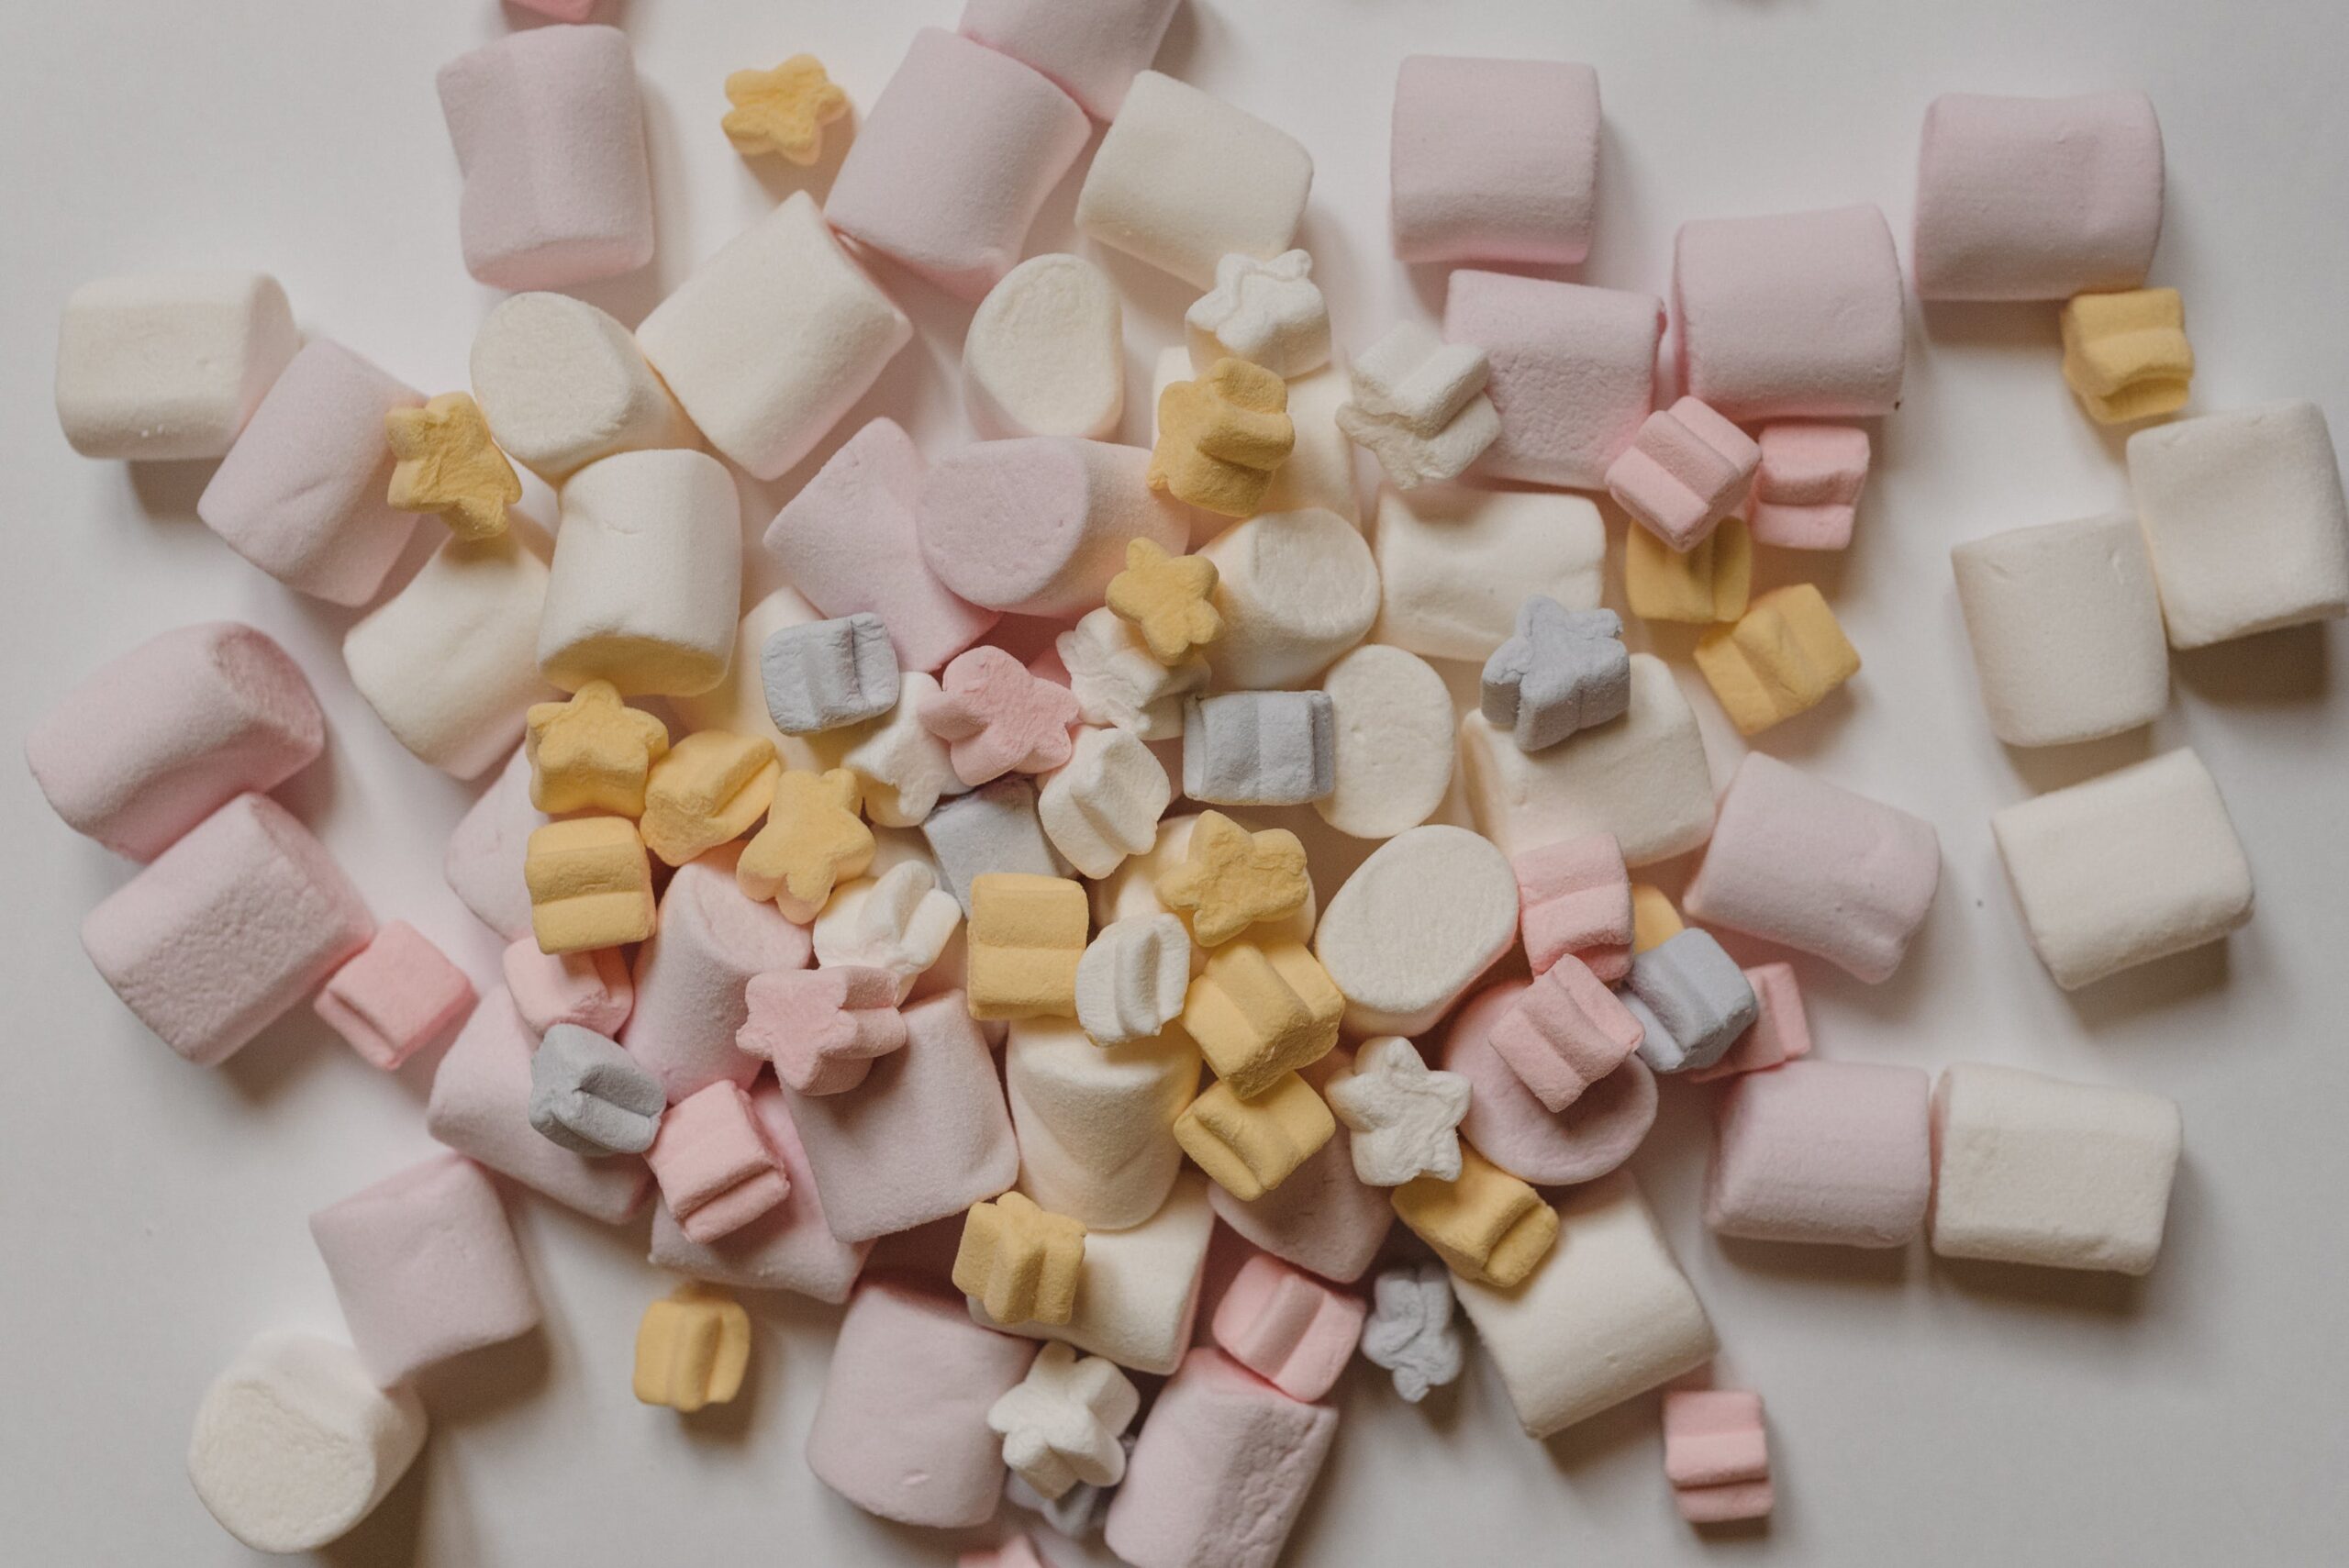
- Mini marshmallows
- Your choice of filling, including peppermint candy pieces, semi-sweet chocolate chips, peanut butter chips, freeze-dried berries, etc.
- A spoon
- Silicone candy molds
Directions
Now that you have everything you need, on to the fun part: making your hot chocolate bombs.
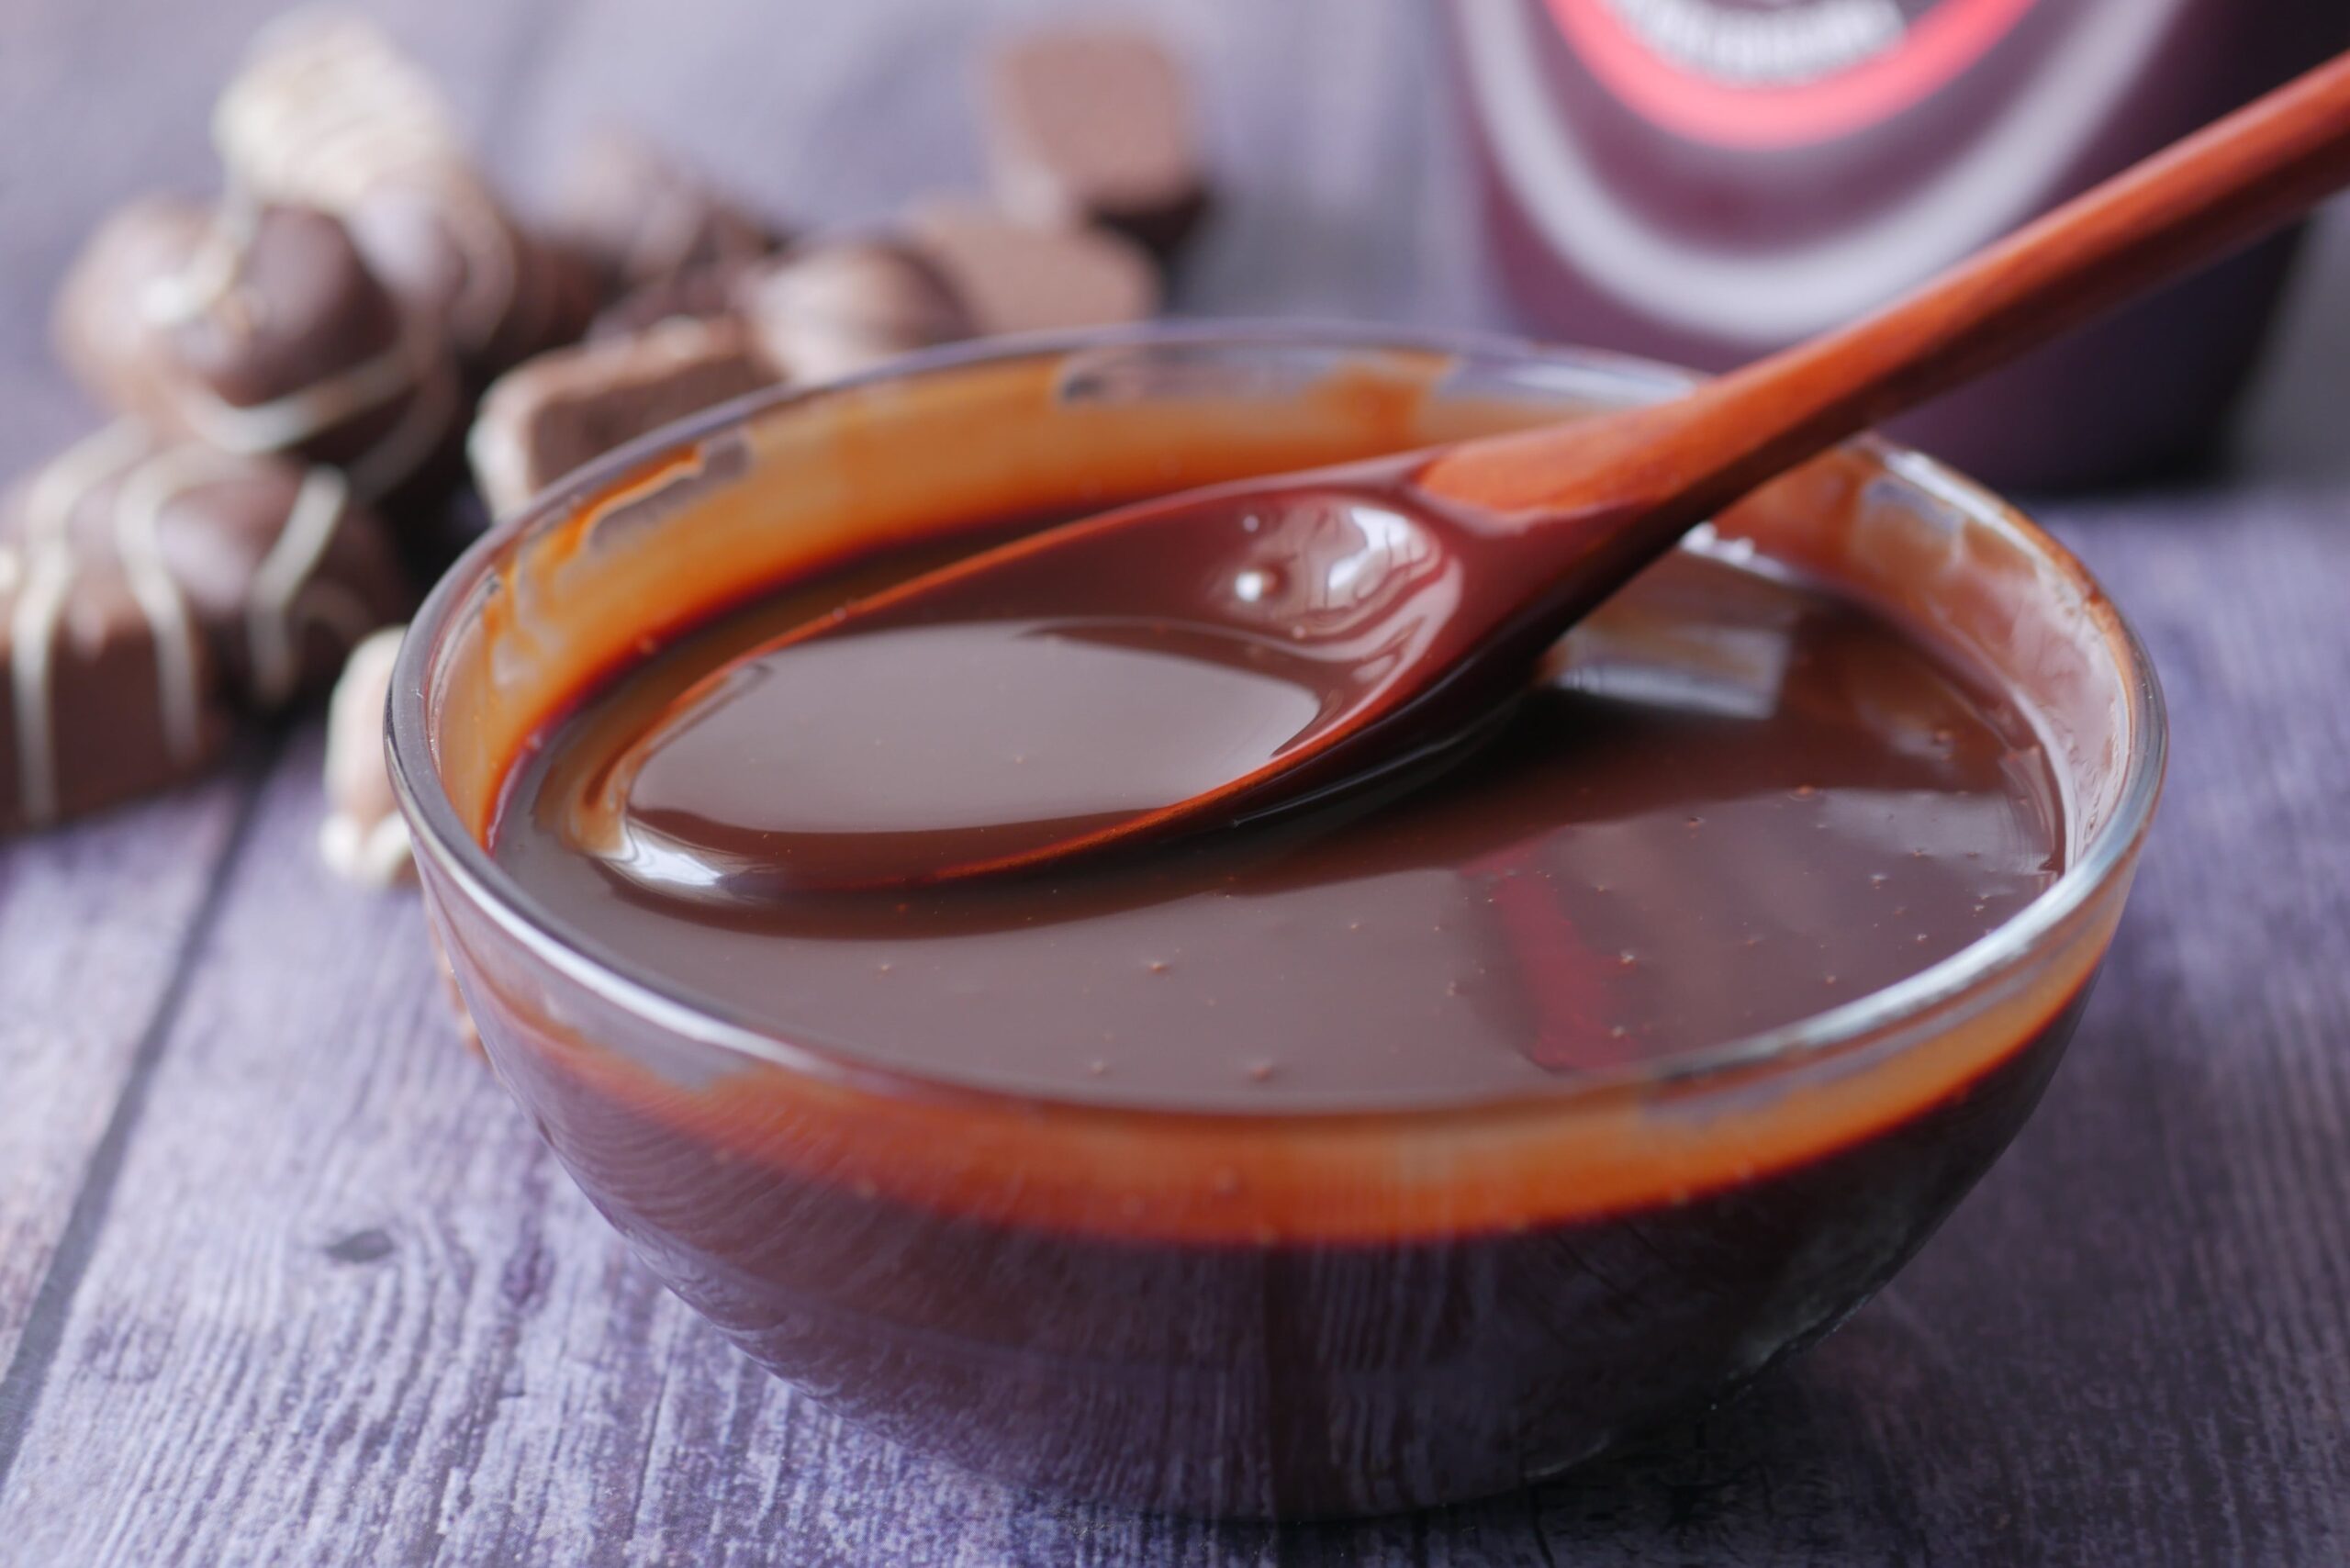
Step 1: Melt the chocolate.
The first step in making your hot chocolate bombs is melting your chocolate. Using a microwave-safe bowl, heat up your chocolate for approximately 30 seconds, stirring until smooth.
Step 2: Pour the melted chocolate into the molds.
After your chocolate is fully melted, pour a thin layer into your candy molds, swirling it around to ensure the bottom and sides of each half sphere are covered in chocolate. Then, quickly place your molds in the freezer for several minutes until they’ve hardened.
Step 3: Combine the filling ingredients.
Next, while your chocolate is hardening you can start working on your filling. To do this, combine your cocoa powder and any other fillings in a clean bowl.
Pro Tip: Instead of adding your cocoa powder straight from the package, try using a sifter to sift through it. That way, you can have a super smooth, lump-free powder that won’t clump in your drink!
Step 4: Assemble your hot chocolate bombs.
Now that your filling is prepped and ready to go, it’s time to assemble your hot chocolate bombs. Remove the molds from the freezer, and pack each half with your hot chocolate filling. Once done, place the other half of your chocolate mold on top to create a whole sphere, scraping and smoothing away any visible seam lines where necessary.
Step 5: Let them set.
After you finish assembling your hot chocolate bombs, allow them to set at room temperature before you remove them from their molds. If you’re short on time, you can put your new hot chocolate bombs in the freezer to set more quickly.
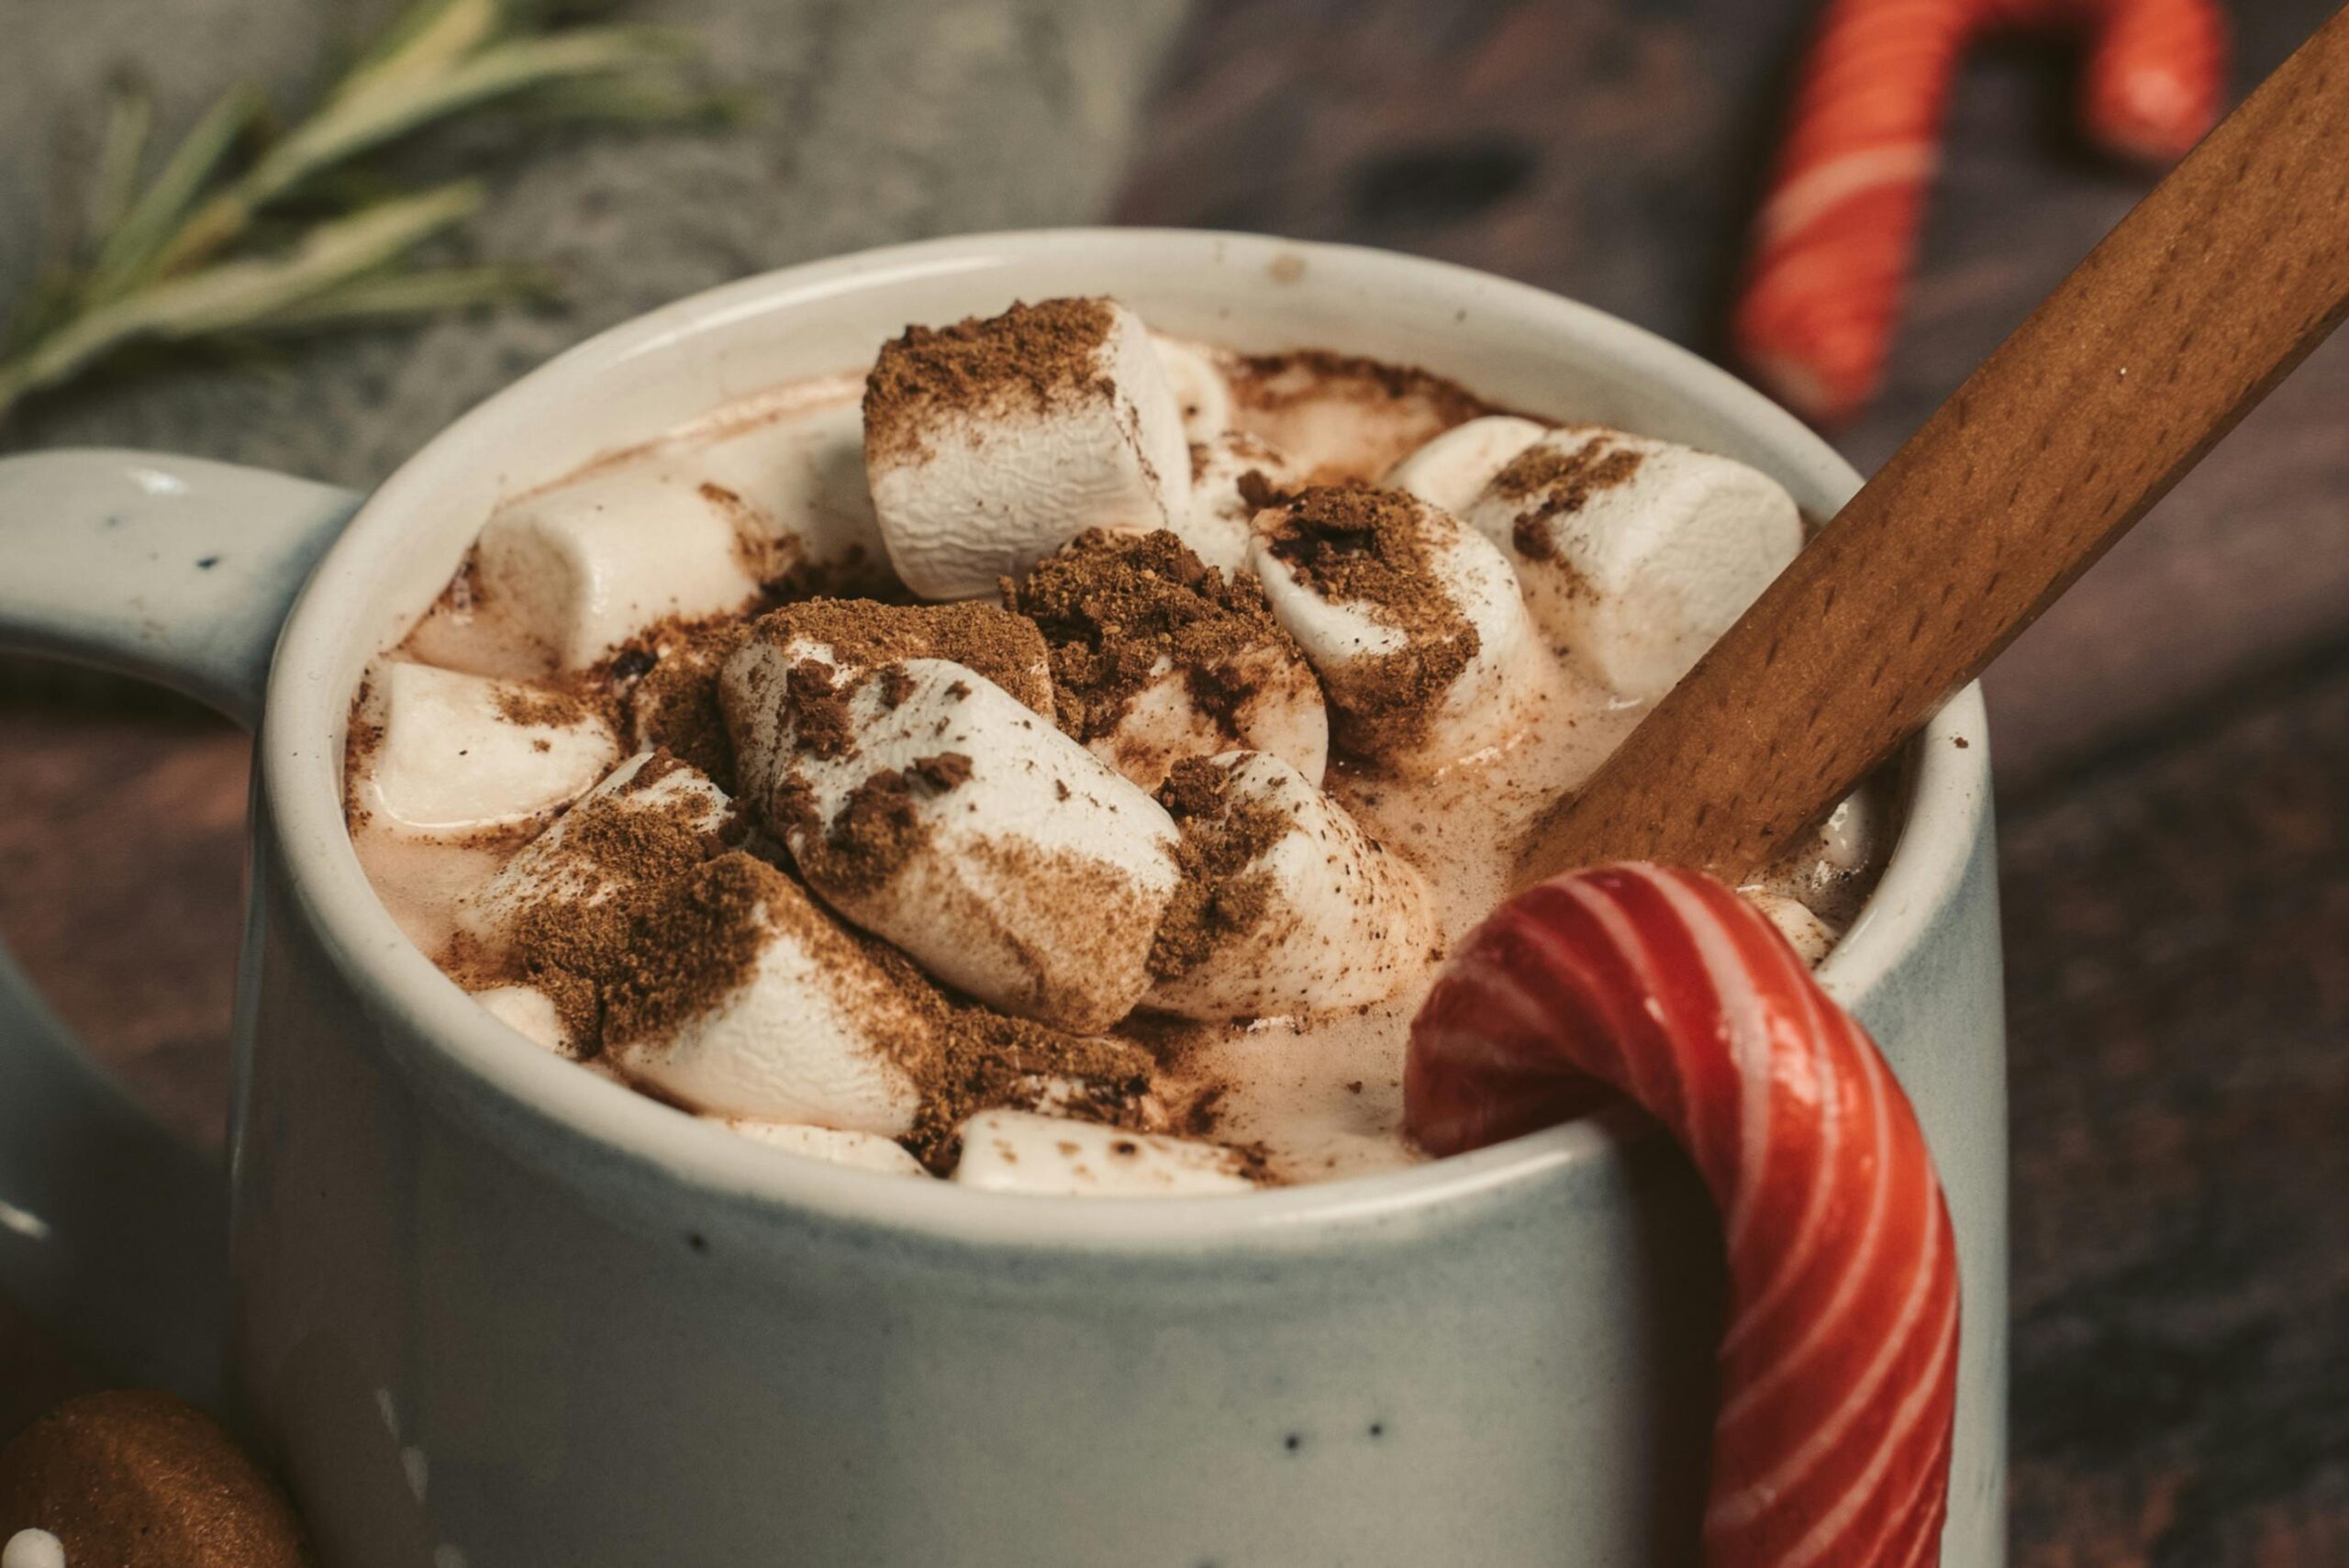
Step 6: Enjoy!
When you’re ready to use your cocoa bombs, drop one into a mug filled with warm milk—or milk alternative if you’re vegan—and watch the magic happen. The heat from the warm milk will melt your hot chocolate bomb, releasing all the yummy fillings you stored inside! Gently stir the ingredients until well combined, and enjoy.
How To Store Your Hot Chocolate Bombs
If you’ve made several hot chocolate bombs at once, you can store them in an airtight container to ensure they stay fresh. You can also wrap them in a bit of aluminum foil and place them in your freezer until you’re ready to use another one.
Homemade hot chocolate bombs typically last for several weeks when stored properly in a dry, cool area. If you’re not planning to use them all at once, be sure to mark the exact day you made them on the container or foil you wrapped them in so you know when it’s time to throw them out.
Most Popular
popular posts

How to Make the Perfect Chicken Fettuccine Alfredo at Home
by Kelsey Marie | January 6, 2025

These 5 Slow Cooker Chicken Recipes Will Easily Become Your Comfort Staples
by Stixx Matthews | December 11, 2024
Spaces
Whether it’s luxury or ease, every area of your home should be as fabulous and unique as you.

FOLLOW ALONG ON INSTAGRAM
#homeandtexture
Find us on social for more home inspiration where culture, personal style, and sophisticated shopping intersect to help you create a home where you love to live.