March 16, 2025 at 3:28 AM PST
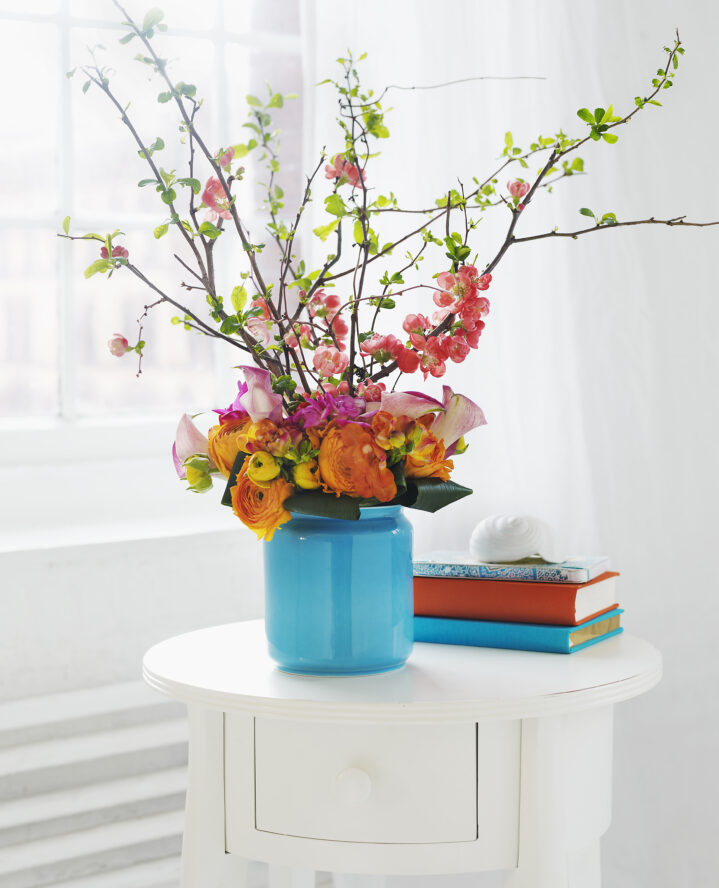
The drab days of winter are winding down, and it’s just about time to ring in the next season. While there are many ways to embrace the season of change, nothing feels as spring-ready as a bouquet of fresh flowers—especially when neatly arranged in your home. Daisies, tulips, hydrangeas, lilies, and other blooms placed delicately in a vase can instantly refresh a room and brighten your mood.
Pre-made bouquets have their place, but there’s something to be said for an arrangement you put together yourself. But creating a vibrant, spring-ready floral display can feel daunting. Choosing the flowers and stems is always fun, and making a gorgeous arrangement shouldn’t feel like a chore. With the right tools and expert insight, it doesn’t have to be. If you’re ready to create a stunning spring floral arrangement, NYC-based floral designer Rachel Cho‘s tips below are a good place to start.
@rachelchofloral Demure, mindful, modest floral. #rose #demure #mindful #centerpiece #flowers #floristsoftiktok #howto #howtotiktok #rachelchofloral
Cut All Stems at an Angle
Cutting your flower stems at an angle isn’t just for a visual effect. The act allows the plants to soak up more water and maximizes their absorption rate. Most florists recommend cutting the stems at a 45-degree angle to increase the surface area and ensure the stem is always in contact with water. Beyond the health benefits, an angular cut also keeps the stems from sitting against the bottom of the vase so that the blooms are better displayed.
Use the Grid Method
The grid method is preferred by novice and seasoned florists for good reason. By creating a grid on top of your vase, you can begin to visualize the placement of each flower and stem in your arrangement. It also allows you to create symmetry in your display. For example, if you’re working with larger blossoms, such as roses, placing them at the corners of your grid will keep the final look balanced.
Fill the Middle of the Vase with Larger Flowers
The middle of your arrangement should always be the most dense. Using heavier blossoms, such as hydrangeas, not only gives it a fuller look but also sets the base for delicate flowers and leaves. Finding the middle should be easy with the grid method. Once you’ve placed your corner flowers, begin to surround them with the larger blossoms to fill in the arrangement.
@rachelchofloral Flower arranging 101 #flowertok #asmr #peony #flowerarranging #learning #floristsoftiktok #rachelchofloral
Add Spray Flowers and Green Stems
Now that your base is set, it’s time to add the more delicate pieces, known as spray flowers. These types of florals have long, wispy branches with small buds or blossoms at the end—think baby’s breath, small orchids, chrysanthemums, and mini carnations. Placing them in your vase should be more of a styling treatment, so scatter them throughout the middle and spread them around a bit. The idea is to create an effortless display despite being placed with intention.
Add Taller Flowers Last
Like the spray flowers, tall stems should be artfully placed throughout the arrangement. They’re used to create height, but also add dimension to the final display. Finding the perfect placement is all about balance, so take a step back to see how your arrangement is coming together before placing them inside.
Most Popular
popular posts

Unleash Your Creativity With 8 Easy DIY Air-Dry Clay Home Decor Ideas
by Kaniya Rogers | August 8, 2024

Skip the Renovation—This DIY Kitchen Cabinet Upgrade is So Chic
by Jessica Fields | February 26, 2025

Spaces
Whether it’s luxury or ease, every area of your home should be as fabulous and unique as you.

It's Virgo Season: Tailored Home Decor Tips for the Detail-Oriented
by Kelsey Marie | September 7, 2023
FOLLOW ALONG ON INSTAGRAM
#homeandtexture
Find us on social for more home inspiration where culture, personal style, and sophisticated shopping intersect to help you create a home where you love to live.