Moving out of your rented apartment or house can be exciting, but the process itself can get overwhelming. On one hand, you’re embarking on a new adventure, like moving in with a significant other or getting your own place in a thriving new city. In the back of your mind, you remember forking over a—very likely—hefty security deposit, and getting that back would help offset some of the costs for your new pad. Here are a few hacks to get your old place in shape for move-out and up your odds of getting your security deposit back.

Start early to avoid last-minute stress.
Preparation, preparation, preparation. Don’t wait until the last minute to begin the packing and cleaning process. Start at least a month ahead of your move-out date, if you can. Beginning early allows you to sort through your belongings leisurely, making it easier to decide what to take with you and what to sell, donate or toss.
Declutter and donate.
Before you start packing, take some time to declutter. Go through your belongings room by room, closet by closet. Separate items into categories: keep, donate, sell, or discard. Consider donating items that are still in good condition to local charities or thrift stores. For the items you want to sell, you can list them on marketplaces like Facebook or Craigslist with plenty of time to get them into new homes—and extra money in your pocket.
Gather packing supplies.
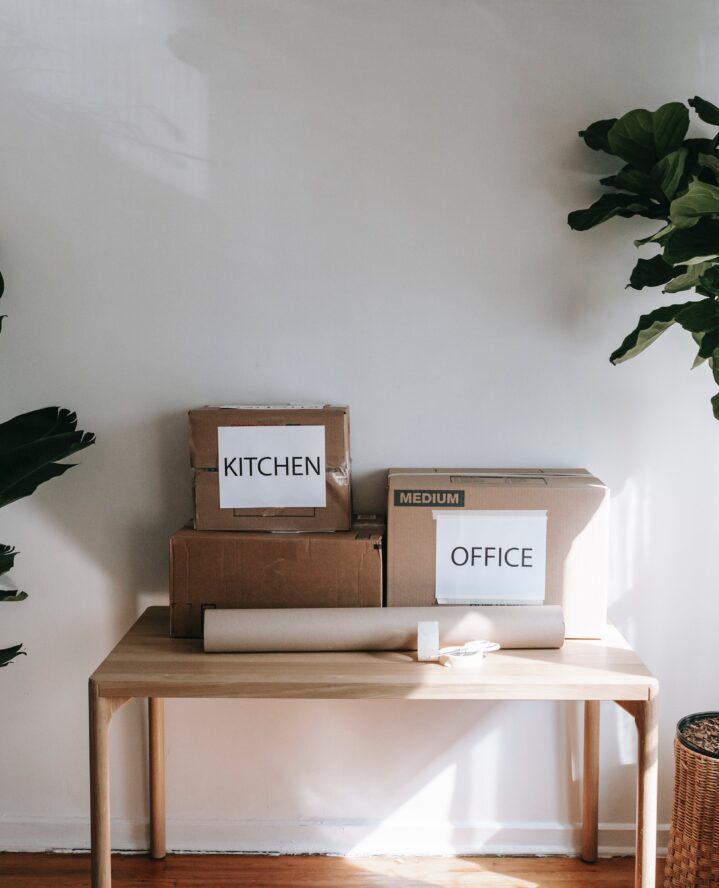
Make a list of packing supplies you’ll need, such as boxes, packing tape, bubble wrap, and packing paper. Stock up on these materials well in advance to avoid any last-minute dashes to the store. Get sturdy boxes of multiple sizes to accommodate your belongings properly. Also make sure you have enough packing materials to secure fragile items, preventing damage during transportation.
Notify your landlord.
You may have already sent your notice to vacate, but if not, make sure to Inform your landlord of your intention to move out in advance. This is usually required by your lease agreement and allows them to start preparing for your departure. Most places require at least 30 days.
Schedule a final walk-through.
Before you officially move out, schedule a final walk-through with your landlord. This is an opportunity for both you and your landlord to inspect the property together and discuss any concerns or issues they may have with the condition of the property.
During the walk-through, make sure to take notes and photos. Document any pre-existing damages or maintenance issues that existed before you moved in. This documentation can serve as evidence if there are any disputes regarding the return of your deposit.
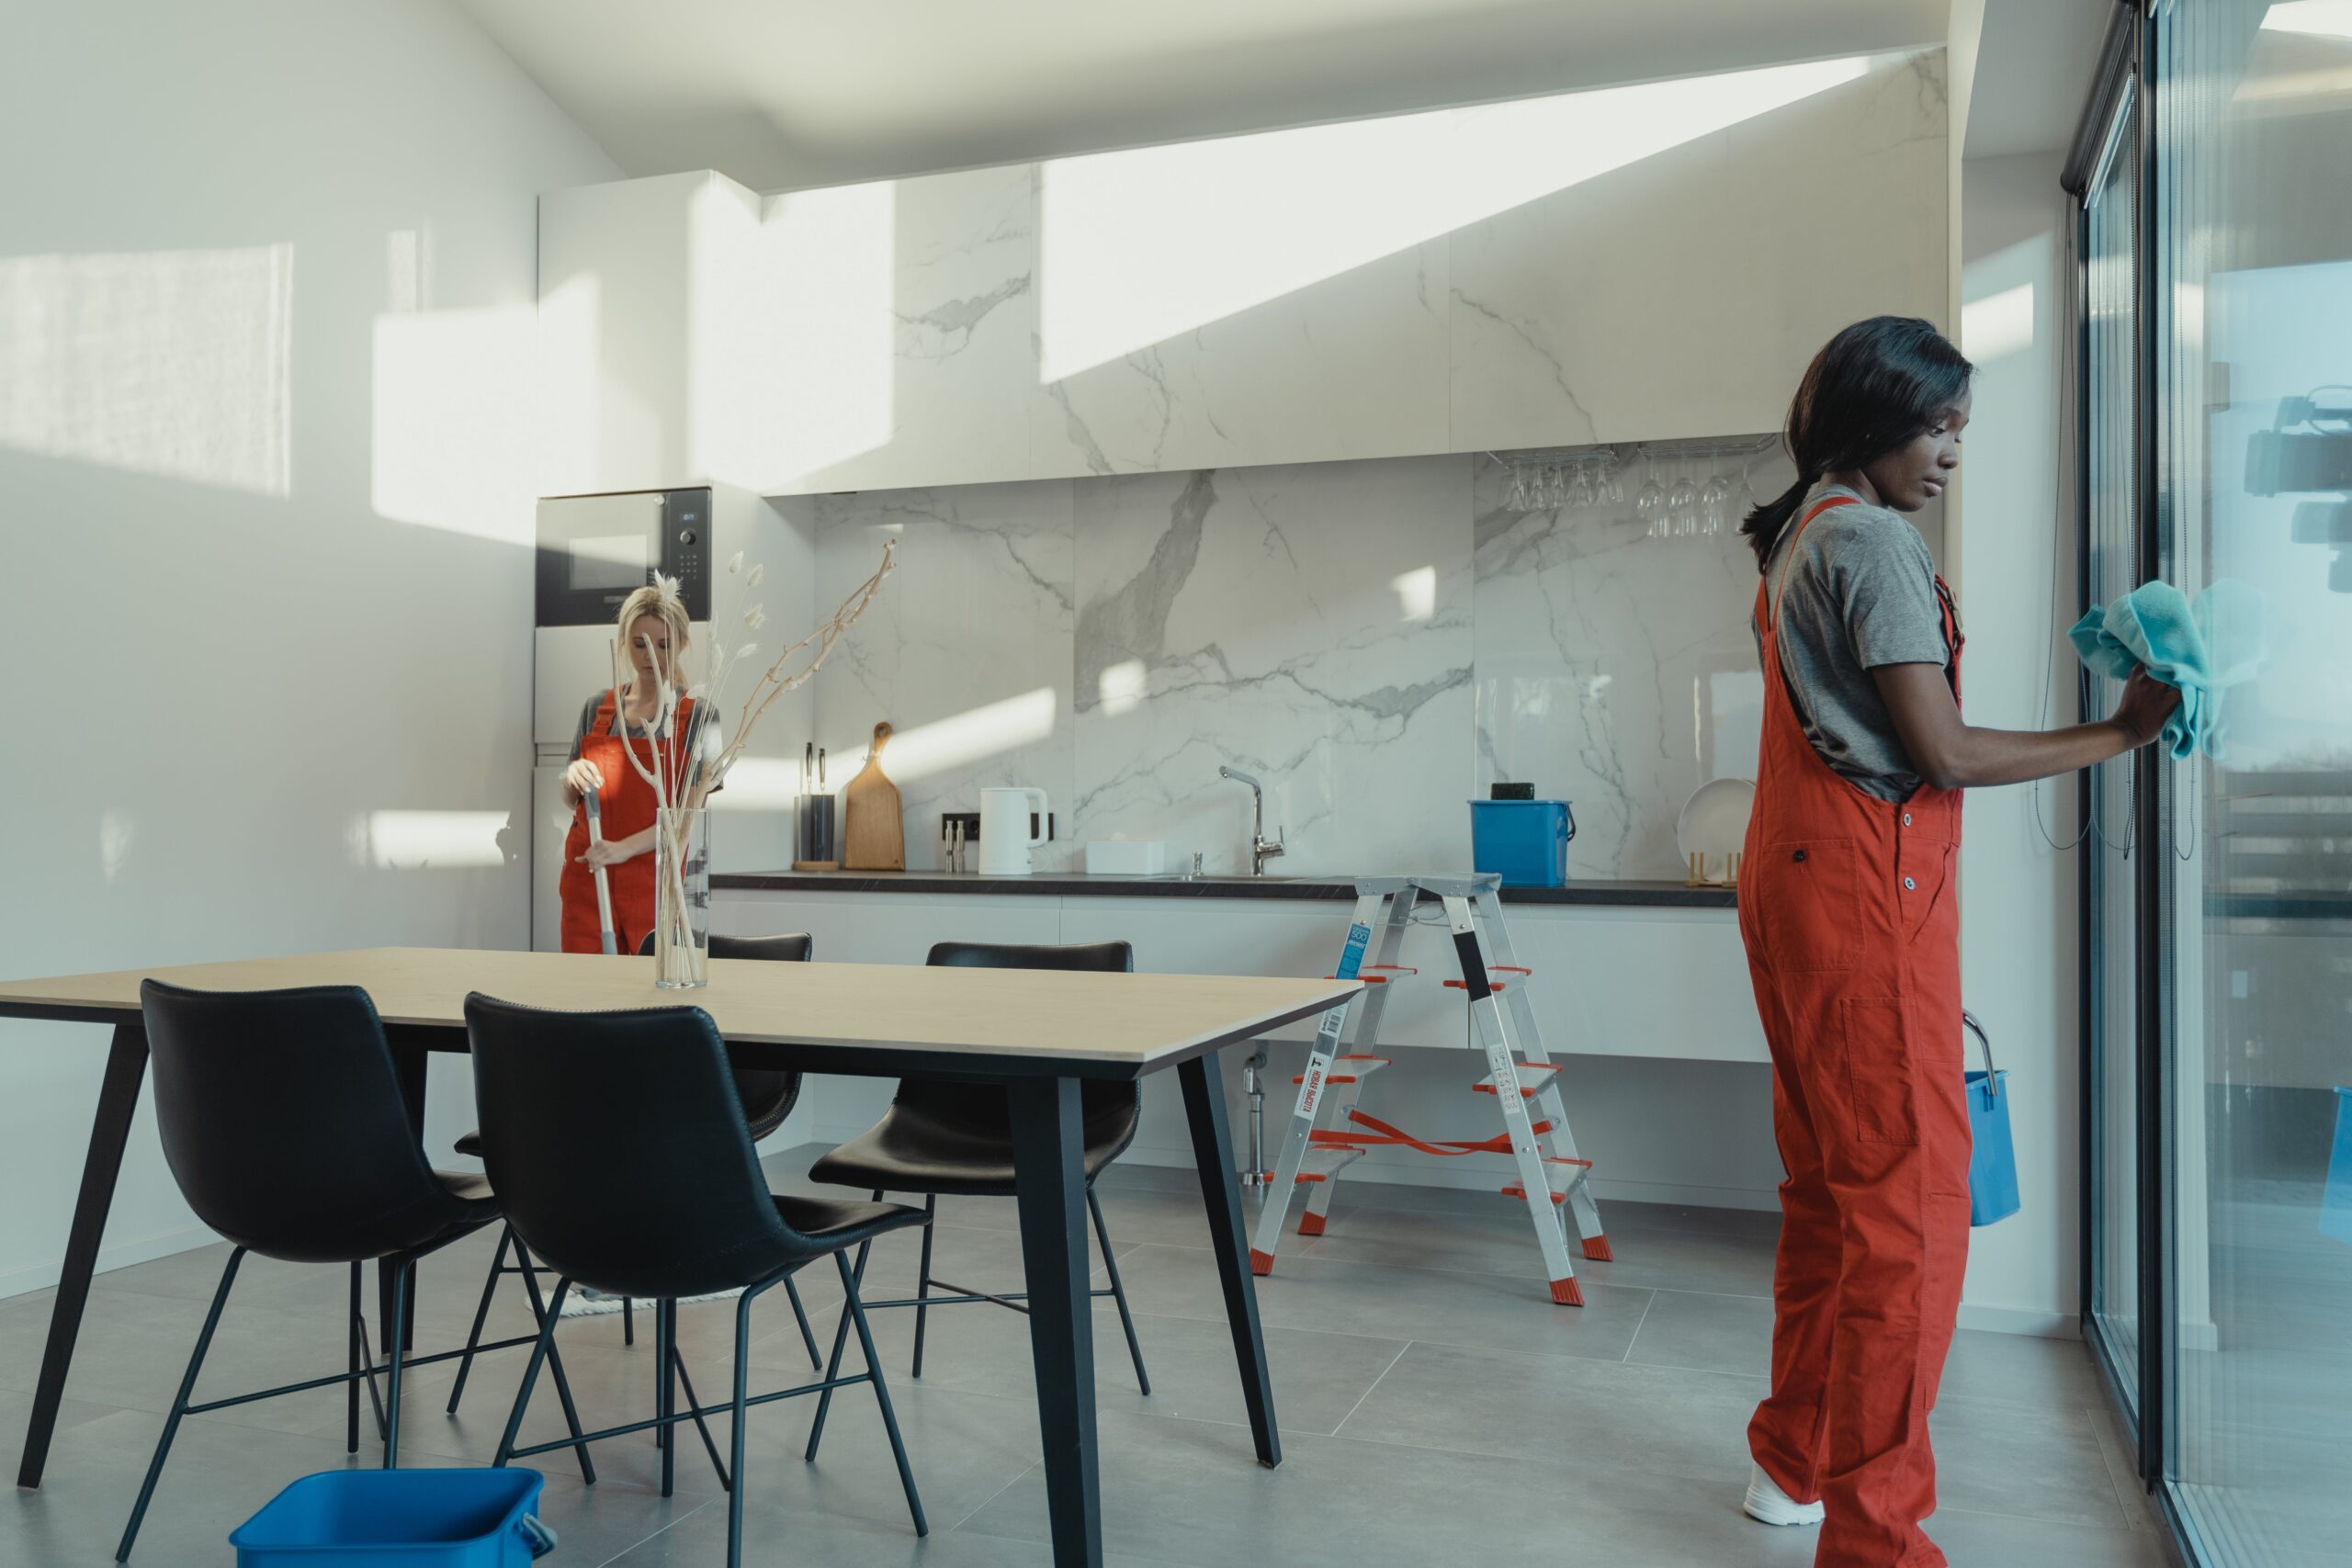
Deep clean your space.
Cleaning is a major part of getting your deposit back. Aim for a deep and thorough clean of the entire property. Pay extra attention to areas that tend to accumulate dirt and grime, such as the kitchen and bathroom. Here’s a checklist of cleaning tasks to consider:
- Scrub and disinfect countertops, sinks, and appliances.
- Clean inside and outside of kitchen cabinets and drawers.
- Wipe down baseboards, doors, and light switches.
- Vacuum and mop all floors.
- Clean the oven, refrigerator, and microwave.
- Scrub and sanitize the bathroom, including the toilet, shower, and sink.
- Dust and wipe all surfaces, including blinds and window sills.
Call maintenance to repair minor damages.
This is a solid hack—if you have minor damage like broken blinds or damaged tiles, put in a maintenance request a few weeks to a month before you move out. That way, you’ll have it documented that repairs were made so they won’t nickel and dime your security deposit. For other minuscule damages, such as small holes in the walls or scuff marks, patch up these imperfections and repaint them if necessary. It’s much cheaper to fix these issues yourself than to have your deposit deducted.
Don’t leave anything behind.
Leaving anything at all, even something small like an empty box or stack of napkins could be deducted as a part of a removal fee. It depends on the landlords so be sure to check your lease, but some complexes charge $25 per item left behind.
Return all keys and remotes.
Make sure you return all keys, garage door openers, and remote controls to your landlord. Check all doors, cabinets, and windows to make sure you haven’t missed anything. Provide your landlord with a complete set to avoid complications later on.
Cancel utilities and services.
Contact your utility providers and service companies to schedule the cancellation of services. Make sure that all bills are settled before you leave to avoid any outstanding charges. Request final bills for services such as electricity, water, gas, internet, and cable. And don’t forget to keep copies of these final bills as proof of settlement!

Document the condition.
Before you hand over the keys, document the condition of the property with photos or videos. This will serve as evidence of the property’s condition when you left, protecting you from unwarranted deductions. Take clear pictures of each room, highlighting any damages or repairs you’ve made. Make sure the date and time stamps are enabled on your device to establish a timeline of the photos.
Ask for an itemized list.
If you do get to your new place and notice you didn’t get some or all of your security deposit back, reach out to your landlord to ask for an itemized list of deductions. This is where your photo/video documentation comes in handy because if they made an error, you can respond with the appropriate evidence.
popular posts
- 1It’s Black Business Month, So Let’s Go Shopping and #BuyBlack!
- 2These Home Decor Items Will Instantly Make Your Space Look Outdated
- 3Black-Owned Home Decor Stores To Support Across the United States
- 4A Look Inside Elon Musk's Tiny $50,000 House
- 57 Black and Multicultural Designers To Follow For Design Inspo
Home

These 5 Kitchen Tools Will Up Your Culinary Experience
by Arielle Clay | January 19, 2023

I’ll Drink To That! Host a Black-Owned Wine & Spirit Tasting At Home
by Arielle Clay | January 20, 2023
Spaces
Whether it’s luxury or ease, every area of your home should be as fabulous and unique as you.

A New Study Reveals That This Item Has More Germs Than A Toilet Bowl
by Kelsey Marie | April 25, 2023
FOLLOW ALONG ON INSTAGRAM
#homeandtexture
Find us on social for more home inspiration where culture, personal style, and sophisticated shopping intersect to help you create a home where you love to live.
