March 12, 2024 at 6:44 PM PST
DIY Painting Cabinets
Thinking About Painting Your Cabinets? Here's Everything You Need for Getting Started
Yes, you can turn your kitchen into a Pinterest-worthy masterpiece.
DIY Painting Cabinets
Thinking About Painting Your Cabinets? Here's Everything You Need for Getting Started
Yes, you can turn your kitchen into a Pinterest-worthy masterpiece.
March 12, 2024 at 6:44 PM PST
You’ve reached the point where the sight of your current cabinets are just not giving what they used to. If ripping them out and starting from scratch isn’t part of your current journey as a homeowner—or, downright forbidden by your landlord if you’re renting—there is another way. A fresh coat of paint can do wonders for the look of your kitchen by modernizing a dated space, or opening it up if it’s on the smaller side. Here’s what to consider when you get the urge to repaint your cabinets, and how to execute it like a pro.
Assessing the Condition
Before you reach for the paintbrushes, take a critical look at the current state of your cabinets. Are there any structural issues, such as loose hinges or warped wood? If so, it’s probably a good idea to address those issues before diving into the painting process. After all, you want your newly painted cabinets to not only look good but also function properly.
Choosing the Right Paint
Look for high-quality, durable paint that’s specifically formulated for the material of your cabinets. You’ll also want to think about the finish. Semi-gloss or satin finishes are ideal choices as they are easy to clean and offer a subtle sheen that looks elegant in most spaces.
Color Selection
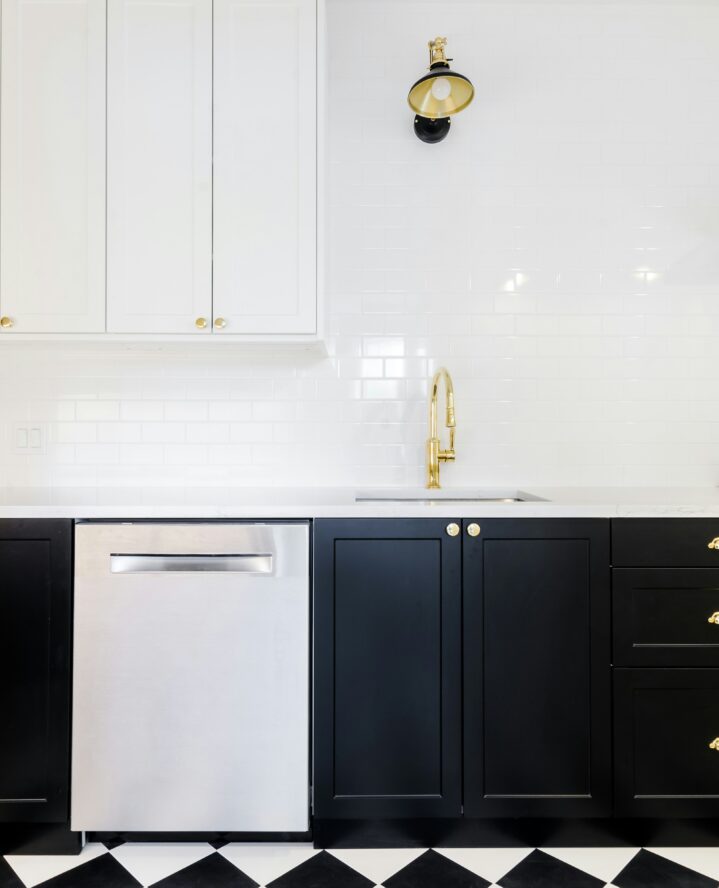
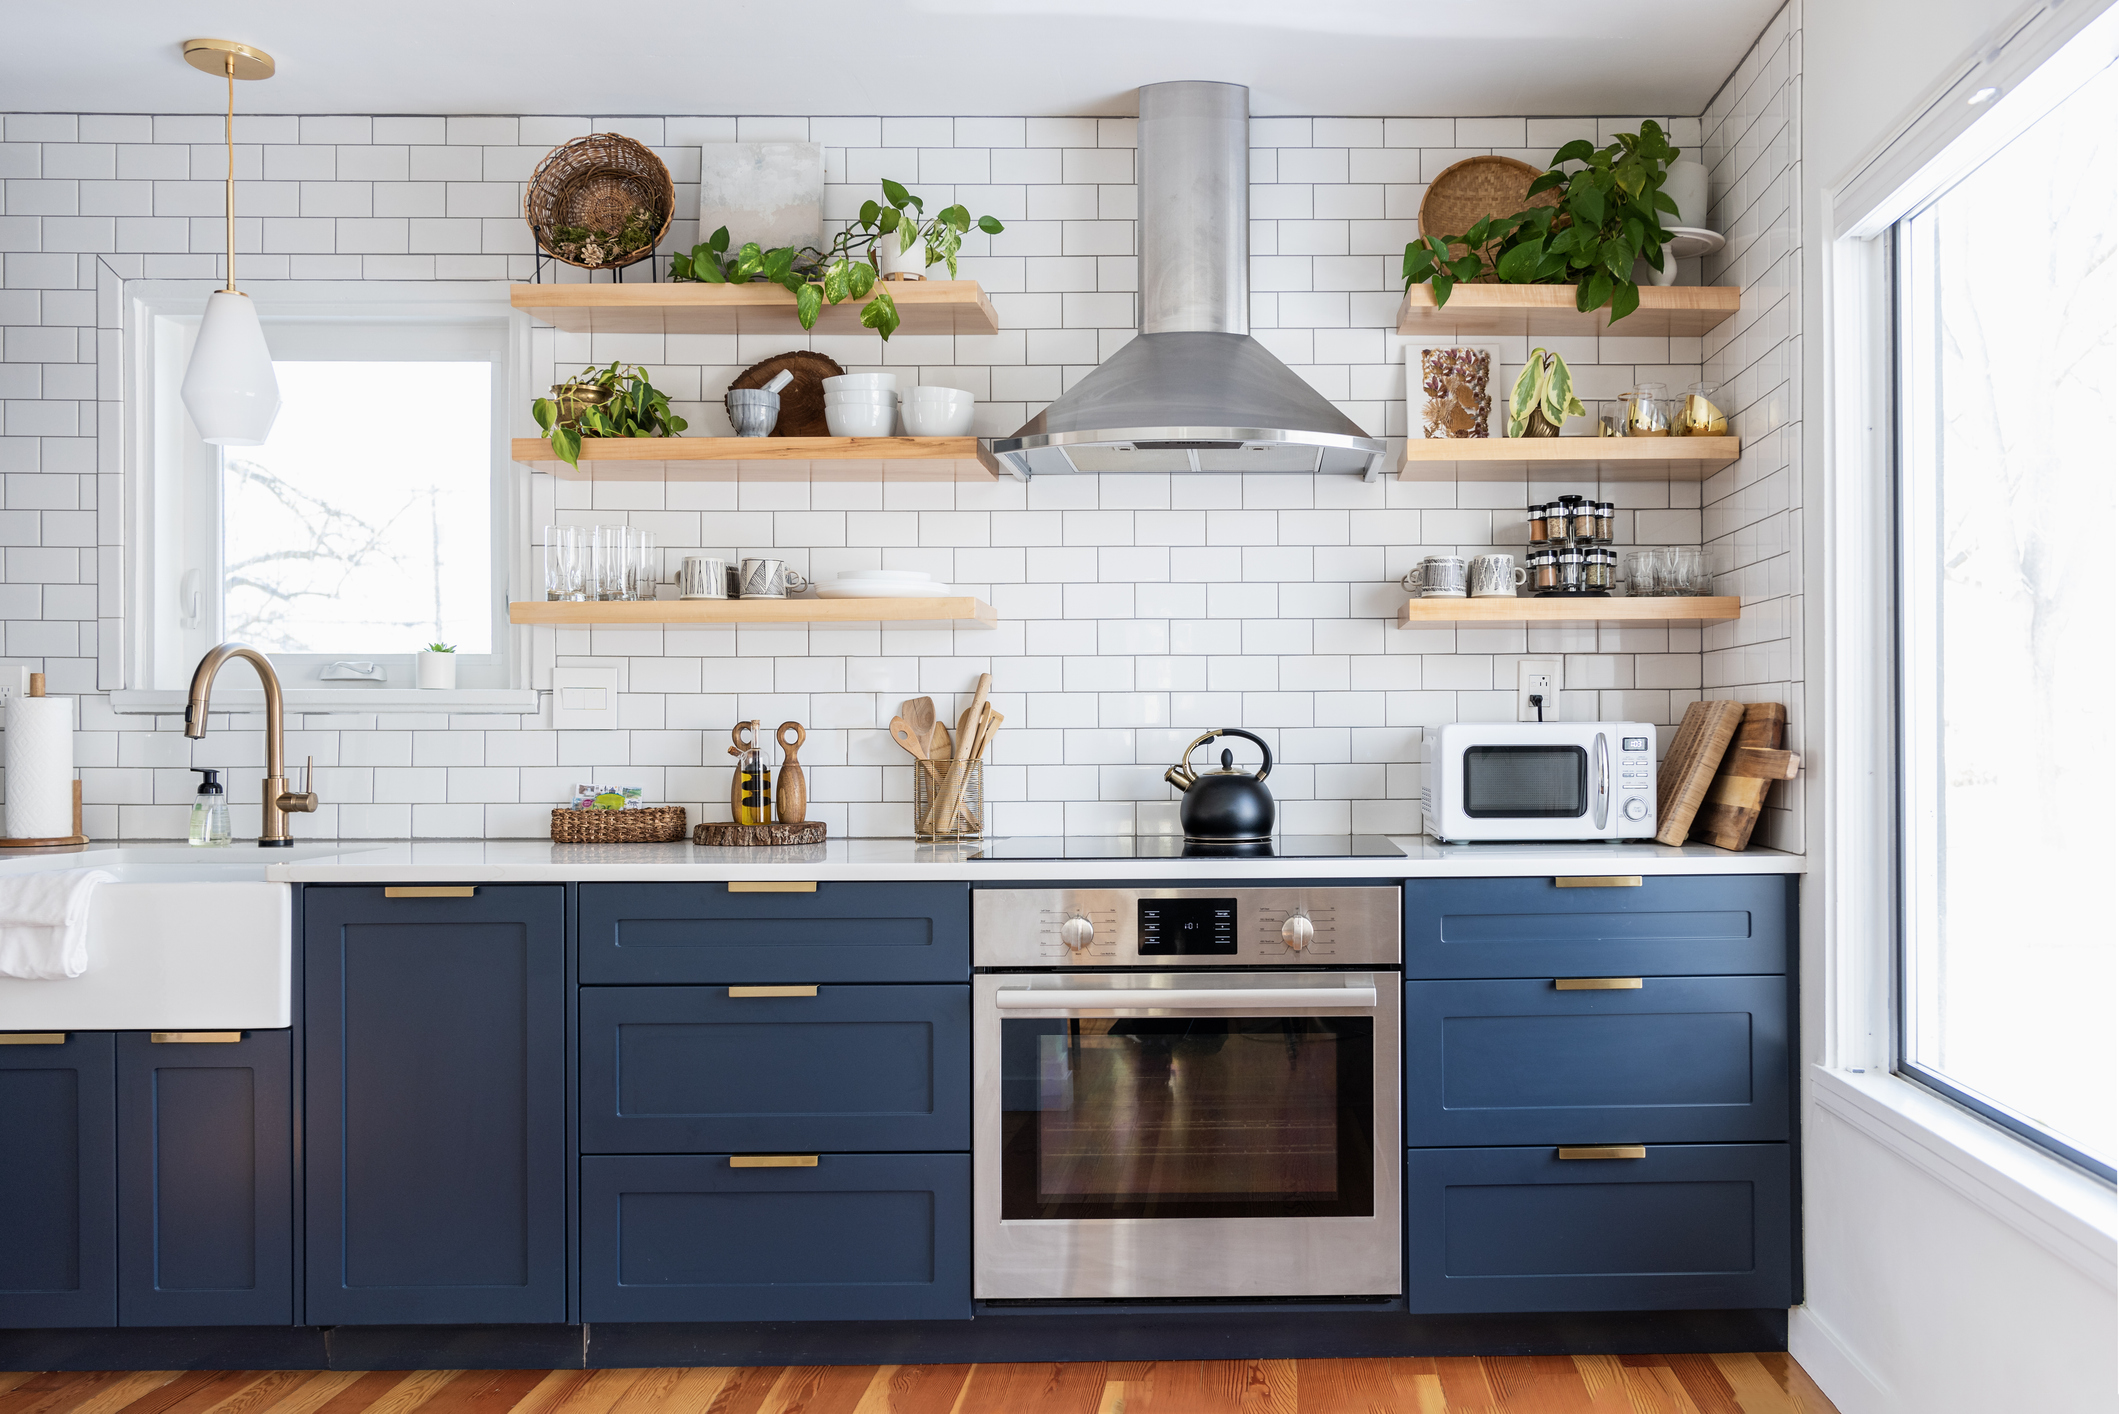
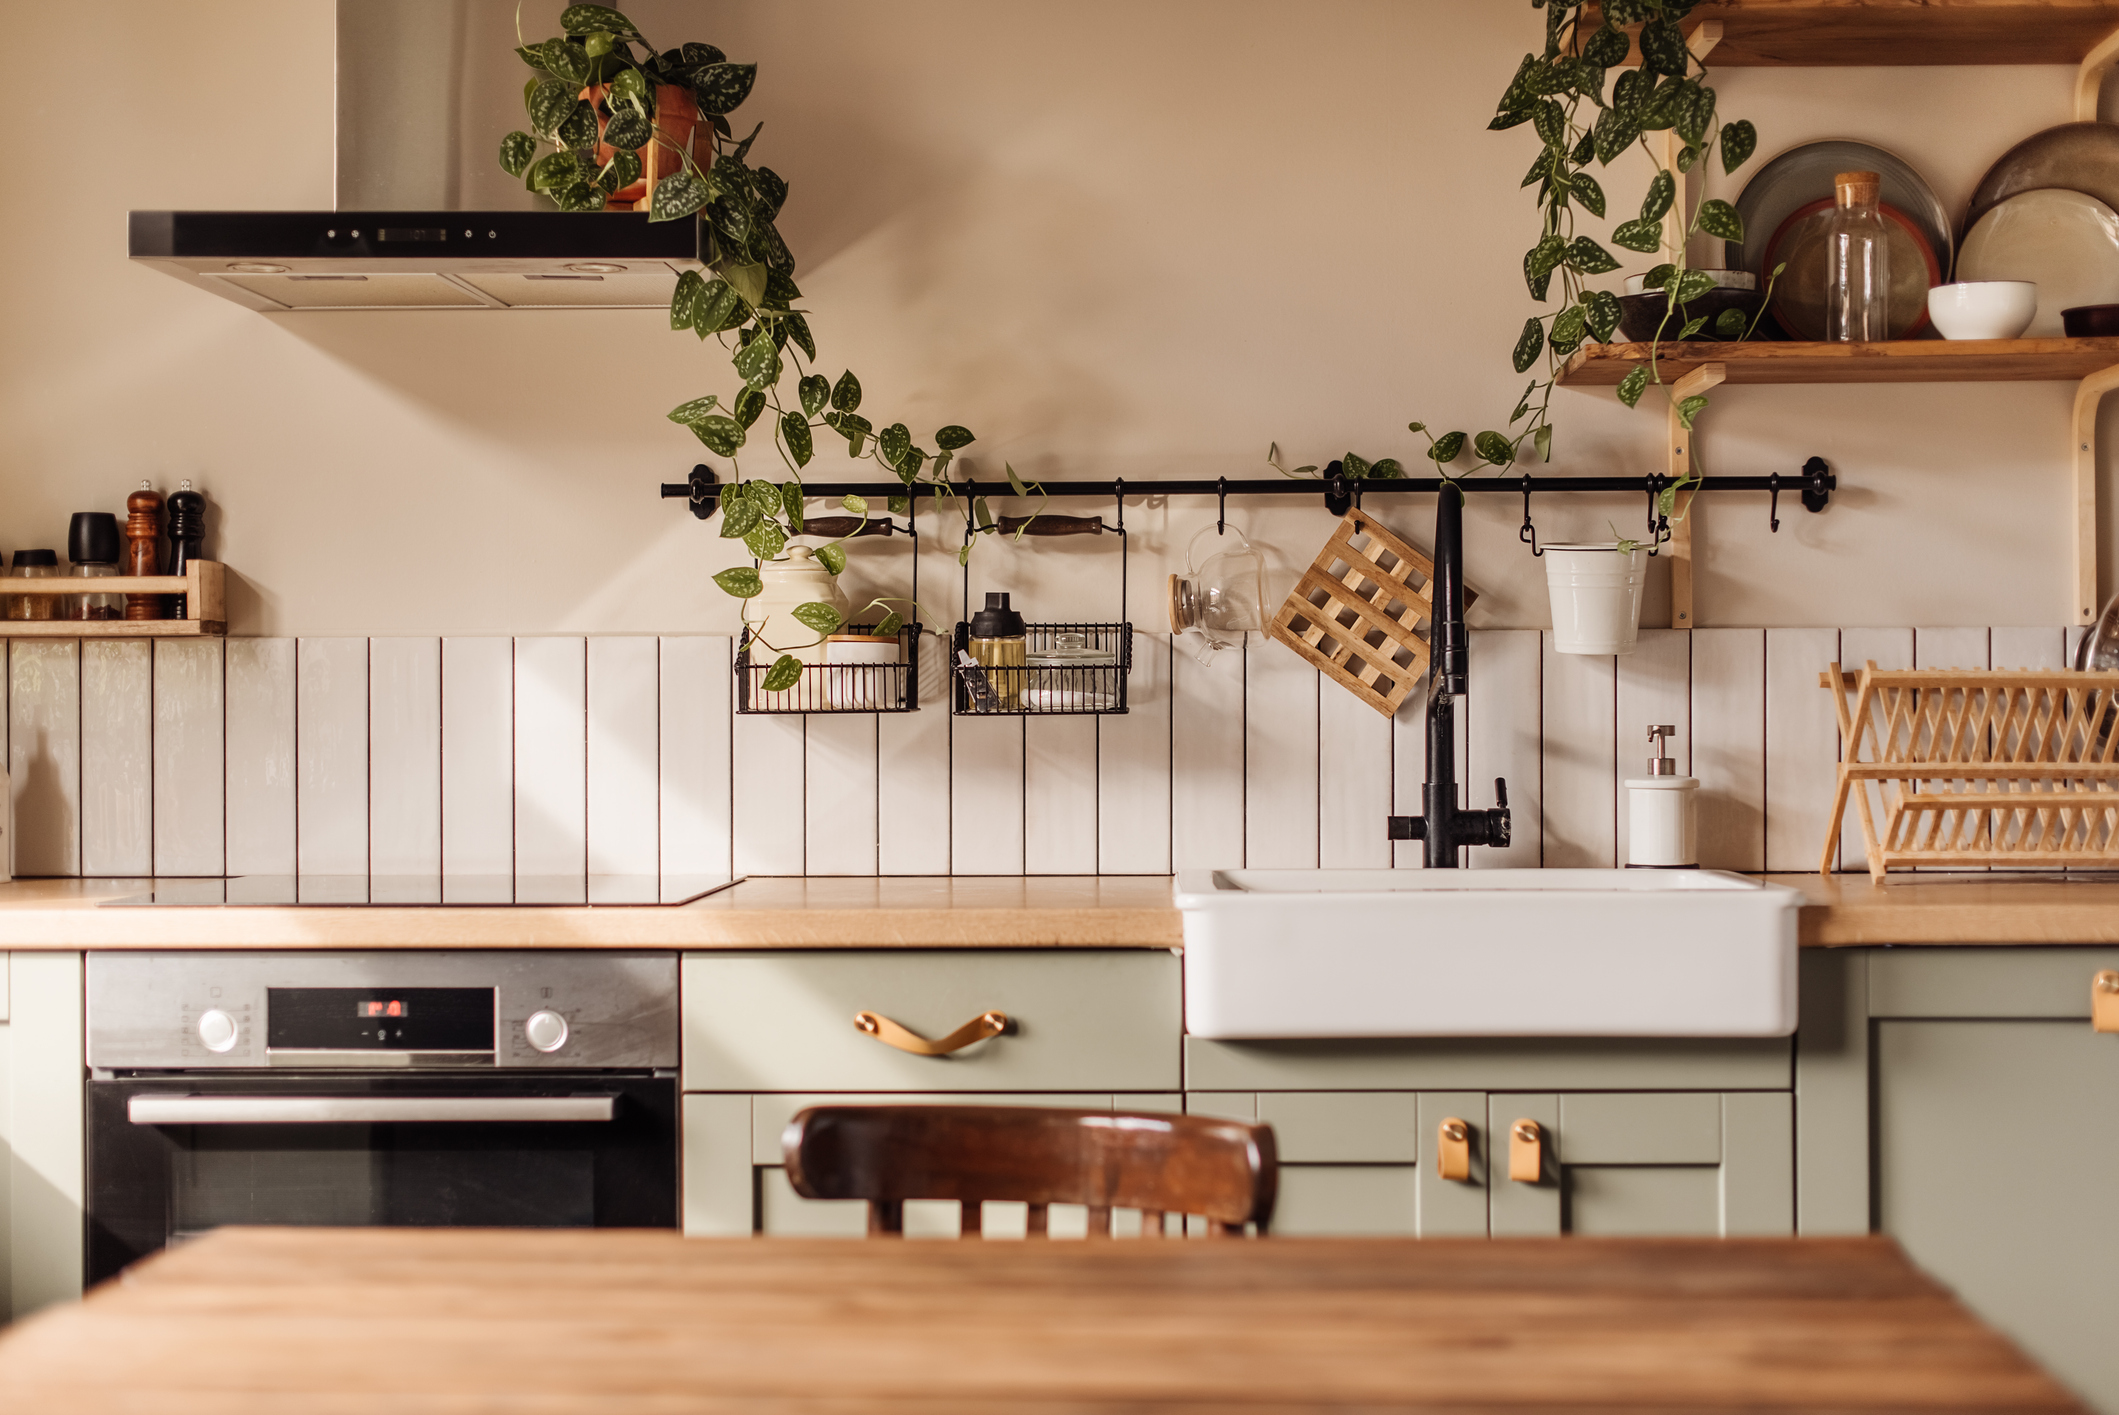
Choosing the right color is a big decision, so as you are trying to land on what you want, think about what you envision the “after” to convey. If you want to give a dark, small space a more open and airy feel, aim for a soft white, light grey. Sage is also making a comeback as a light on-trend color. If you’re thinking you want to add drama to the space, dark greys and blacks are classic choices. But beyond the color, the right paint can achieve a professional-looking finish. Don’t be afraid to get creative with your color choice – after all, it’s your space, so make it reflect your personality!
Prep Work
Preparation is an important part of achieving a flawless finish when repainting your cabinets. Start by removing all hardware, including handles and hinges, and set them aside for later. Next, thoroughly clean the surfaces of your cabinets with a degreaser to remove any built-up grime or grease. Be sure to pay extra attention to areas around the stove and sink, as these are common areas for grease buildup. Once clean, fill in any nicks or scratches with wood filler and sand the cabinets smooth for a seamless finish.
Prime Time
A good quality primer will help the paint adhere better to the surface and prevent stains or discoloration from bleeding through. Make sure to use a primer that is specifically formulated for use on your cabinet’s surfaces, just like your paint, and apply it evenly to both the front and back of the cabinet doors for maximum coverage.
Painting Process
It’s time for the fun part— painting! Make sure you have a high-quality brush or roller and apply thin, even coats of paint, allowing ample drying time between coats. Be patient and take your time. Rushing through this step can result in a streaky or uneven finish. Once the paint has dried completely, step back and admire your handiwork – you’ve just given your cabinets a fresh new look!
Finishing Touches
After the paint has dried and cured completely, it’s time to put the finishing touches on your newly painted cabinets. Reattach the hardware, making sure everything is secure and aligned properly. If you’re up for it — and your lease permits — consider adding new knobs or handles for an extra splash of style. Once everything is back in place, step back and admire your newly transformed space – you’ll be amazed at the difference!
Maintenance Tips
To keep your newly painted cabinets looking their best, take proper care of them. Avoid using harsh chemicals or abrasive cleaners that can damage the finish – instead, clean with a mild soap and water solution for routine cleaning. Be gentle when cleaning and avoid scrubbing too vigorously, as this can cause the paint to chip or peel over time.
Most Popular
popular posts


Spaces
Whether it’s luxury or ease, every area of your home should be as fabulous and unique as you.

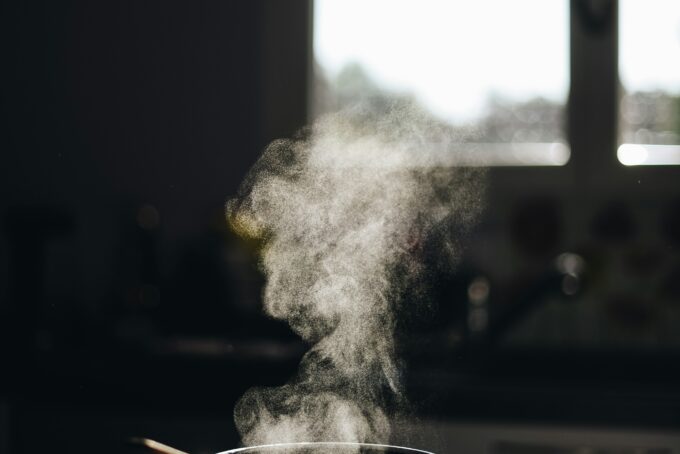
Make Your Home Smell Amazing With These 5 Simple Simmer Pot Recipes
by Melody Beuzelin | January 31, 2024
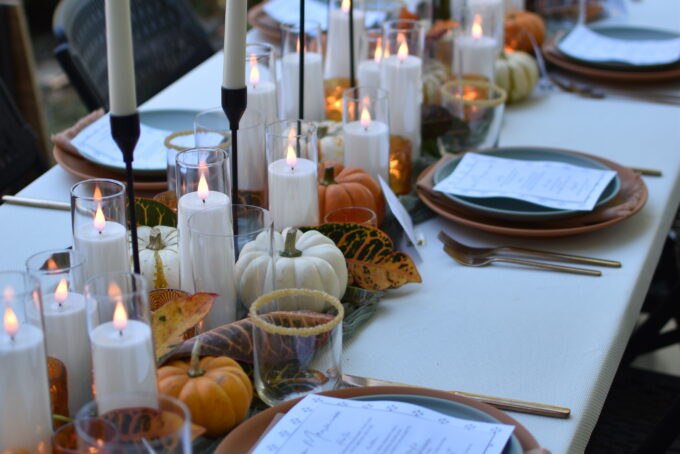
This Is How To Upgrade Your Fall Tablescape Like DIY Expert Lauren Comer
by Brittni Williams | November 1, 2023
FOLLOW ALONG ON INSTAGRAM
#homeandtexture
Find us on social for more home inspiration where culture, personal style, and sophisticated shopping intersect to help you create a home where you love to live.