May 17, 2023 at 6:25 PM PST

Don’t throw your fresh roses away just yet. Depending on what shape they’re in, you could turn those roses into a rose garden. Have you ever wanted to learn how to grow roses from your cuttings? You’re just in luck because Home and Texture breaks it down into 10 easy steps for you to create your own rose garden with your current flowers.
The process isn’t hard, but it’s important to exercise some patience. It will take about a full calendar year to see results before you can plant them outside in your garden. So if you are committed to starting a rose garden with the cuttings you already have, follow the directions below.
What You’ll Need
View this post on Instagram
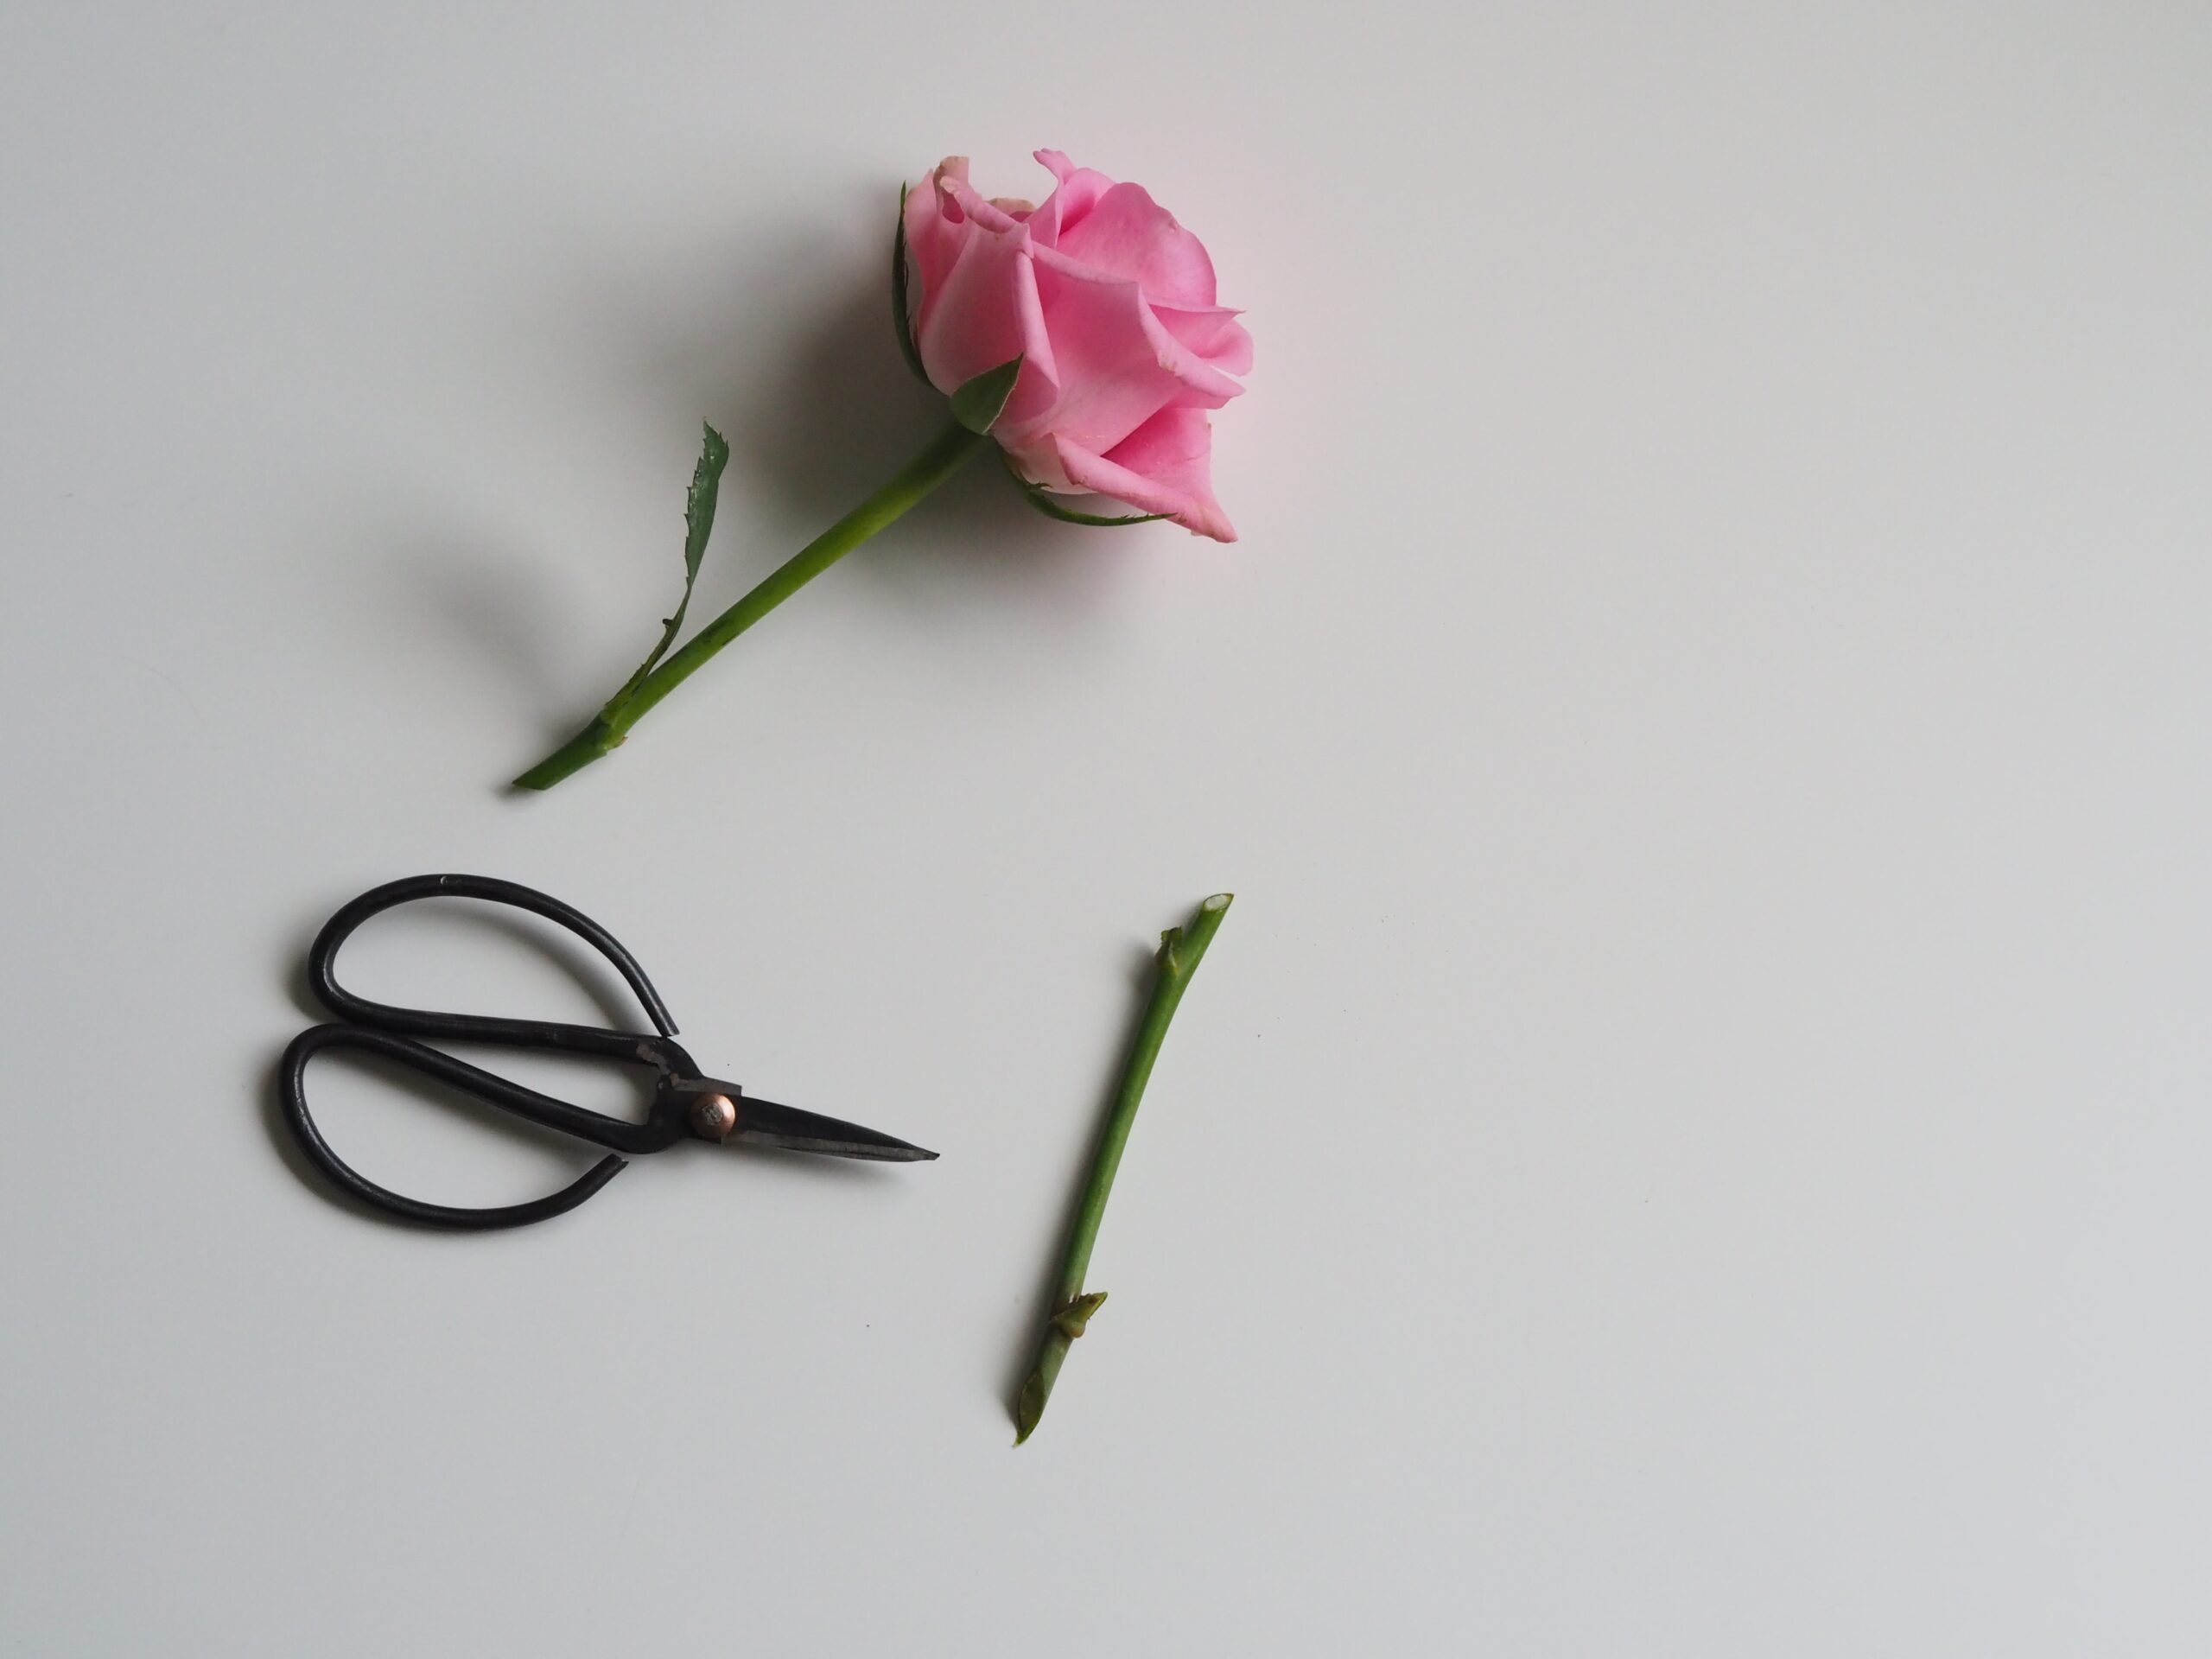
Here are the tools you’ll need to propagate your roses:
- Sharp pruners (a sharp knife can work, too)
- A well-draining pot that’s 3 to 6 inches deep
- Rooting hormone
- A mix of perlite and potting soil
- A clear, plastic cover to lock in humidity
Step-By-Step Instructions To Propagate Your Roses

Step 1
Make sure your cuttings are well watered. Rose cuttings that are healthy will propagate evenly and bloom more roses.
Step 2
It’s best to pick stems that still have flower buds on them. If your rose’s flowers are starting to fall, that’s OK too. You want to have cuttings that are between 4 and 8 inches long. You also want your cuttings to have a couple of nodes on them. The nodes are the intersection where the stem, leaves, and buds grow and emerge.
Step 3
Now, take your cuttings and place them in water, but don’t put them in direct sunlight right away. You want your cuttings to be hydrated as much as possible until they start to root.
Step 4
For the next step, you are going to want to slice the bottom part of your cuttings. By doing so, you will encourage your roses to begin rooting. You must cut vertically and ensure that you are slicing some of the green skin at the bottom. After you do this a couple of times, your stems should be ready.
Step 5
Here is when you can use the rooting hormone. You want to apply about two inches of your cuttings into the hormone. This will encourage your stems to stimulate as much as possible.
Step 6
This step is important. You want to remove all the flowers from your stem. You can leave a few leaves, but you must take all the flowers off. If you keep the flowers on, it will stunt the growth of the cuttings.
Step 7

We’re almost there! Place your cuttings in the potted soil. Make sure you mix the soil and water with the stem thoroughly. Once you feel your pot has an even mix of water and soil and your cuttings can fit, add your plastic cover. You want your cuttings to be in indirect sunlight. You can place them outside on your porch or anywhere you know they won’t get full sunlight.
Step 8
Remember you’re using your plastic cover to trap humidity, so it’s important you allow your cutting to breathe a few times a week without the cover. During this time, you can remove any brown stems and fallen leaves in your planter. You do not need to water your cuttings unless you notice the soil is dry.
Step 9
You should start seeing roots in a couple of weeks. However, it usually takes about 4 to 6 weeks to be established. Once the roots are visible, you can remove the plastic from the cuttings.
Step 10
Finally, give your cuttings about a year to get fully acclimated and developed before you put them in your garden. Before you plant them in the ground, first put them in a larger planter. When you propagate flowers, you have to do everything in stages. Each stage introduces a new environment that your plant has to get used to. Putting your flowers in the ground too soon can disrupt their roots and bud which could cause little to no flowering.
We hope these tips and instructions for your rose cuttings will produce lovely roses for your home.
Most Popular
popular posts
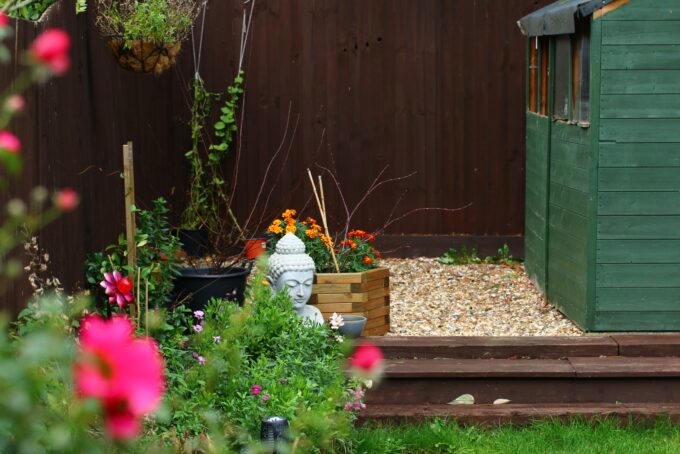
Garden


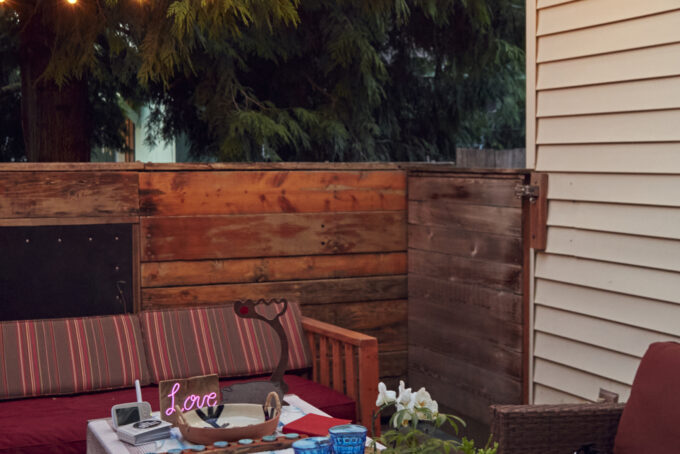
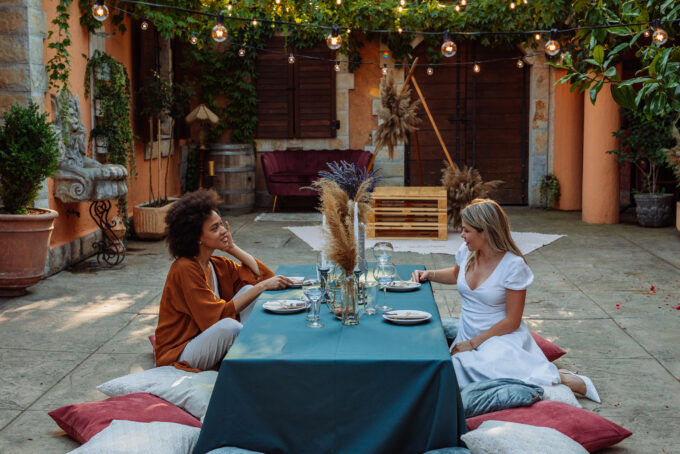
Spaces
Whether it’s luxury or ease, every area of your home should be as fabulous and unique as you.

FOLLOW ALONG ON INSTAGRAM
#homeandtexture
Find us on social for more home inspiration where culture, personal style, and sophisticated shopping intersect to help you create a home where you love to live.