December 11, 2023 at 9:10 PM PST
DIY DIY Candles
Making Your Own Candles Is Easier Than You Think—Here's How To Do It
December 11, 2023 at 9:10 PM PST
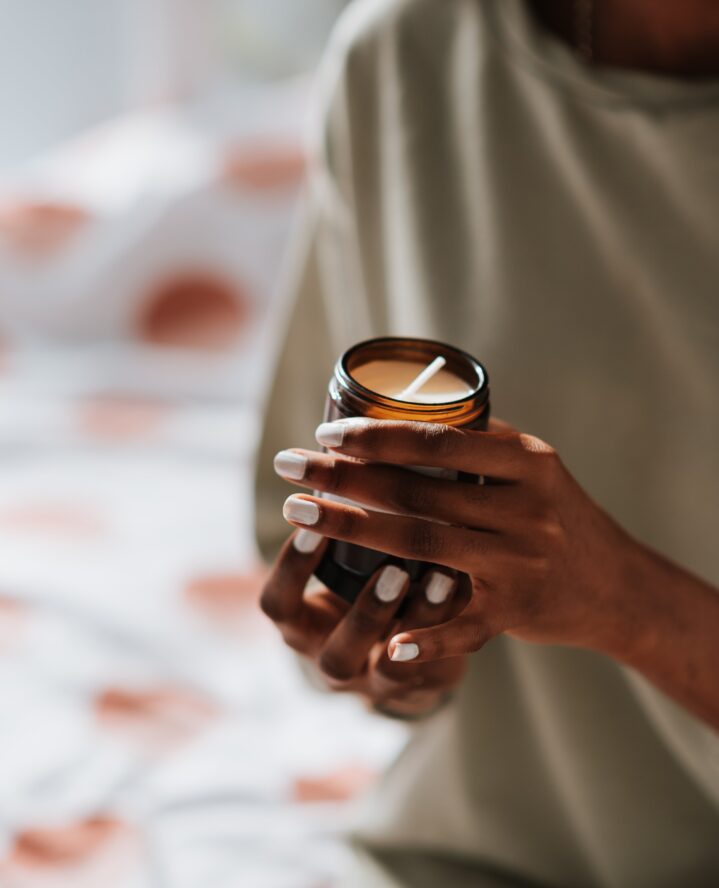
Candles can instantly make a space cozy—and while most things are okay in moderation, when it comes to these richly scented household staples, abundance is encouraged. One caveat—getting them can really add up. But if you’re not willing to give up your love for candles, don’t worry. You can actually DIY your own candles and save around 60% in the process. It’s easy, and with a small learning curve, you’ll be making your own blends in no time—which can also serve as thoughtful gifts, a side hustle or both.
The Steps to Candle-Making
First, you’ll need a few items to get started, then the six-step process is smooth sailing from there.
1. Gather your supplies.
- Wax (soy, paraffin, or beeswax): Your choice of wax will influence the candle’s burn time and fragrance retention. Soy wax and beeswax are eco-friendly and non-toxic, while paraffin offers a longer burn time.
- Fragrance oils (for scented candles): Select scents that resonate with your preferences, from soothing lavender to zesty citrus or vanilla.
- Wick and wick holder: The wick is the heart of your candle. Choose the appropriate size for your container, and a wick holder keeps it centered.
- Container or mold: The vessel for your candle can be anything from a mason jar to a vintage teacup or even old candle jars.
- Double boiler or microwave-safe container: For melting wax safely and evenly.
- Thermometer: To monitor wax temperature.
- Coloring agents (optional): Add a pop of color if you’re feeling it.
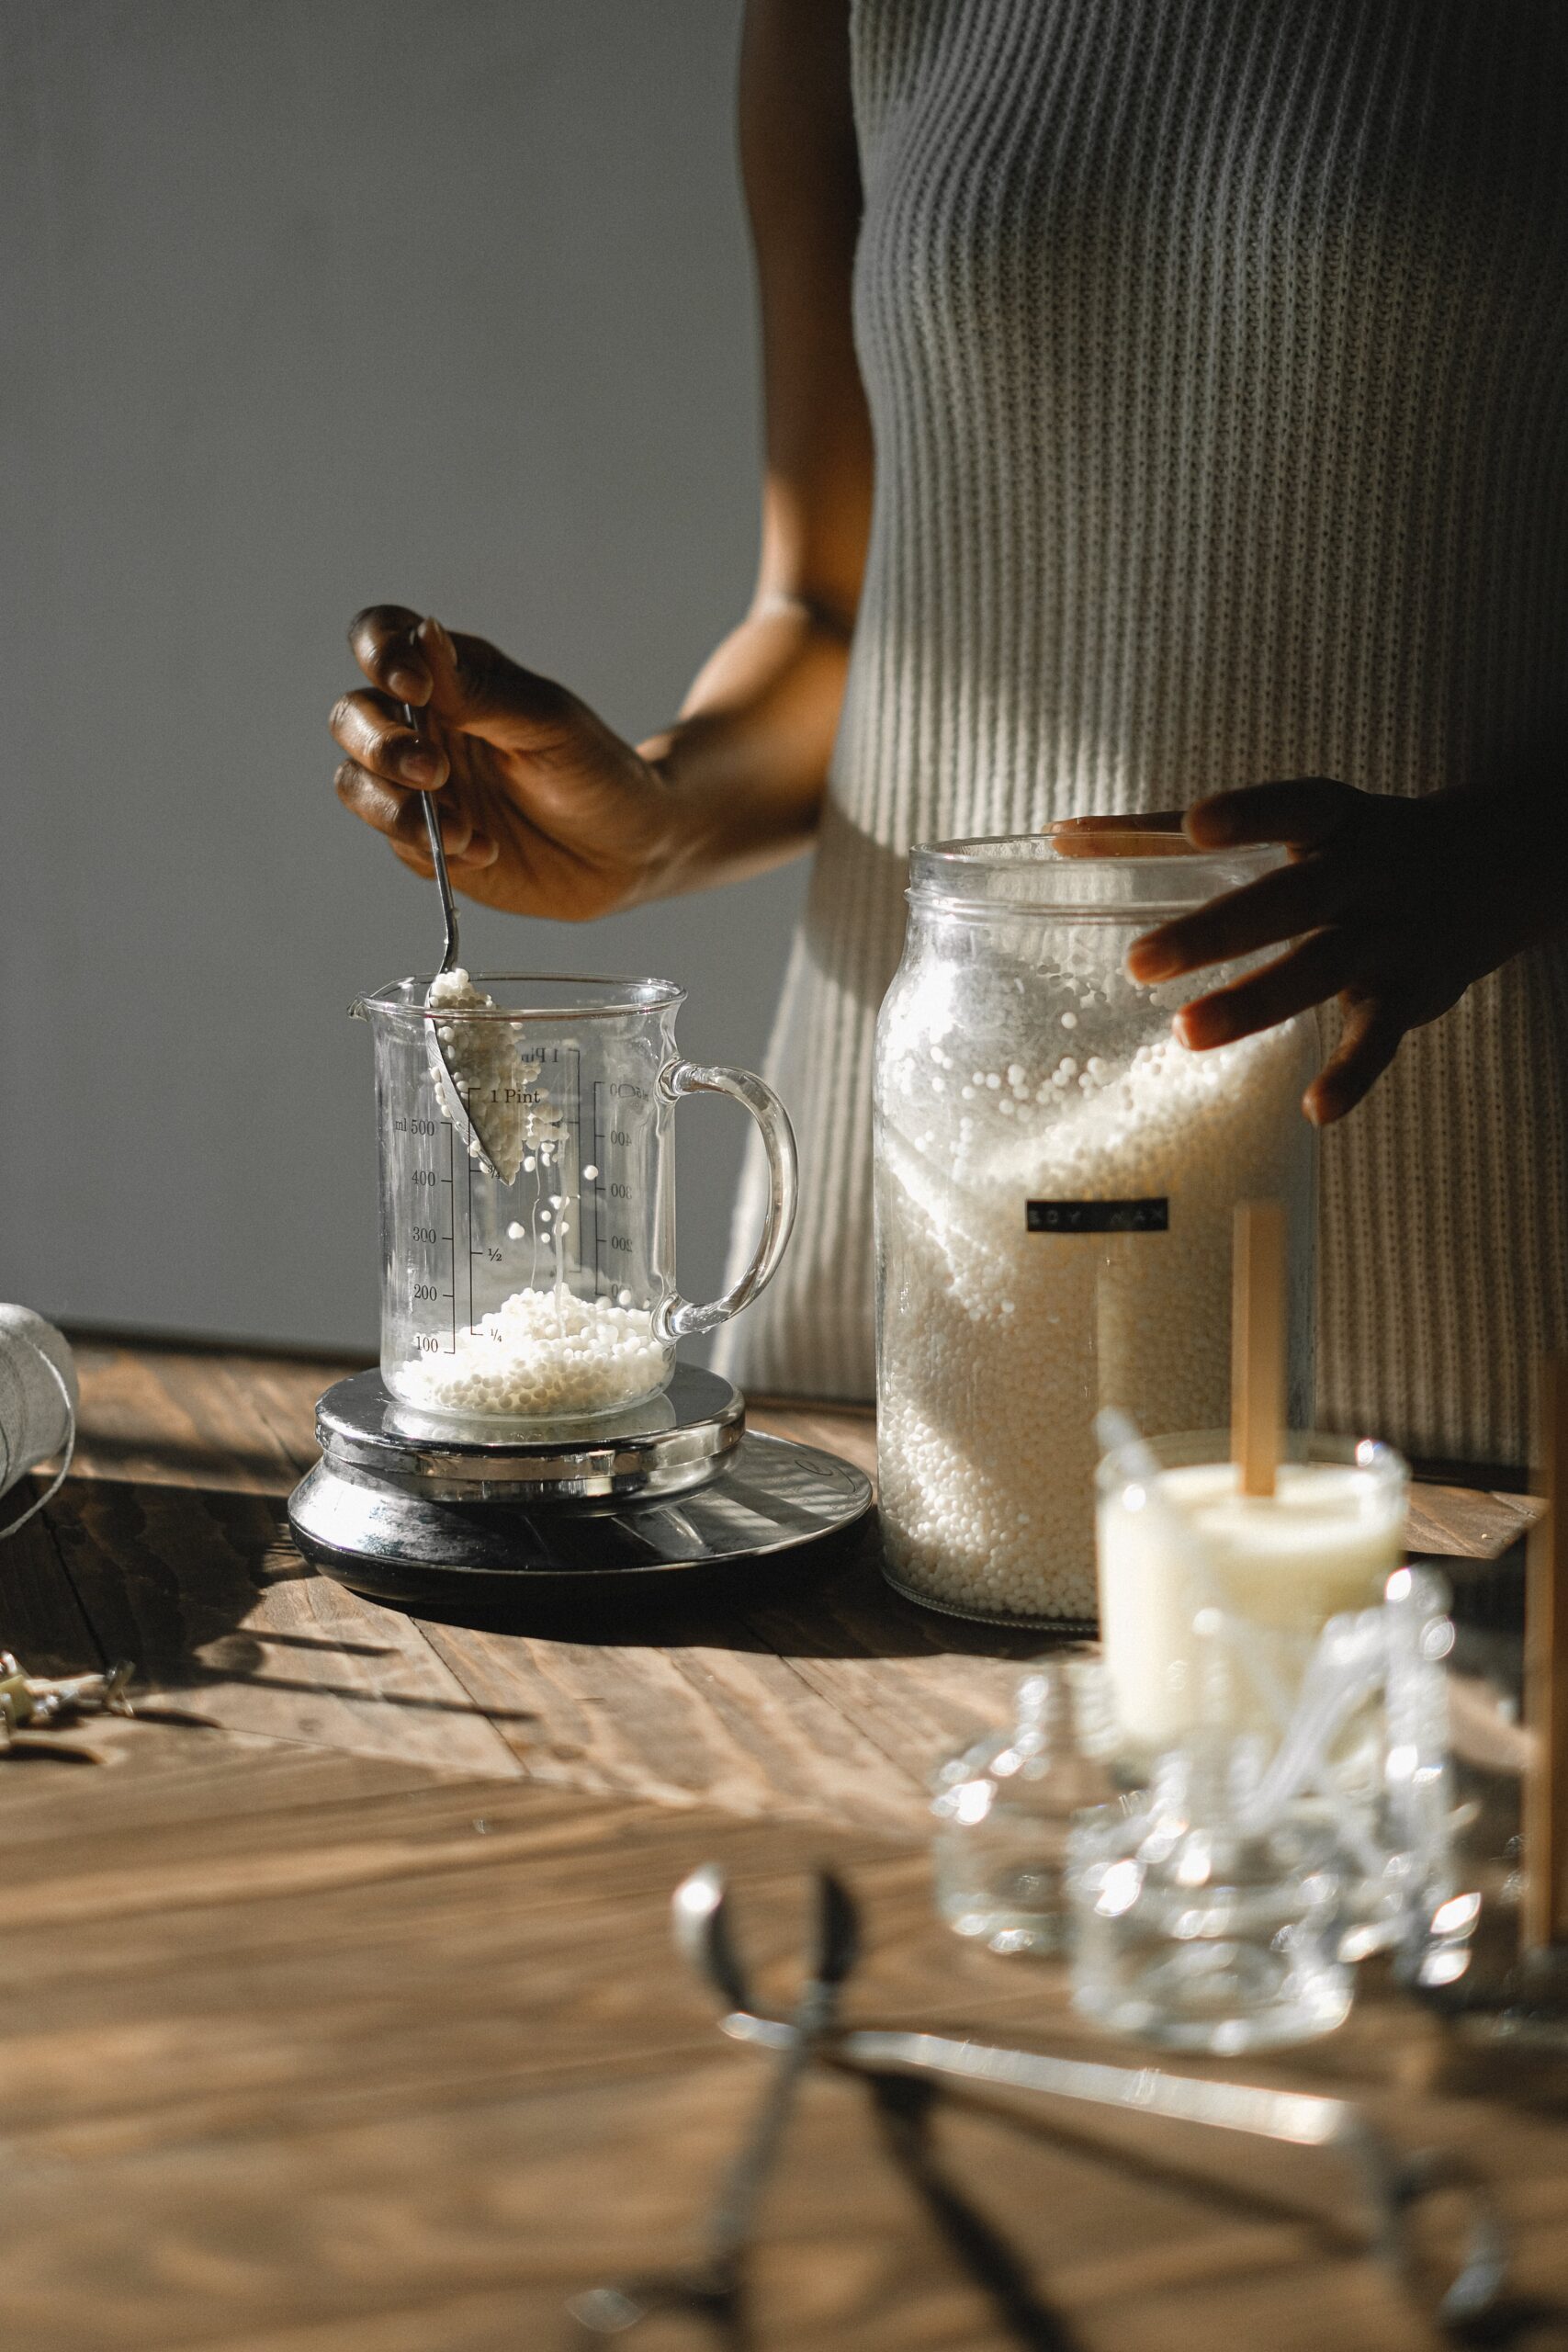
2. Melt the wax.
Begin by melting the wax using a double boiler or a microwave-safe container. Be sure to monitor the temperature with a thermometer to ensure it doesn’t overheat.
3. Add fragrance and color.
Once the wax is melted, add fragrance oils and coloring agents if desired. This is where you can get creative and experiment with various scents and hues to match your mood or décor.
4. Secure the wick.
Place the wick in your chosen container or mold, securing it in the center. The wick holder can help keep it in place while the wax solidifies.
5. Pour and cool.
Carefully pour the melted wax into the container, ensuring the wick remains centered. Allow the candle to cool and solidify. This step requires patience, but the results are well worth it.
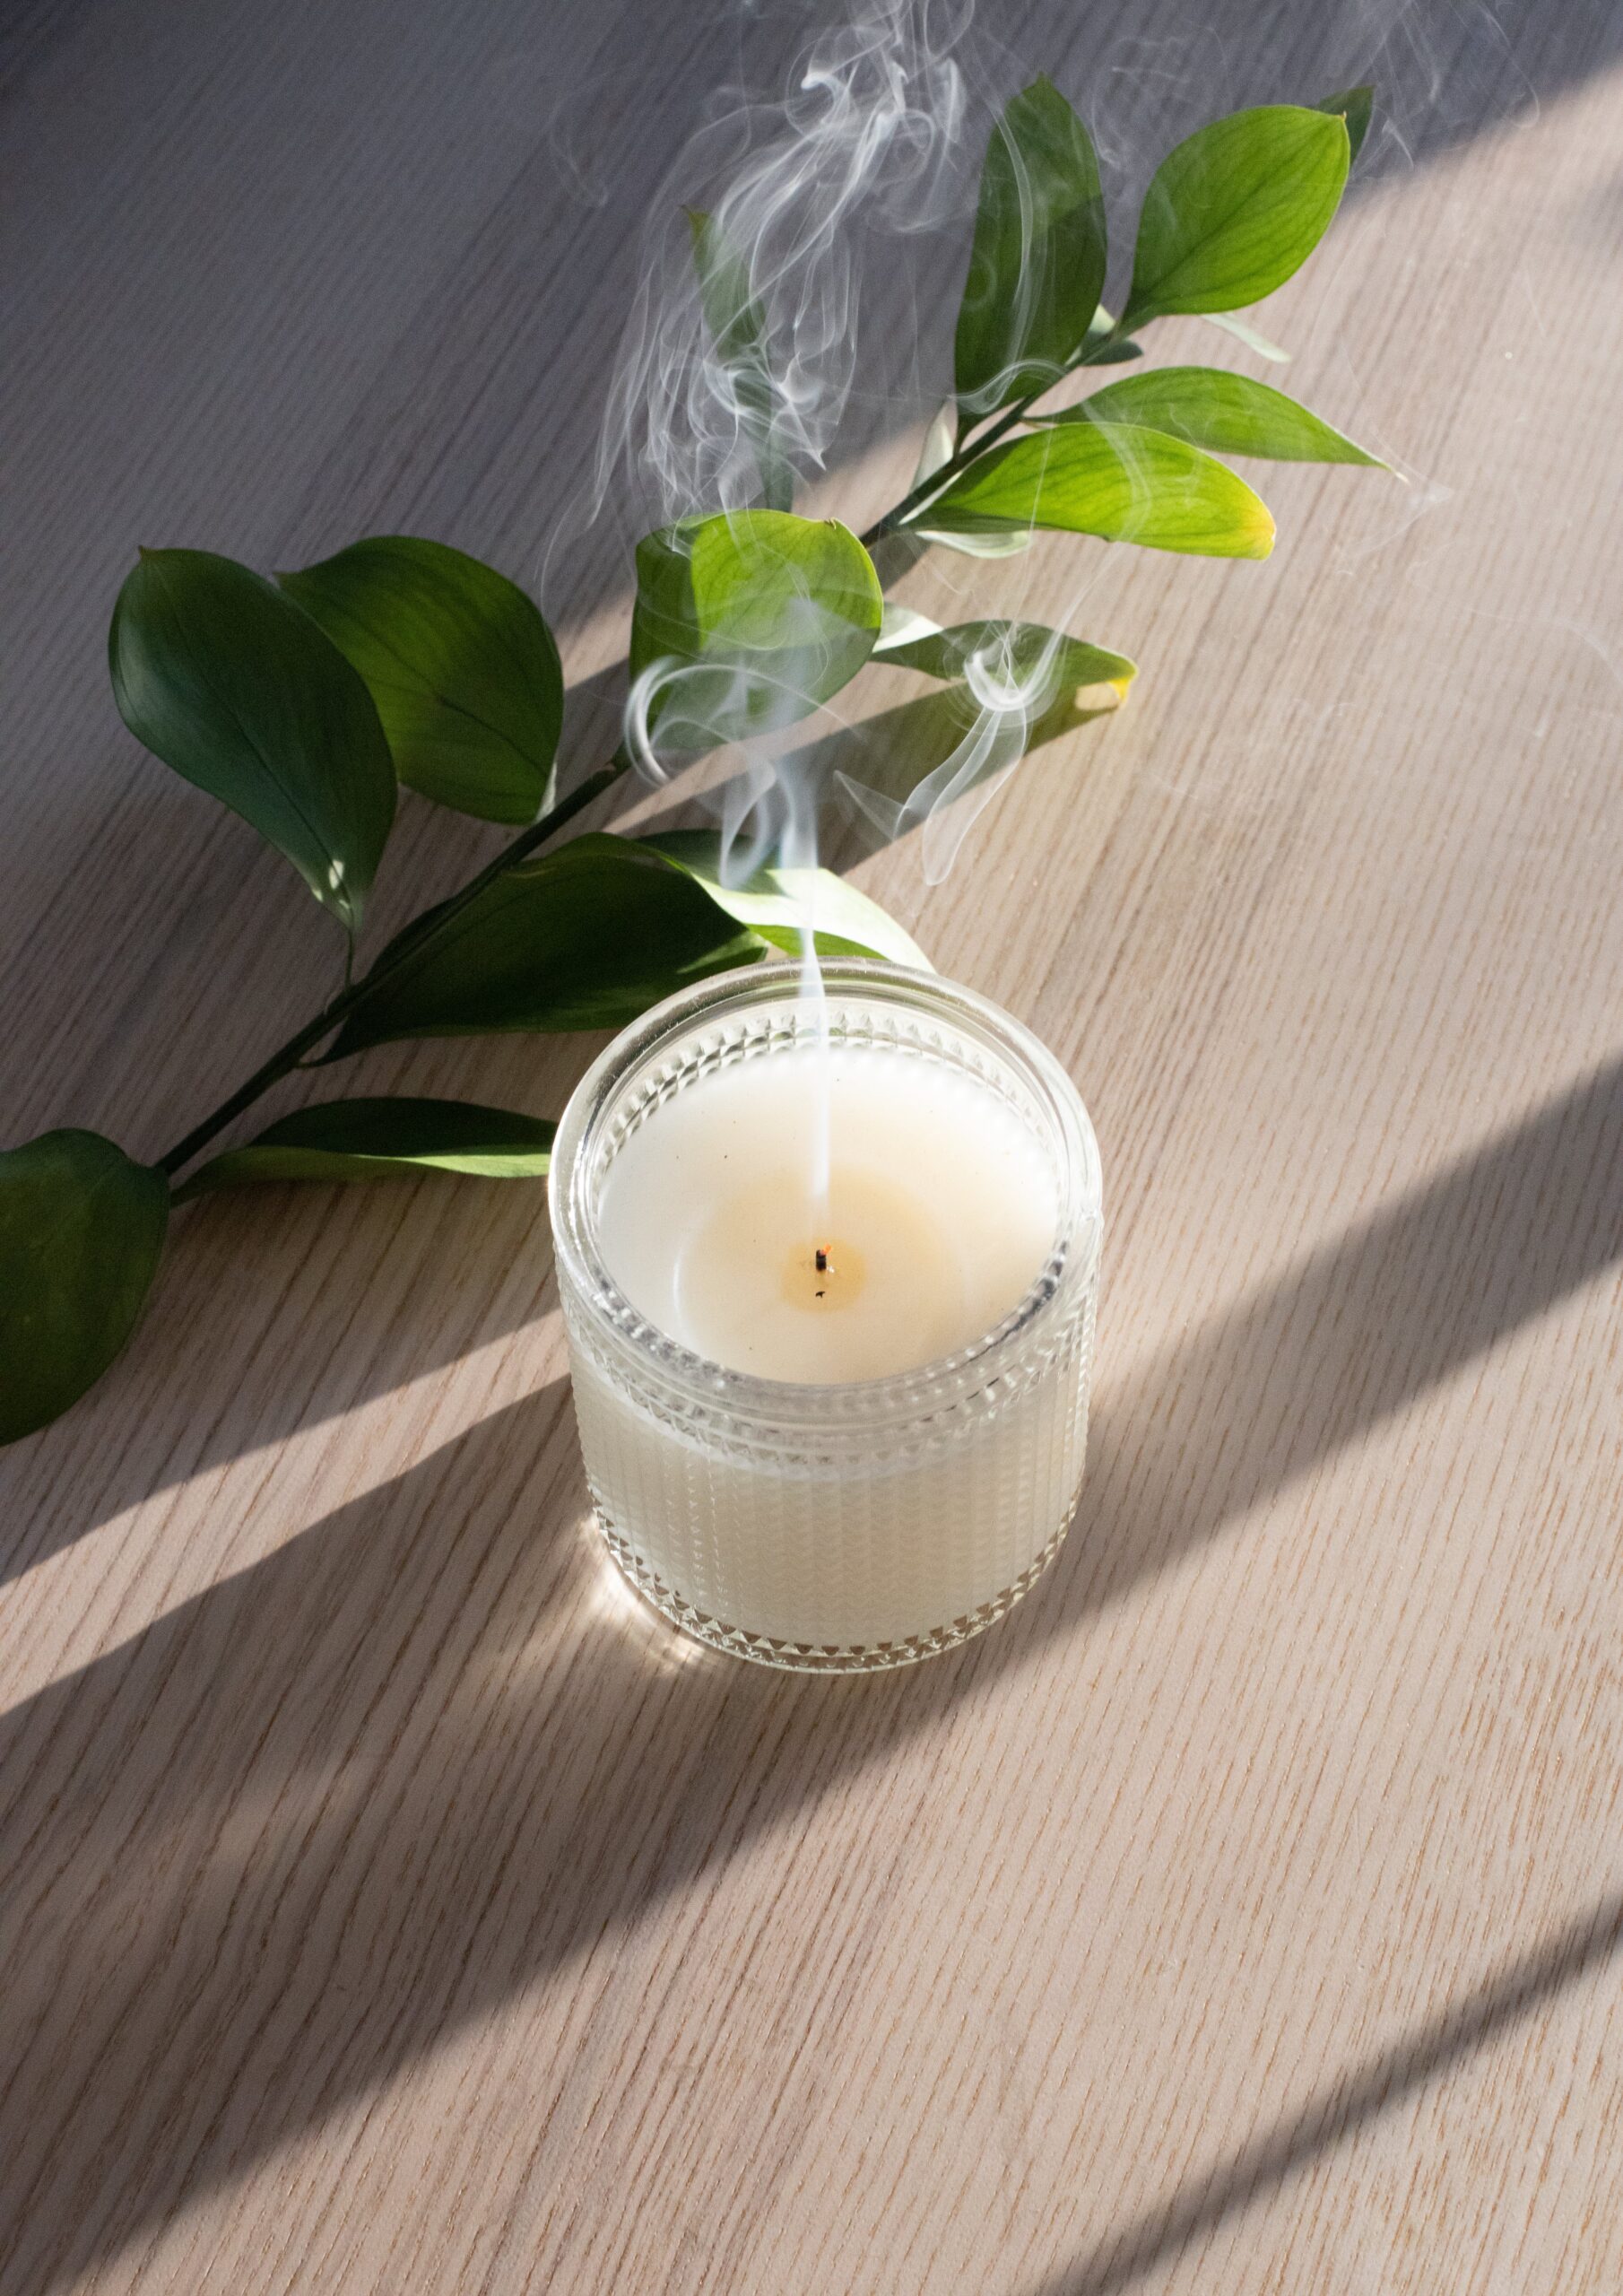
6. Trim and light.
Once your candle has hardened, trim the wick to the desired length and light it up. Bask in the warm glow of your creation and enjoy the delightful aroma.
Dealing With Wax Caving
One common issue you might find while making candles is wax caving. This happens when the wax in the center of the candle sinks, creating a noticeable depression. To prevent this, follow these steps.
- Make sure that you pour the wax at the correct temperature. If the wax is too hot, it can cause uneven cooling and lead to caving.
- Use a wick holder to keep the wick in place during cooling. A centered wick helps distribute the heat evenly, reducing the chances of caving.
- Consider using a wax with a higher melting point, as it tends to hold its shape better as it cools.
By addressing these potential causes, you can create candles that burn evenly, free from the frustration of wax caving.
Most Popular
popular posts


How Interior Window Walls Transform Open-Concept Living Spaces
by Stixx Matthews | December 20, 2024
Spaces
Whether it’s luxury or ease, every area of your home should be as fabulous and unique as you.
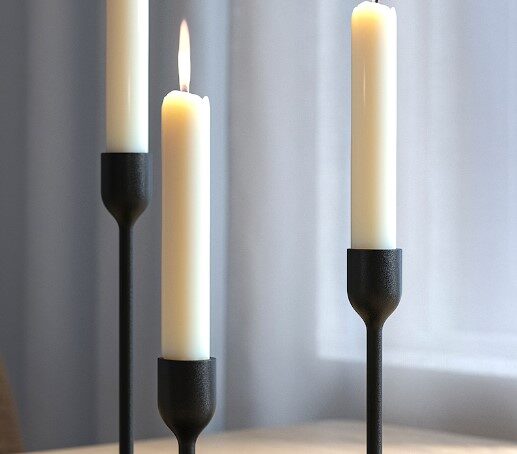
7 Stylish Candlesticks That Will Elevate Any Table Setting
by Jessica Fields | February 13, 2025


Experience Earthy Calm This Fall with LOEWE's 'Mushroom' Candle
by Stixx Matthews | October 11, 2024
FOLLOW ALONG ON INSTAGRAM
#homeandtexture
Find us on social for more home inspiration where culture, personal style, and sophisticated shopping intersect to help you create a home where you love to live.