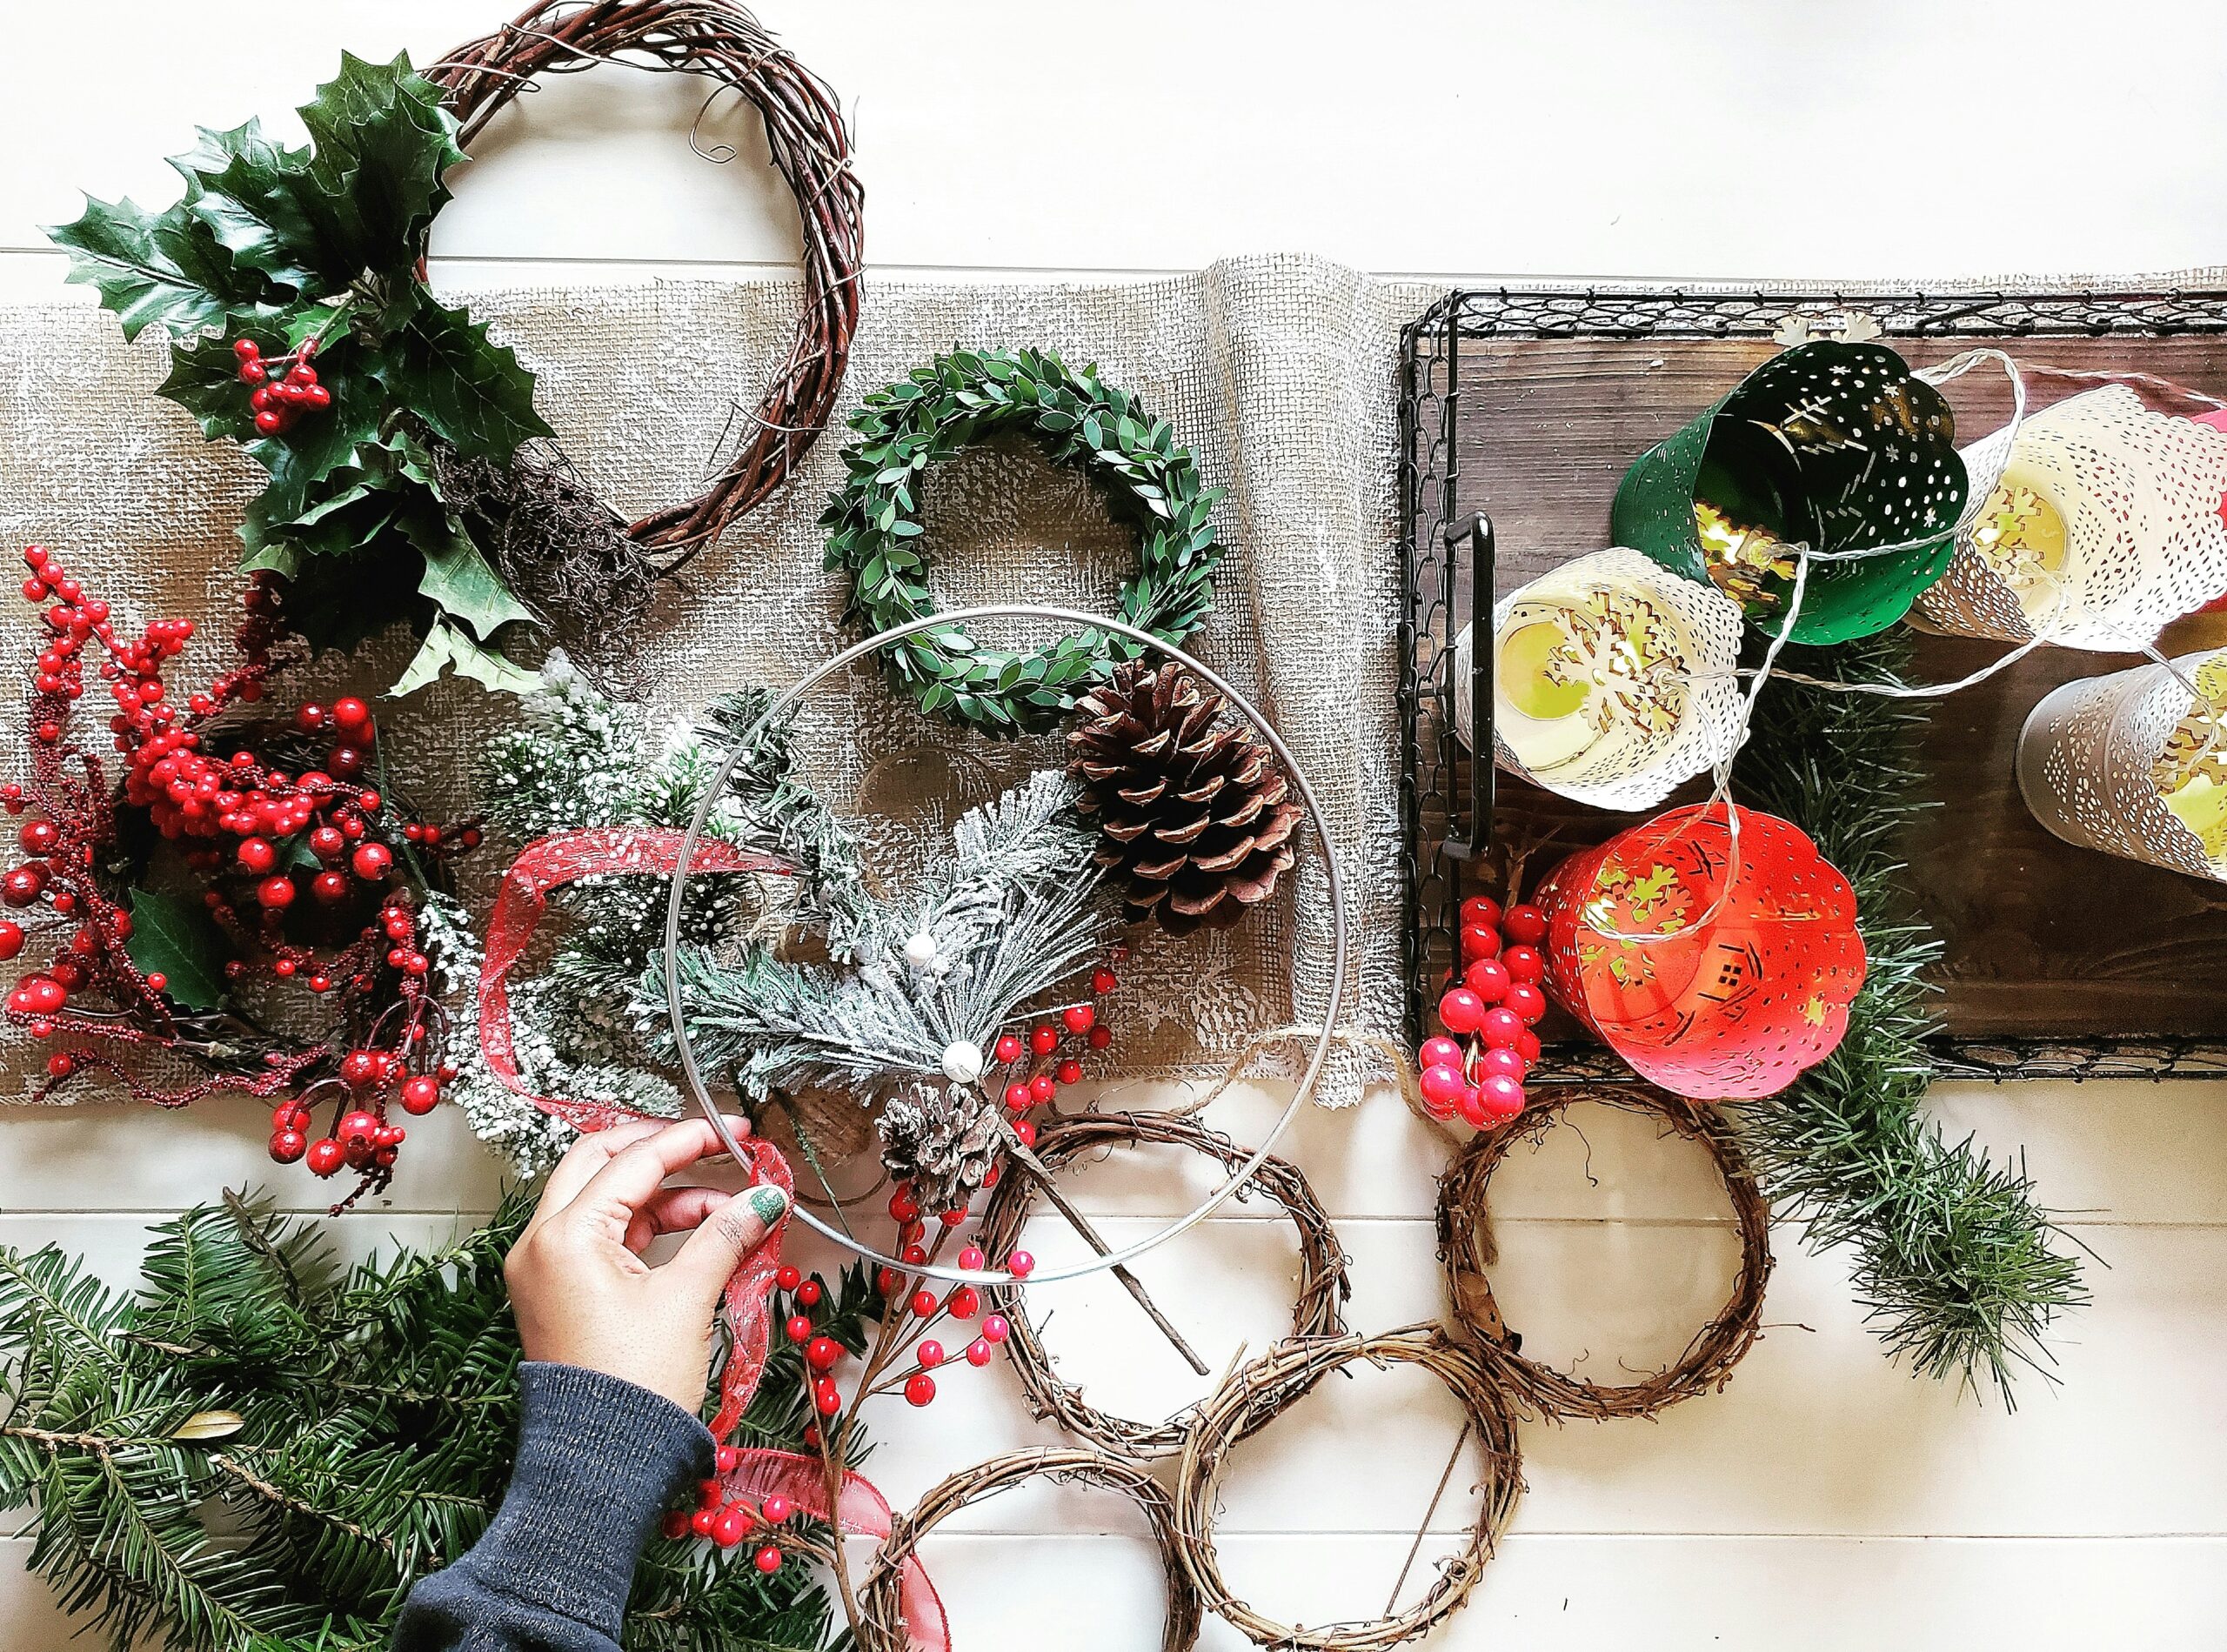
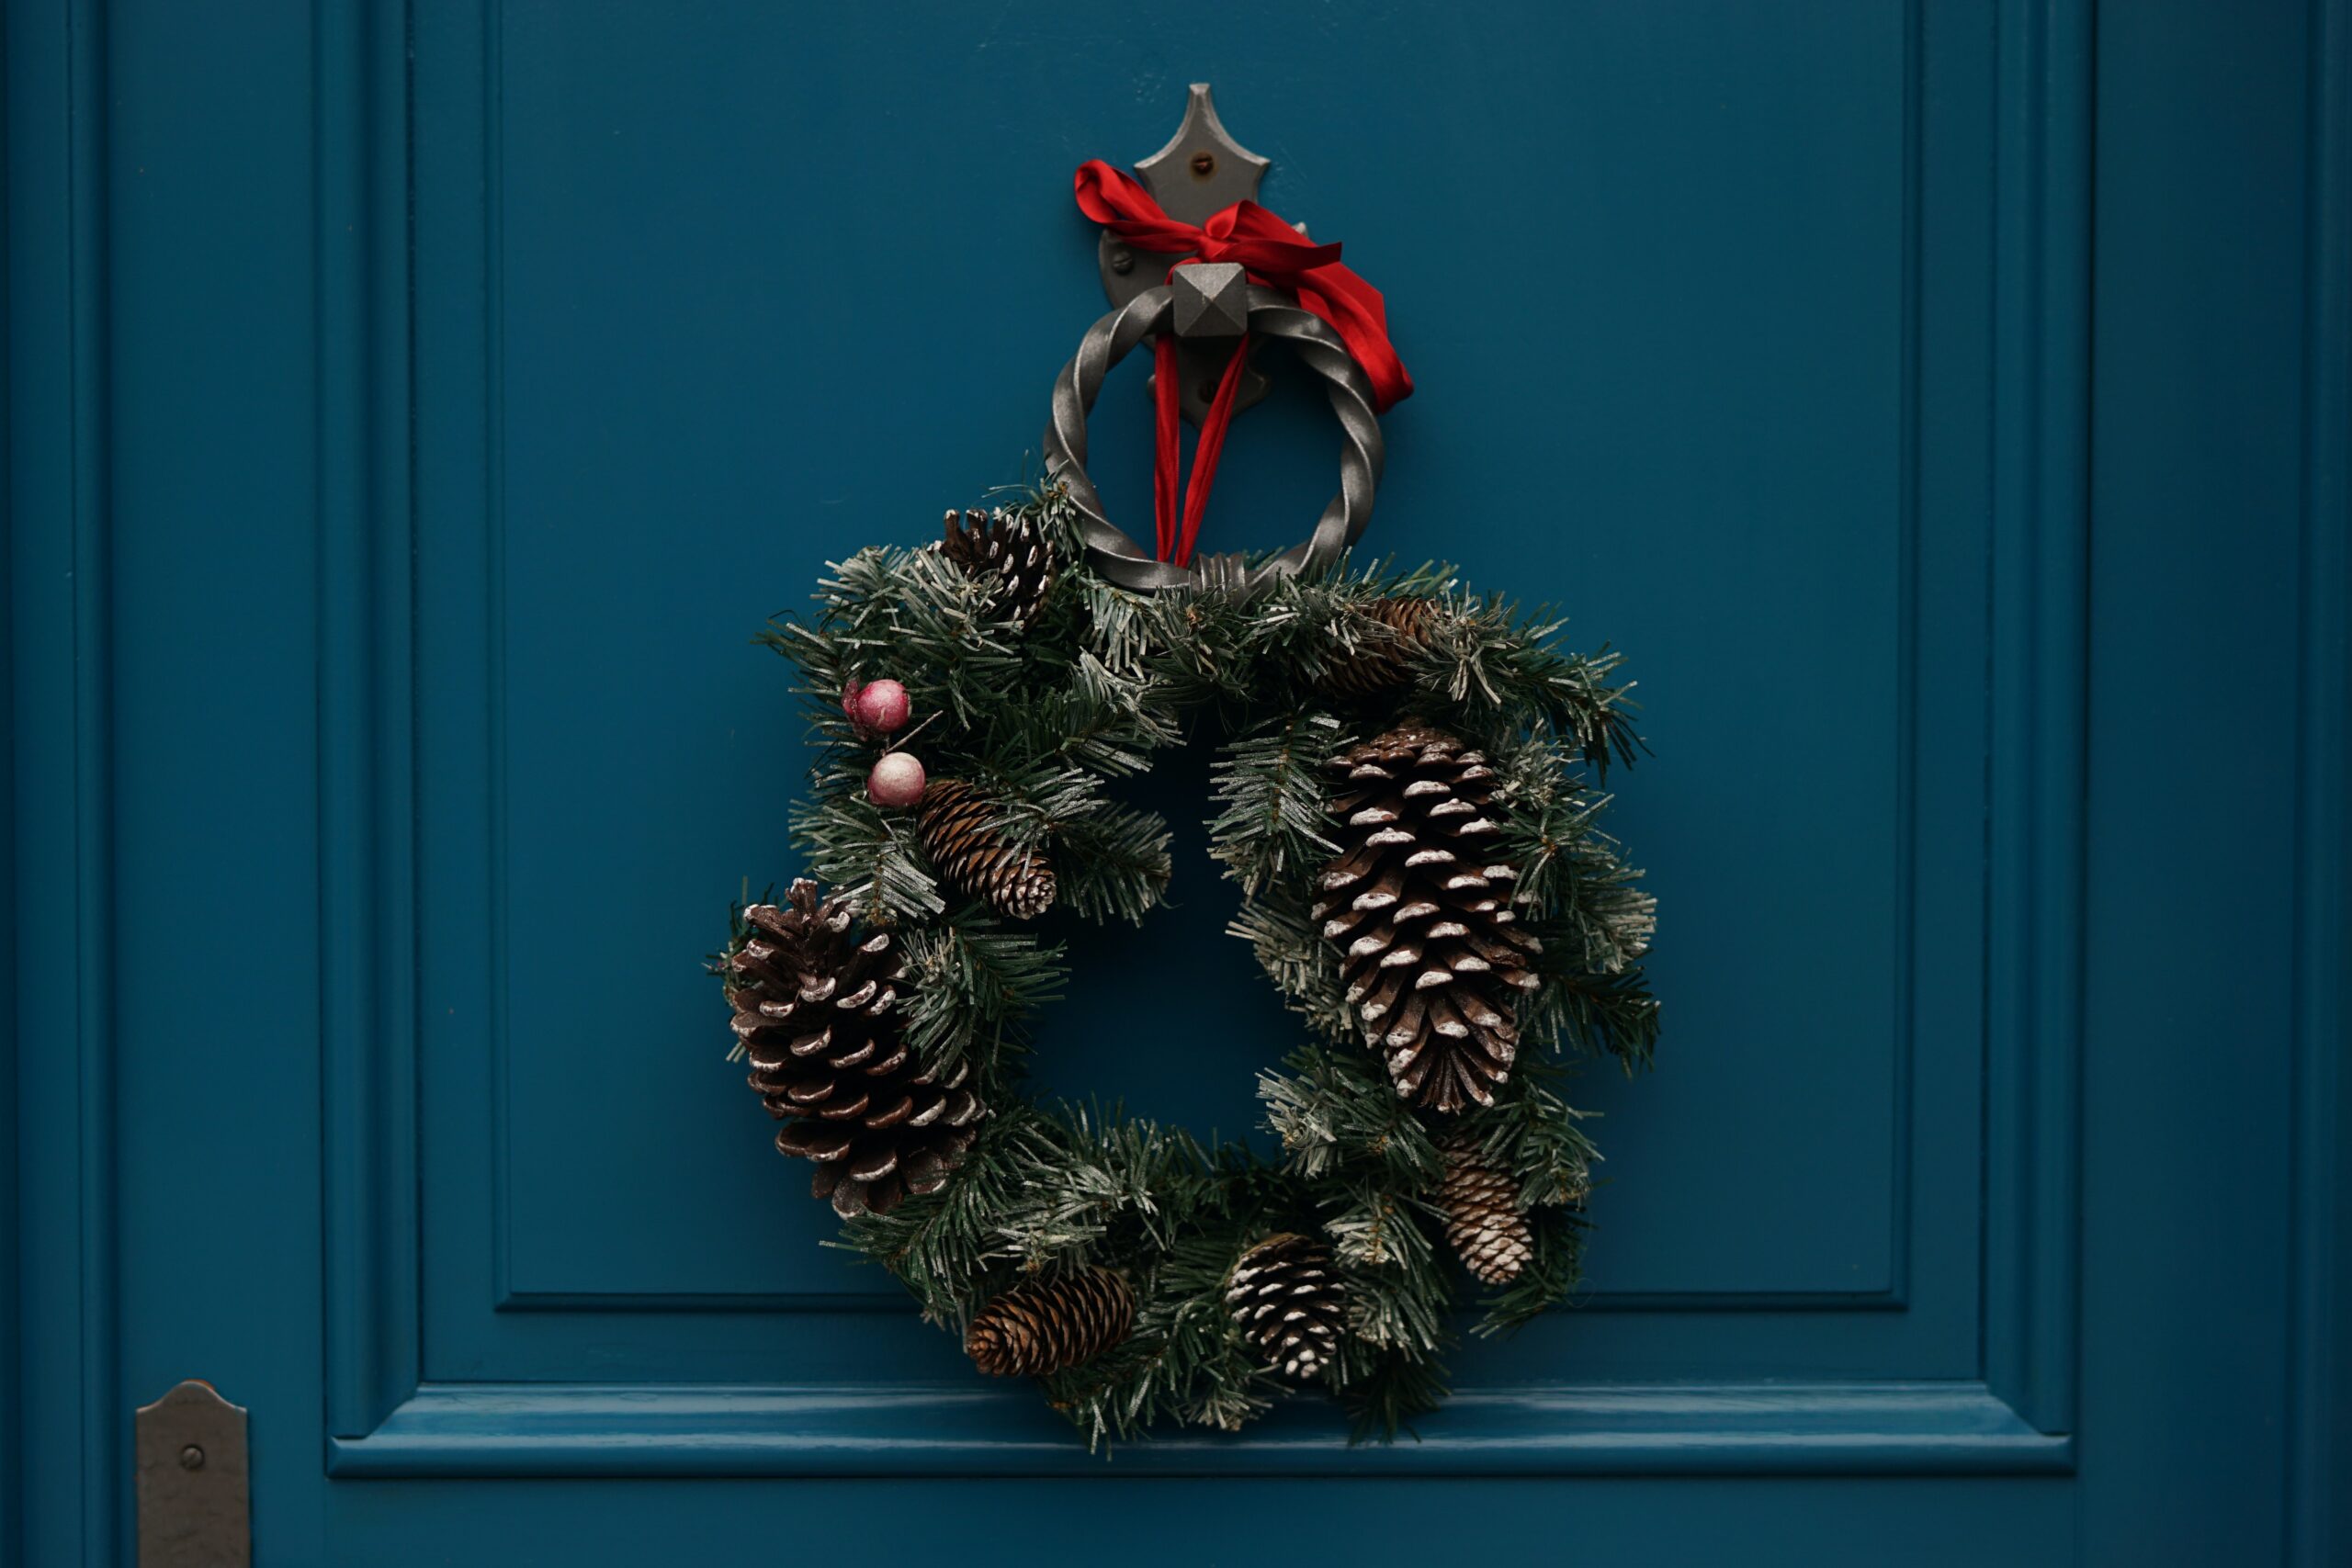
Decorated wreaths are a big part of the holiday season, and there are many different types to choose from, from floral to wire. Sure, you can buy a pre-made wreath at your local craft store, but where’s the fun in that? Making your own wreath not only adds a personal touch to your space, but it sparks creativity and can be a fun bonding activity between you and your loved ones, especially the littles.
If you want to learn how to add a bit of festive cheer to your front door, here’s what you need to do to make your own holiday wreath.

Step 1: Choose a base.
The first step to making a stylish wreath is picking a stylish base. Of course, you could always stick to the classics like straw or foam. But if you want a truly unique holiday wreath, consider using a less traditional base such as a grapevine or willow wreath for a rustic style, or even a wire form for a more modern design. Or, if you’re really up for a challenge, try making your own base by twisting evergreen branches, vines, twigs, or other natural materials to form a wreath shape.

Step 2: Pick matching decorations.
No holiday wreath is complete without festive decorations. To make your wreath more visually appealing, pick out a few decorations that match your motif. For example, if you prefer a traditional holiday wreath, then red or green ornaments, pine cones, holly berries, ribbons, and bows are perfect for the job. Or if modern and minimalist is more your style, stick to just one or two colors with geometric ornaments or metallic accents.
Step 3: Collect your supplies.
Before you can begin working on your project, you’ll need to make sure you have everything needed to start. Here’s a list of supplies you’ll need to create your own holiday wreath:
- Wreath base
- Greenery
- Wire cutters
- Decorations, i.e. flowers, berries, ribbon, bells, candy canes, etc.
- Floral wire or hot glue gun
- Cutting shears
- Pipe cleaner
Step 4: Hang it up.
Before you start your project, attach your pipe cleaner to your base so that you can easily hang it up when it’s ready. Doing this now instead of after your wreath is completed can ensure that the hanger is securely fastened and centered without obstructing or damaging your decorations when you add them later on.

Step 5: Create your base.
Now that you’ve secured the hanger, you can begin working on your wreath. Start by using your hot glue gun or floral wire to attach your greenery to your base. Try to stick your branches close together so they form clusters instead of spacing them out for a fuller, more lush look.

Step 6: Add your decor.
Next, tap into your creative side by strategically placing festive decorations onto your wreath. You can weave red and green ribbons, hang cheery holiday ornaments, or even spray paint your greenery white for a snow-kissed wreath.
Also, if you have any gaps or sparse areas, you can hide them by sticking a decorative element like dried orange slices or juniper berry twigs over it so it’s not as visible.
Step 7: Shape it up.
Before you can officially hang up your new holiday wreath, go over it with a pair of cutting shears to snip away any unruly stems and leaves for a polished look. Take a step back to assess how your wreath looks and fix your greenery or decorations as needed.

Step 8: Show it off.
Now that your project is finally complete, show it off by mounting it somewhere where everyone can see it. Most people hang their wreaths on the front door or above the mantel, but you don’t have to stop there. There are plenty of other creative ways to display your wreath like propping it up on your shelf or bookcase or even using it as a centerpiece for your dining table.
popular posts
- 1It’s Black Business Month, So Let’s Go Shopping and #BuyBlack!
- 2These Home Decor Items Will Instantly Make Your Space Look Outdated
- 3Black-Owned Home Decor Stores To Support Across the United States
- 4A Look Inside Elon Musk's Tiny $50,000 House
- 57 Black and Multicultural Designers To Follow For Design Inspo

Unique Backsplash Ideas That Add Luxury to Your Kitchen
by Stephanie Taylor | January 19, 2023

These Candle Making Kits Will Elevate the Vibe of Your Home
by Arielle Clay | January 19, 2023

These 4 Mid-Century Modern Faucets Will Give You A Surge Of Inspiration
by Stephanie Taylor | January 20, 2023
Spaces
Whether it’s luxury or ease, every area of your home should be as fabulous and unique as you.

DIY Throw Pillows: These 5 Fabrics Add Both Texture & Culture
by homeandtexture | February 22, 2023
FOLLOW ALONG ON INSTAGRAM
#homeandtexture
Find us on social for more home inspiration where culture, personal style, and sophisticated shopping intersect to help you create a home where you love to live.


