By Kelsey Marie
June 30, 2023 at 6:28 PM PST
Spilling coffee, or anything for that matter, on your favorite item of clothing can be downright depressing. Most of the time we throw our stained garments in the washer, crossing our fingers and praying that the stain gets out, only to be disappointed when the stain is in fact still there. Using a stain remover is the best way to treat stains before tossing them in the washing machine.

A good stain remover helps to break down the bond between the stain and the fabric so that the laundry detergent and water can remove the stain while it’s in the wash. If you’re on a budget or don’t want to use products with harsh chemicals, there is a DIY stain remover that works wonders. This remover is made up of simple ingredients that tackle various types of stains.

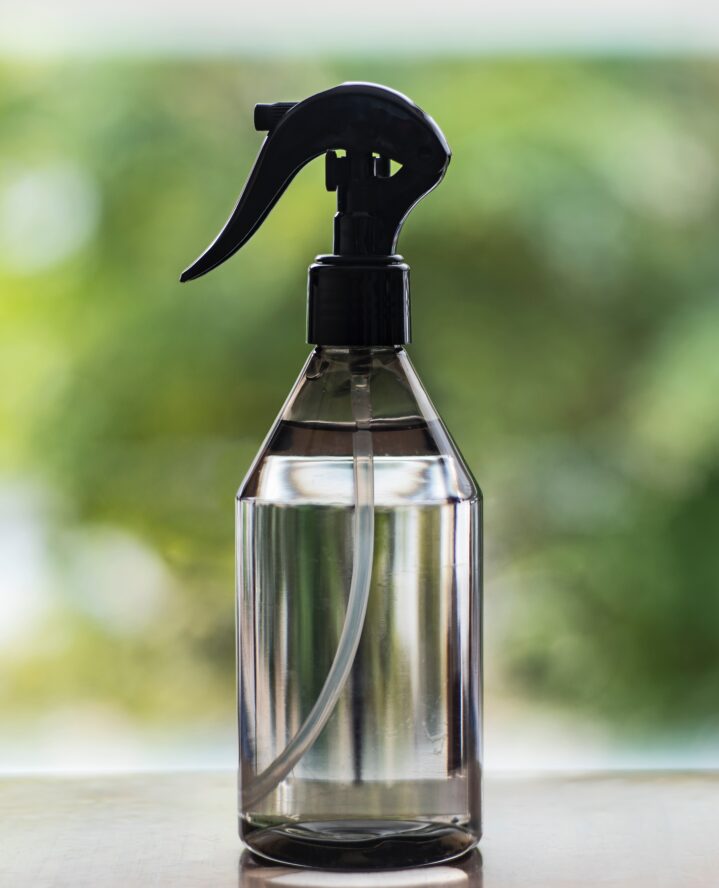
1. Select a clean spray bottle or small container with a lid to store your stain remover.
2. Depending on the size of your container, you can determine the quantity of stain remover to make. The ratio is equal parts hydrogen peroxide and dish soap or laundry detergent. If you want to make a small amount, start with 1/4 cup of hydrogen peroxide and 1/4 cup of dish soap or laundry detergent. Increase the measurements as needed.
3. Combine the ingredients by gently swirling or shaking the mixture. You can also add a small amount of baking soda to the mixture to increase the stain-fighting power. Mix until the baking soda is completely dissolved.
4. Before applying the DIY stain remover to your garments, test on a small area of the fabric. After applying, wait a few minutes and then rinse off. If you don’t notice any discoloration or reactions, you can proceed to use the stain remover on other areas of the garment.
5. Apply a small amount of the DIY stain remover to the stain. Allow it to sit for a few minutes. Gently rub the area with a soft brush or sponge to help lift the stain.
6. After treating the stain, launder the pieces according to the care instructions. Warm water is great for better stain removal. If the stain is still visible after washing, repeat the process.
Different stains require different treatment methods. It’s important to identify the type of stain and research how to best lift it. Always follow the care instructions on your garments to preserve the quality of the piece.
Making your own laundry stain remover is great for saving money as well as having control over the ingredients that you use on your clothing. When not in use, store your DIY stain remover in a cool, dark place. Gently swirl or shake it before using.
by Kelsey Marie | August 23, 2023
Whether it’s luxury or ease, every area of your home should be as fabulous and unique as you.
by Kelsey Marie | March 30, 2023
by Melody Beuzelin | October 30, 2023

by Kelsey Marie | November 16, 2023
Find us on social for more home inspiration where culture, personal style, and sophisticated shopping intersect to help you create a home where you love to live.