September 5, 2023 at 6:47 PM PST

DIY Upcycling
Upcycling 101: Turn Trash Into Treasure With DIY Home Projects
September 5, 2023 at 6:47 PM PST
You’ve got a unique sense of style that can’t quite be pinned down. The idea of cookie-cutter matching furniture sets and mass-produced decor makes you recoil. Sound like you? It can’t be argued that you’re a creative spirit, and when you’re suddenly overcome with the urge to make, build or paint, it can’t be ignored. Look around you, your home is a blank canvas, begging to reflect your self-expression. Upcycling makes that easy! It lets you breathe new life into items by transforming them into something unique. And because they’re not ending up in a landfill, it’s great for the planet, too. With a little work, imagination, and this upcycling 101 guide, you’ll have one-of-a-kind pieces in no time.
Defining Upcycling
Unlike recycling, which involves breaking down materials to create new ones, upcycling takes a step further with creativity and innovation. When you upcycle, you aren’t just reusing materials, you’re reimagining them. You give character and personality to unassuming spaces. You create interesting new uses for everyday items often overlooked.
Choosing the Right Materials
Before diving into an upcycling project, you’ll need materials to work with. Start by looking around your home for items that you no longer use but are still in good condition. Old furniture, wooden crates and glass bottles are great for getting the ideas flowing. If you don’t have anything on hand, visit some local thrift stores for inspiration and good prices on old items.
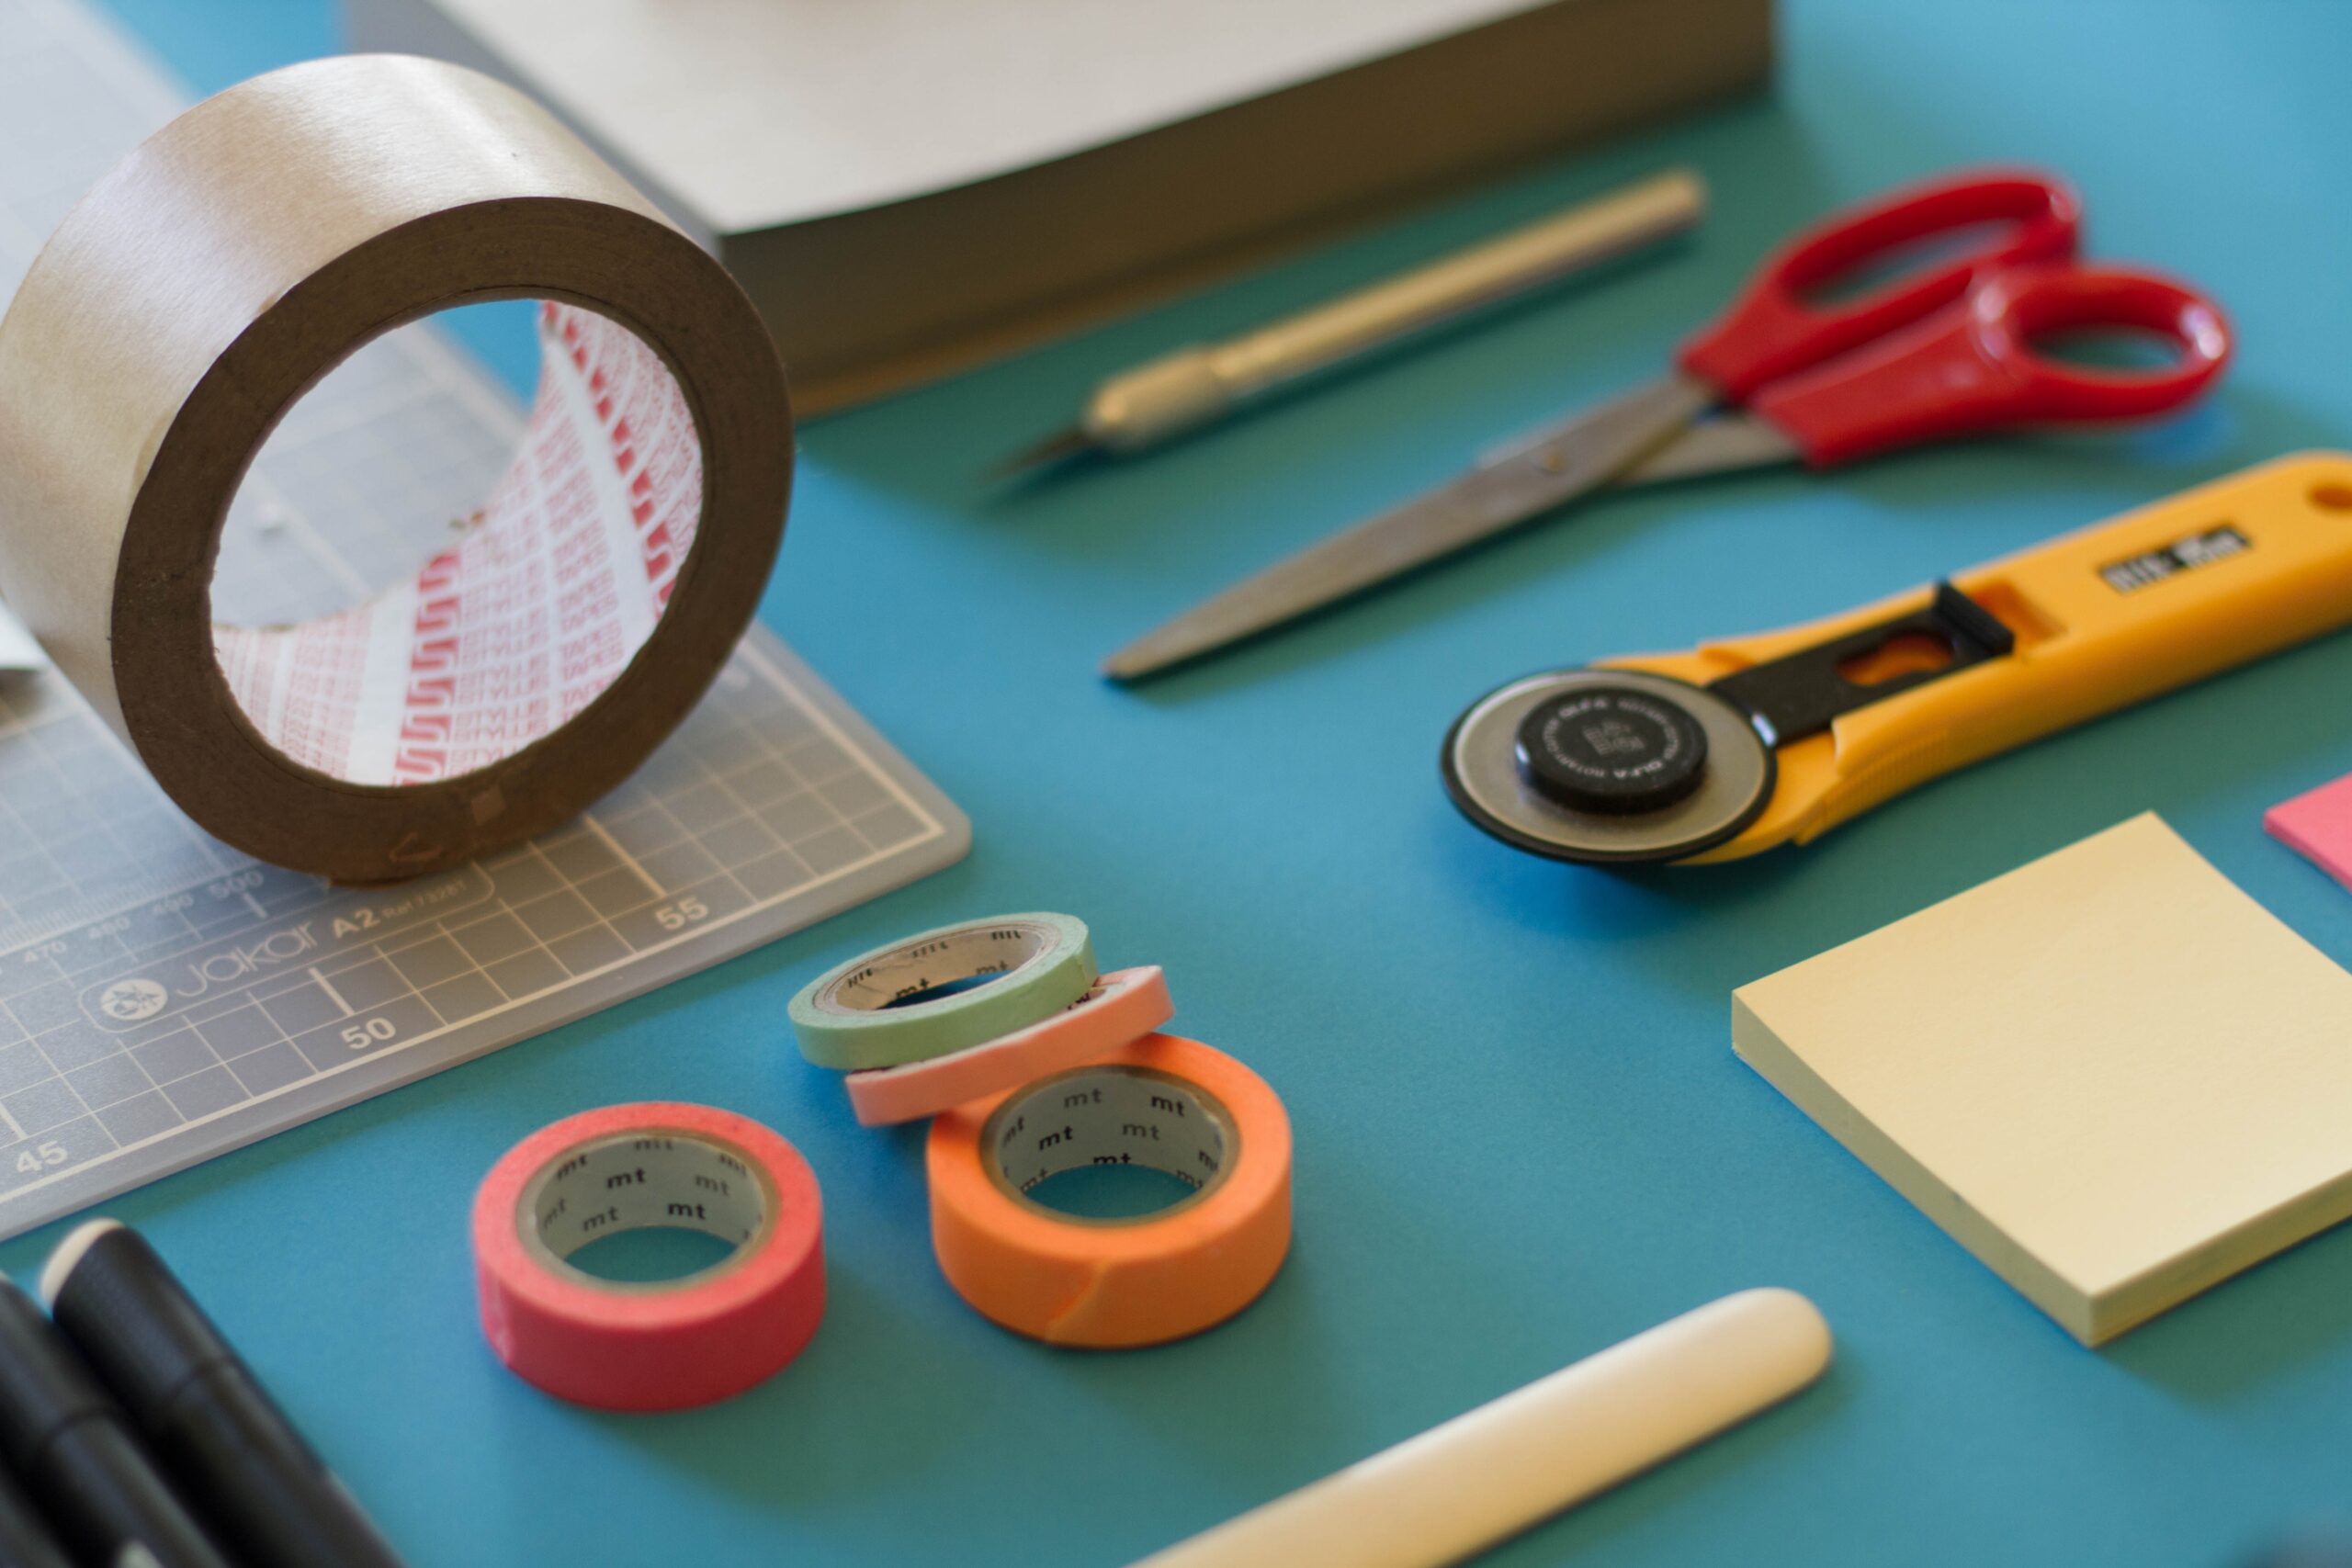
Tools You’ll Need
The tools you use can vary and depend on the project you’re taking on, but safety comes first, naturally. Protect yourself and surfaces from any DIY projects gone wrong with gloves, safety glasses and tarps. Here are a few other essentials.
Basic Hand Tools
- Screwdrivers: Both Phillips and flathead screwdrivers will come in handy for disassembling and reassembling items.
- Hammer: It’s useful for tasks like adding or removing nails and adjusting minor structural elements.
- Pliers: Grip, twist, and bend materials with different types of pliers, such as needle-nose pliers and slip-joint pliers.
- Measuring Tape: Accurate measurements are important for making sure that your upcycled creations fit your space perfectly.
Cutting Tools
- Utility Knife: This is perfect for precision cutting and shaping of materials like cardboard, foam, and fabric.
- Saw: Depending on the materials you work with, a handsaw or a power saw can be valuable for cutting wood, plastic, or metal.
Sanding and Finishing Tools
- Sandpaper and Sanding Block: Different grits of sandpaper and a sanding block help you smooth rough edges, remove paint, and prepare surfaces for painting.
- Paint Brushes and Rollers: A variety of brushes and rollers will let you paint efficiently for a flawless finish.
Paints and Finishes
- Acrylic Paints: Versatile and easy to use, acrylic paints can be applied to various surfaces.
- Spray Paint: It’s ideal for covering larger surfaces quickly and achieving a smooth finish.
- Wood Stain: Enhance the natural beauty of wood by applying different wood stains and finishes.
Adhesives and Fasteners
- Glue Gun: It’s handy for securing smaller items and adding embellishments.
- Wood Glue: It’s essential for strong, long-lasting wood-to-wood bonds.
- Screws and Nails: Attach parts securely with the right screws and nails.
Upcycling Ideas for Beginners
Not sure where to start? The world of upcycling can easily take you down a rabbit hole of never-ending projects. You also don’t want to overwhelm yourself. These types of projects should be fun and something you look forward to, not a chore you’re dreading! If you find yourself in a mess of parts, screws and fabrics that you can’t finish, try focusing on a smaller task that will give you joy, like repainting an old coffee table. Here’s some more inspiration.
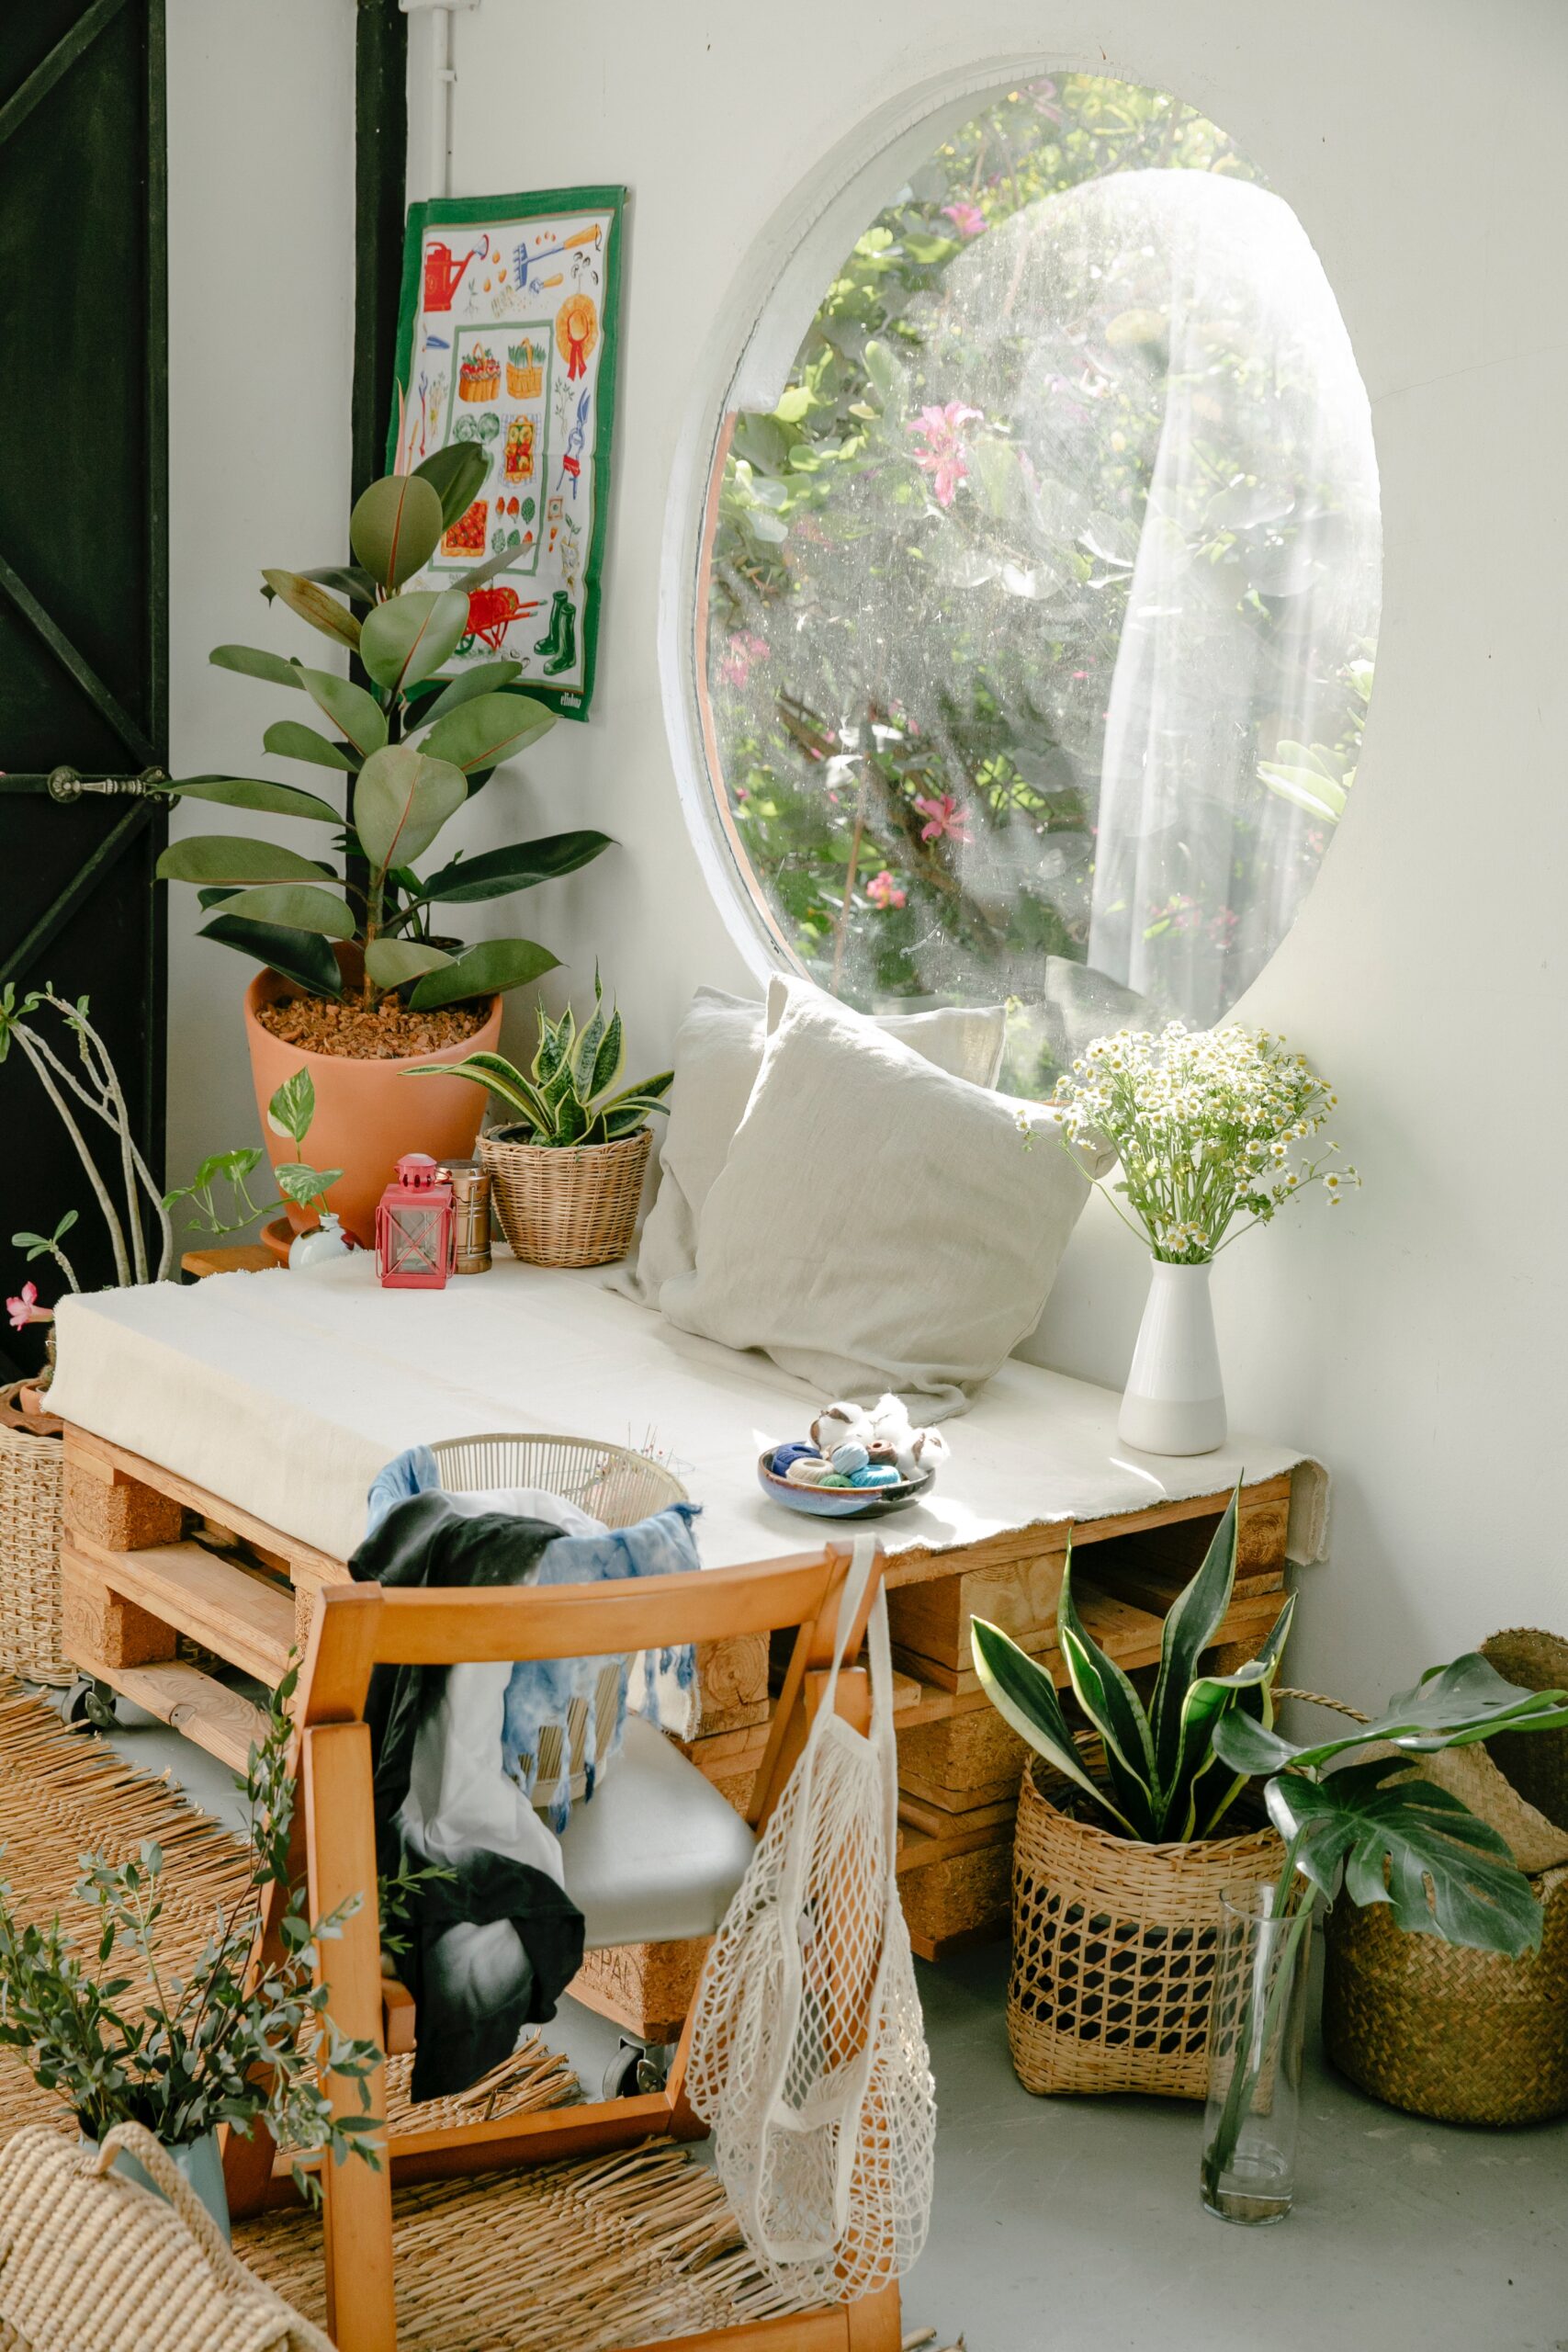
Creating Stylish Furniture From Pallets
You’d be surprised at what you can do with an old pallet! Sand down the surface, add a fresh coat of paint, and stack them creatively to craft a unique coffee table. You could also attach a few pallets to the wall horizontally for a rustic bookshelf that’s both functional and unique.
If your outdoors are looking a little bare, secure multiple pallets together and add a cushioned top for a cozy outdoor sofa. Throw in some weather-resistant pillows, and you’ve got yourself a backyard oasis perfect for entertaining at a fraction of the price.
Chic Key Holder From Old Picture Frames
Transform forgotten picture frames into a stylish key holder that adds flair to your entryway. Remove the glass and back, add a fresh coat of paint, and attach hooks or small knobs. Hang it up, and you’ve got an eye-catching key organizer that’s as practical as it is pretty.
Drawer Shelves
If you have no use for a dresser or find an old one that is damaged, you can take the drawers and mount them on the wall horizontally to turn them into shelves. Paint or decorate the fronts for a pop of color, and use them to display books, plants and pictures.
Wine Cork Coasters
Finally, a use for all those corks you’ve stuffed into a drawer or vase! Glue corks together in a circular pattern, and you’ll have rustic and eco-friendly coasters to protect your surfaces from drips and spills.
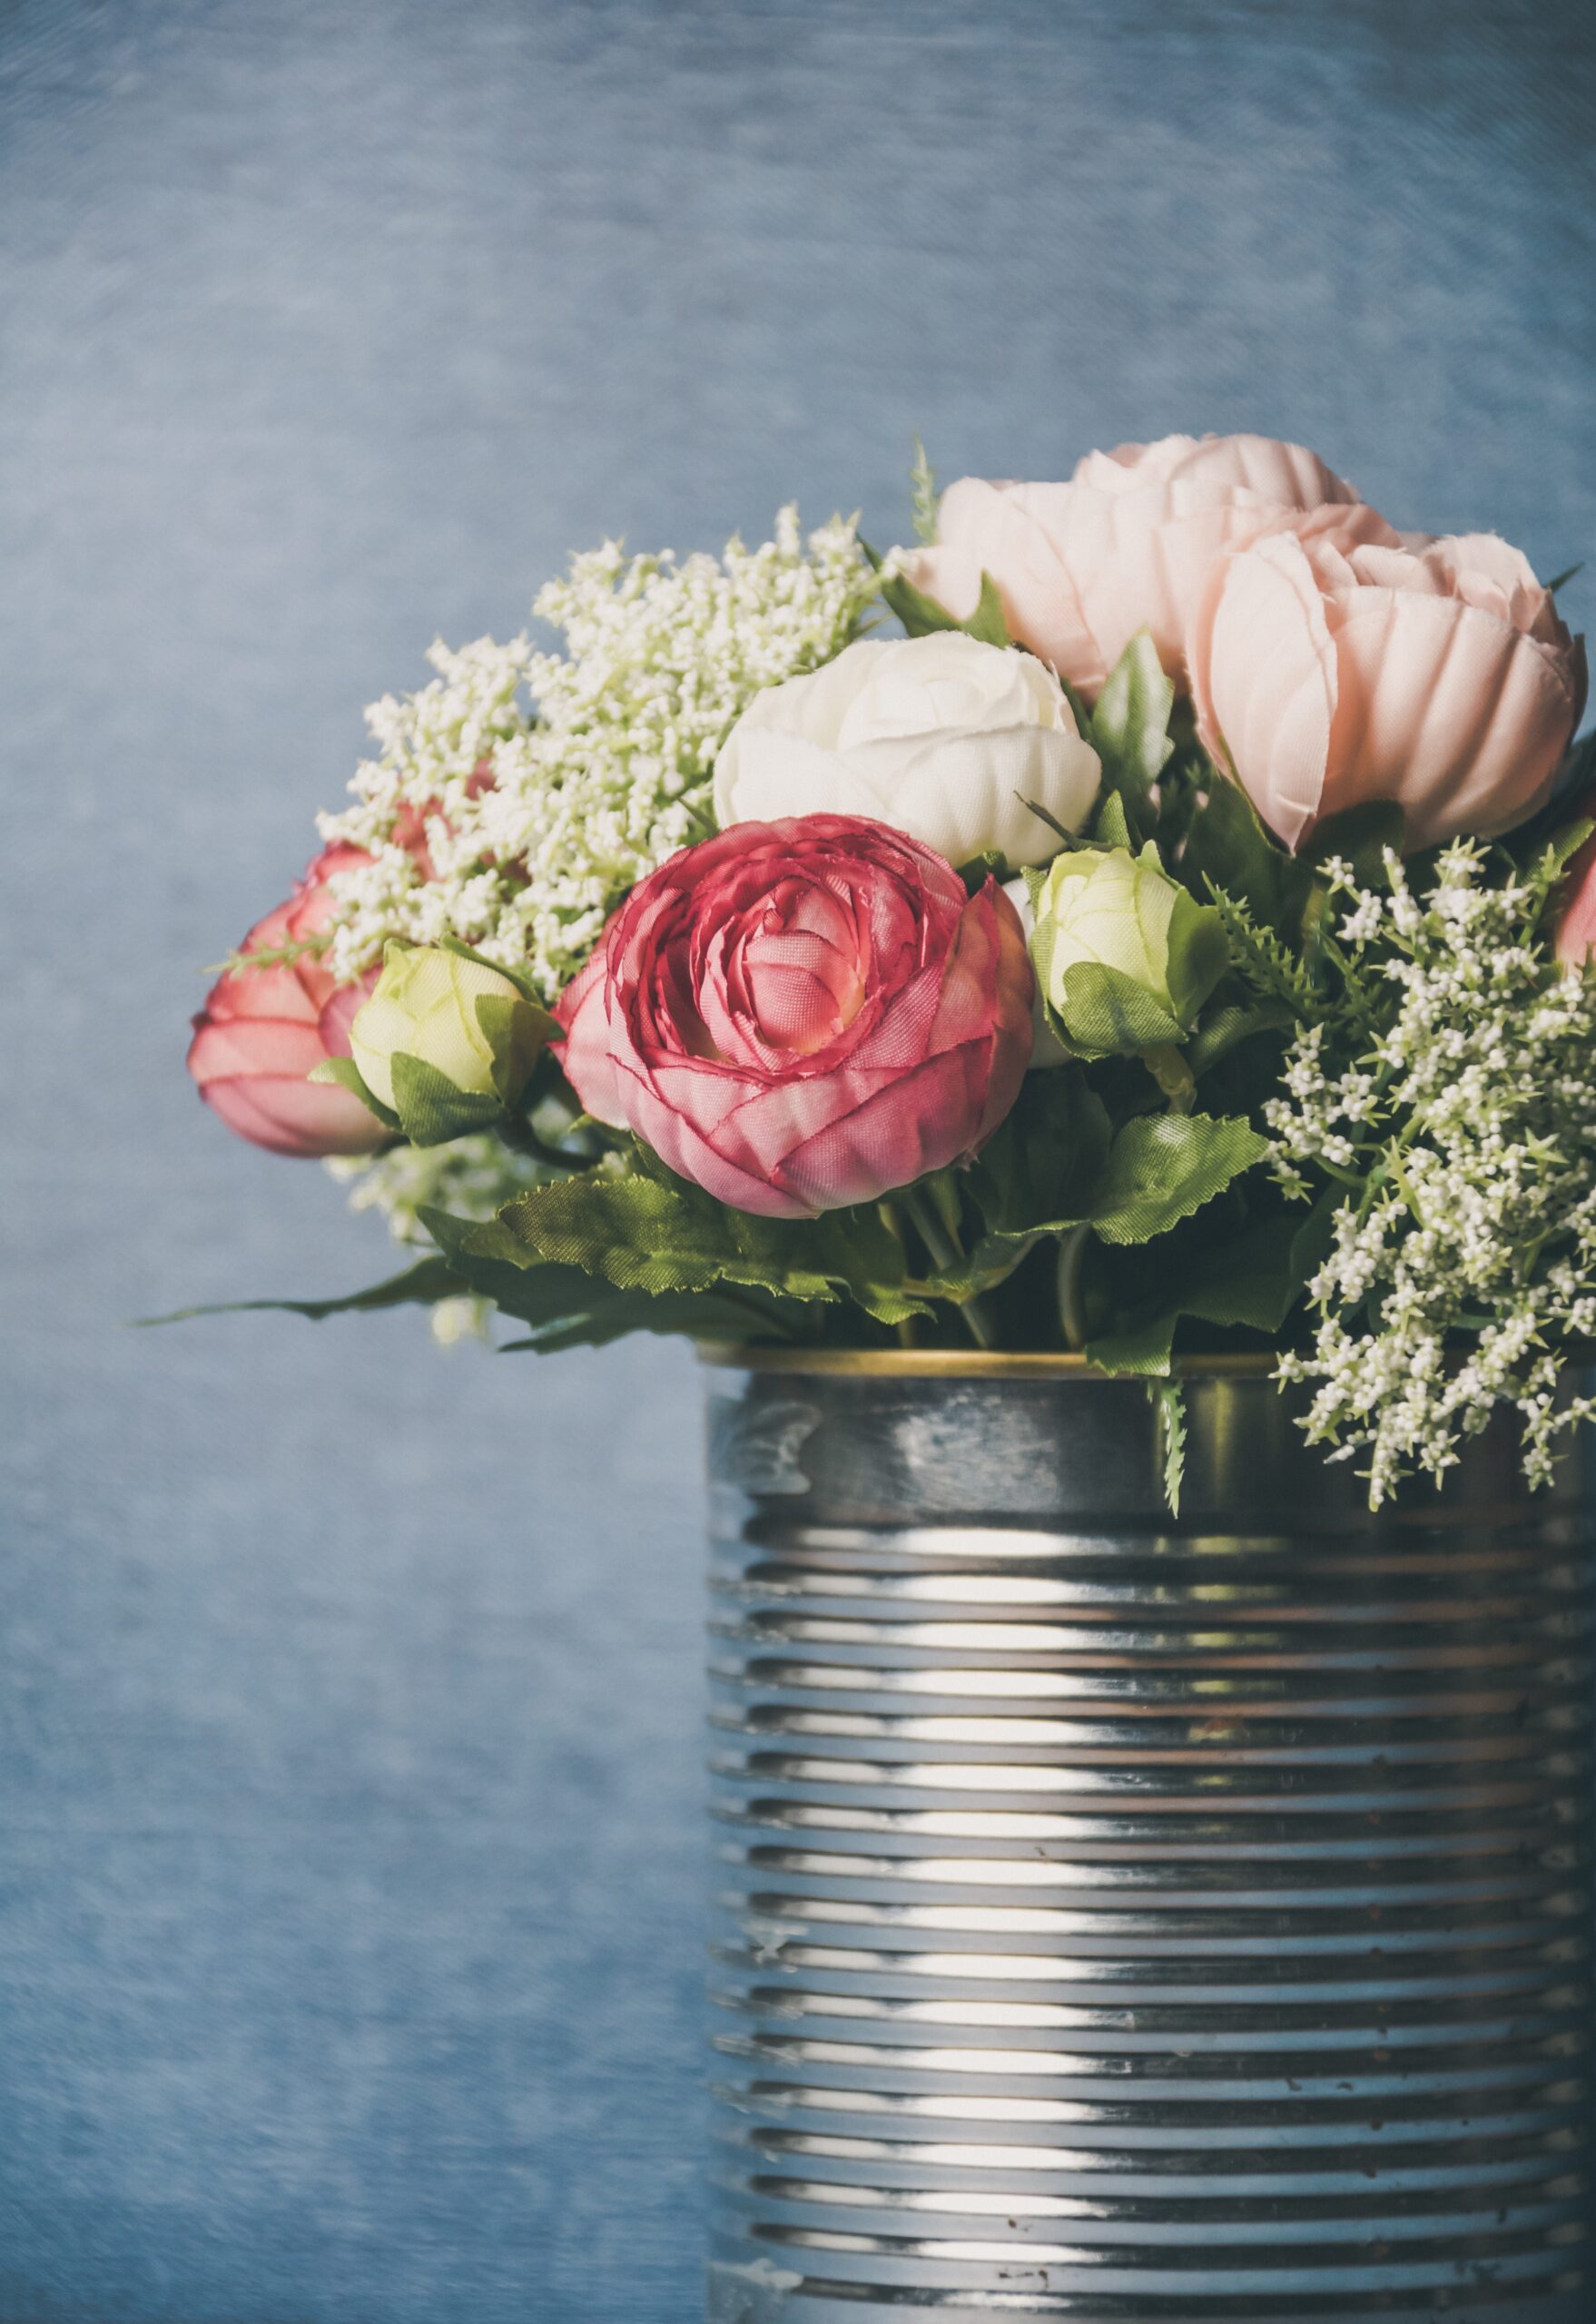
Repurposed Tin Can Organizers
Clean used cans thoroughly, remove labels and paint them in your favorite colors. Now, you have chic organizers for pens, brushes, kitchen utensils, or even mini plant pots.
Vinyl Record Wall Clock
Give your home a retro throwback by turning old vinyls into wall clocks. Just remove the center label, add clock hands and a mechanism, and hang it up for a functional and nostalgic piece of wall decor.
Vintage Frame Jewelry Organizer
Repurpose old picture frames into chic jewelry organizers. Remove the glass and back, then add hooks, knobs, or wire mesh to hang your jewelry. Not only will your jewelry stay organized, but this piece infuses instant charm as a decorative element.
Most Popular
popular posts

Building a Private Wine Cellar? Here's What You Need to Know
by Melody Beuzelin | September 19, 2024
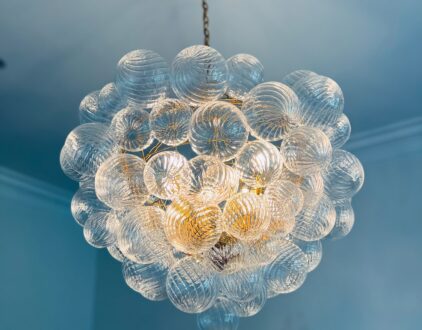
4 Simple and Stunning DIY Chandelier Ideas For The Modern Home
by Kelsey Marie | November 18, 2023

Spaces
Whether it’s luxury or ease, every area of your home should be as fabulous and unique as you.


FOLLOW ALONG ON INSTAGRAM
#homeandtexture
Find us on social for more home inspiration where culture, personal style, and sophisticated shopping intersect to help you create a home where you love to live.