October 3, 2023 at 5:39 PM PST
Decorate Dip Dye
Take Your Woven Decor Up a Notch With Dip Dye: A Step-by-Step Guide
October 3, 2023 at 5:39 PM PST
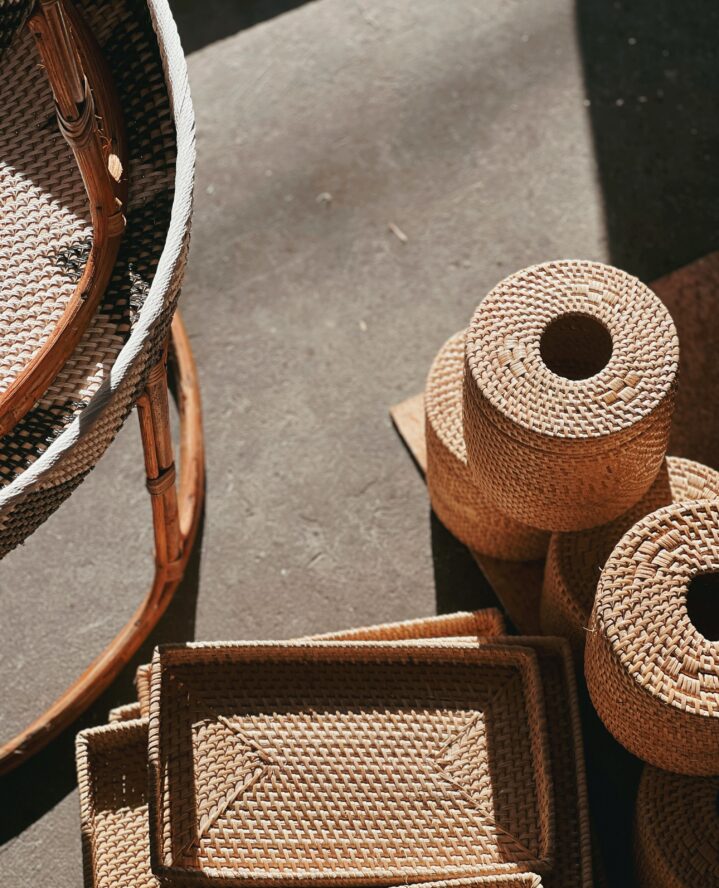
There’s just something about woven decor that evokes a calm, inviting ambiance. And when it’s dyed in vibrant colors, it can truly transform your space. Using dip dye is a great way to elevate your woven decor. Even better, they come in a wide range of colors, so you can choose the perfect shade to complement your existing decor.
Whether you use it to create a brightly colored woven storage basket or a throw rug with a gradient effect, dip dye is your best bet at adding a dash of personality to your home. To learn an easy way to add a pop of color to your living space, here’s how to take your woven decor up a notch using dip dye.
Step 1: Protect your work area.
Dip dyes are highly pigmented and can easily stain your clothing or furniture if you’re not careful. To avoid making a mess, you’ll want to protect your work area. You can do this by laying down a few plastic sheets or tarps, making sure to cover nearby furniture and decor. To protect yourself, put on some old, tattered clothing that you don’t mind throwing out. If you don’t have any, an apron works just as well.
Step 2: Prep your work area.
Now that your work area is protected, you can start prepping for the job. To do this, fill a bucket, sink, or even your bathtub with hot water. Then, add your powder or liquid dye, gently stirring it until fully it’s dissolved.

Step 3: Dip your decor.
Next, take your woven decor and submerge it in the colored water. This is where you can get really creative by dipping just the ends, sides, or the entire piece in the dye. You can create cool designs depending on how you angle your piece in the water. You could even combine multiple colors for an interesting look.
Step 4: Let it soak.
Let your woven piece soak in the dip dye until it reaches your desired shade. This can take anywhere from 30 minutes to a full hour, so make sure to keep an eye on it.
Step 5: Rinse it off.
Once you decide your piece is dyed to your liking, you can remove it from the water. Then, rinse it off with cold water to remove any excess dye.
Step 6: Lock it in.
Now that your design is complete, you’ll need to make sure it lasts. To do this, gently mix the dye fixative solution according to the directions on the package. Then, submerge your woven piece in the solution for 15-20 minutes to lock in color. After your time is up, rinse it off one more time.
Step 7: Hang it up.
Let your piece dry by hanging it up on a clothesline or an open closet. Remember to put down plenty of paper towels to absorb any residual dripping.
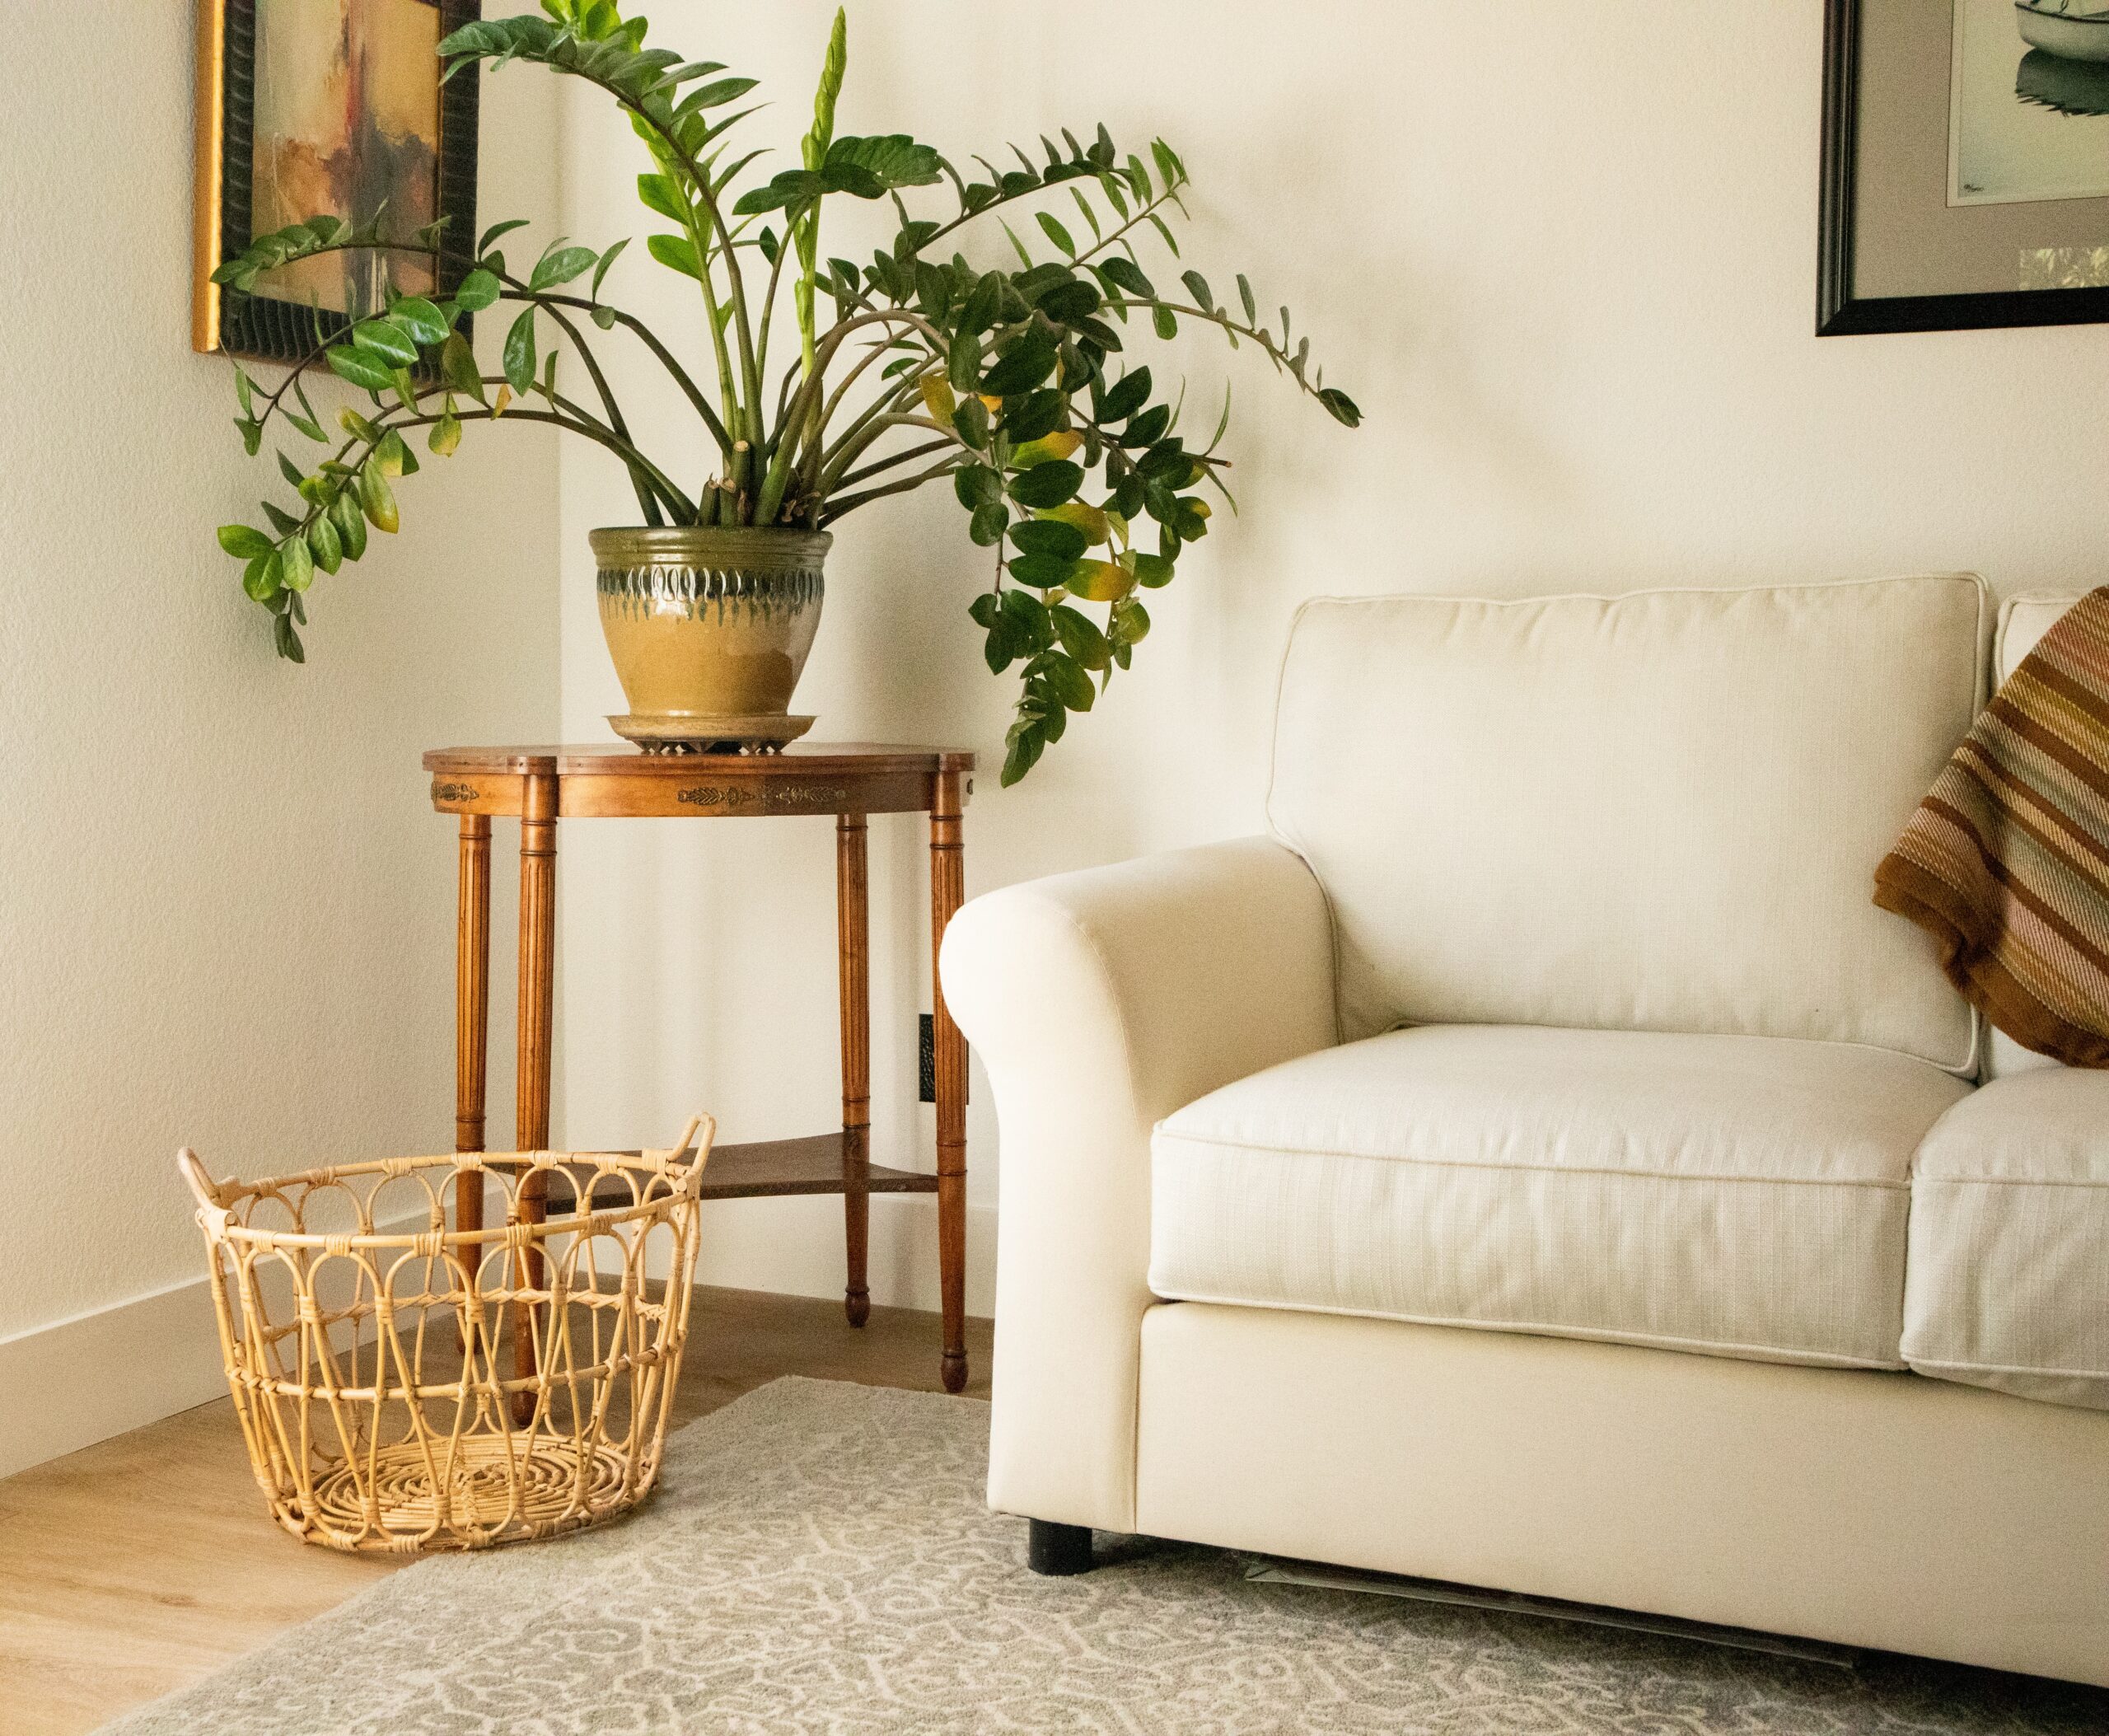
Step 8: Display your new decor.
After your woven item fully dries, you can display it anywhere in your home. You can use it as a cute way to store your bath towels or to display seasonal fruit. You could also put it up against a neutral backdrop to make that pop of color truly stand out.
Step 9: Keep it up.
To ensure you can use your new woven decor for a long time, there are a couple of steps you should take to maintain it. To avoid fading, always hand wash your woven decor using mild detergent. Then, hang it up to dry away from direct sunlight. This will help your piece maintain its vibrancy and prevent fading or color bleeding.
Most Popular
popular posts
Decorate
Access design inspiration that infuses personality and culture into your spaces.

10 Essential Refrigerator Rules for a Clean and Organized Kitchen
by Melody Beuzelin | August 29, 2024

These 5 Stylish Fruit Bowls Will Be the Focal Point of Any Kitchen
by Tayler Adigun | April 29, 2024
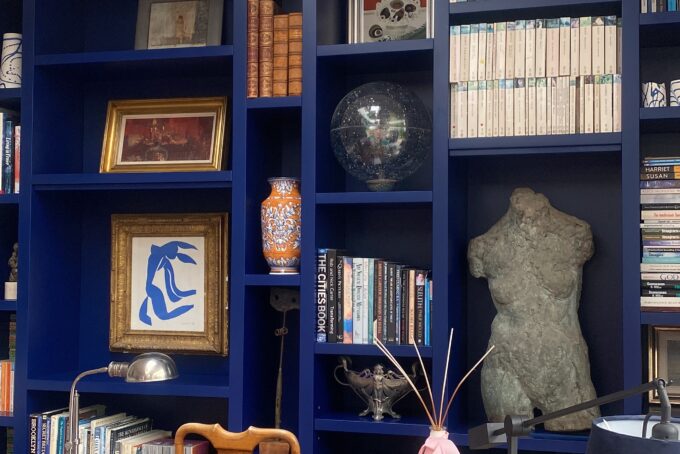
This LA Apartment Is a Masterclass in Cozy Maximalism
by Camryn Dilger | March 26, 2024
Spaces
Whether it’s luxury or ease, every area of your home should be as fabulous and unique as you.
Brutalist Interior Design Balances Raw Beauty and Function
by Stixx Matthews | February 6, 2025
Home Office Ideas So Chic, You’ll Ditch the Zoom Blur
by Stixx Matthews | February 20, 2025
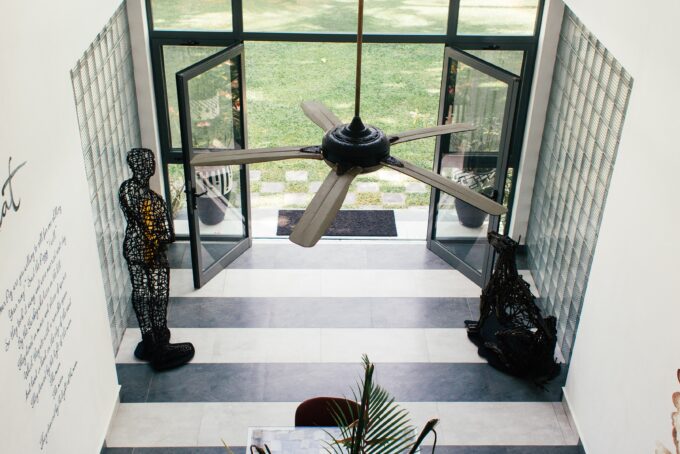
Enjoy Both Form & Function with These Gorgeous Ceiling Fans
by homeandtexture | February 8, 2023
Indulge in These Mini Luxury Items to Beautify Your Home
by Erika Hardison | March 13, 2023
FOLLOW ALONG ON INSTAGRAM
#homeandtexture
Find us on social for more home inspiration where culture, personal style, and sophisticated shopping intersect to help you create a home where you love to live.