May 19, 2023 at 4:41 PM PST

Bath Shower Niche
Shower Niche Ideas: Enhancing Functionality and Style in Your Bathroom
May 19, 2023 at 4:41 PM PST
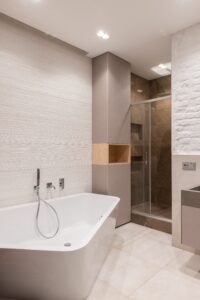
The shower is often the centerpiece of any bathroom, and incorporating a shower niche can elevate both its functionality and aesthetic appeal. A shower niche, also known as a shower recess or shower shelf, is a built-in storage space within the shower area that allows you to keep your bathing essentials conveniently at hand. Explore these various shower niche ideas that can transform your shower experience while adding a touch of elegance to your bathroom decor.
Importance of Shower Niches
Shower niches serve a practical purpose by providing storage space for toiletries, eliminating the need for external shower caddies or cluttered countertops. They offer a seamless and organized solution, keeping your shower area tidy and uncluttered. Additionally, they can enhance the overall design of your bathroom, creating a focal point and adding architectural interest to the space.
Types of Shower Niches
When considering shower niche ideas, it’s essential to choose the right type that suits your preferences and bathroom layout. Here are some popular types:
Built-in Shower Niches
Built-in shower niches are seamlessly integrated into the wall during the construction or renovation process. They provide a clean and cohesive look and can be customized to fit your specific needs.
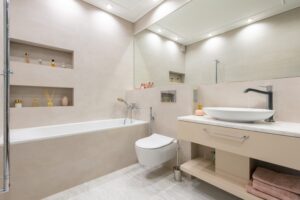
Recessed Shower Niches
Recessed shower niches are installed into the existing wall, typically between studs. These offer a streamlined appearance as they are flush with the surrounding wall, creating a sleek and minimalistic design.
Corner Shower Niches
Corner shower niches are placed in the corners of the shower area, making efficient use of space. They are especially beneficial in smaller bathrooms where optimizing every inch is crucial.
Floating Shower Niches
Floating shower niches are mounted onto the shower wall without being recessed. These niches provide a modern and contemporary look, as they appear to be floating on the surface.
Materials for Shower Niches
Choosing the right materials is essential for both durability and aesthetics. Here are some popular options:
Ceramic Tiles
Ceramic tiles are a classic choice. They are versatile, affordable, and available in various colors, sizes, and textures, allowing for endless design possibilities.
Porcelain Tiles
Porcelain tiles offer excellent durability and resistance to moisture, making them an ideal choice. They come in a wide range of styles, from sleek and modern to textured and rustic. With their low water absorption rate, porcelain tiles are less prone to staining and are easy to clean.
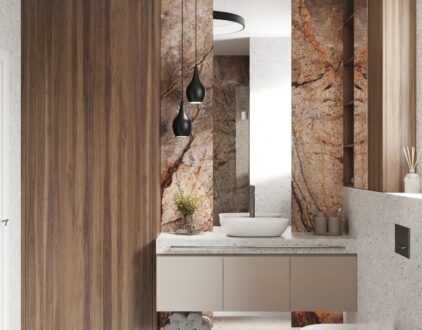
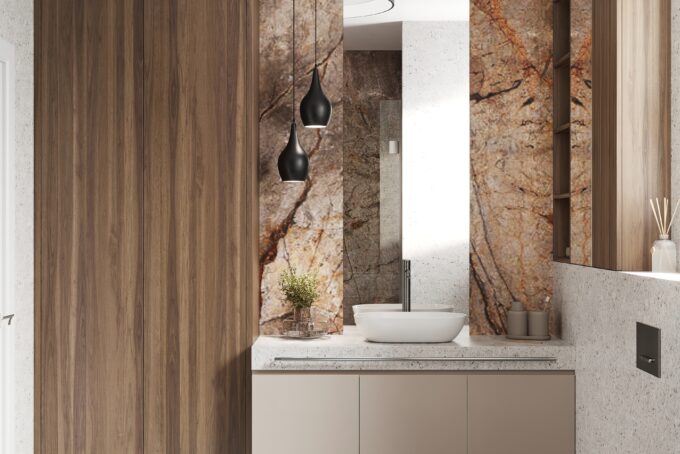
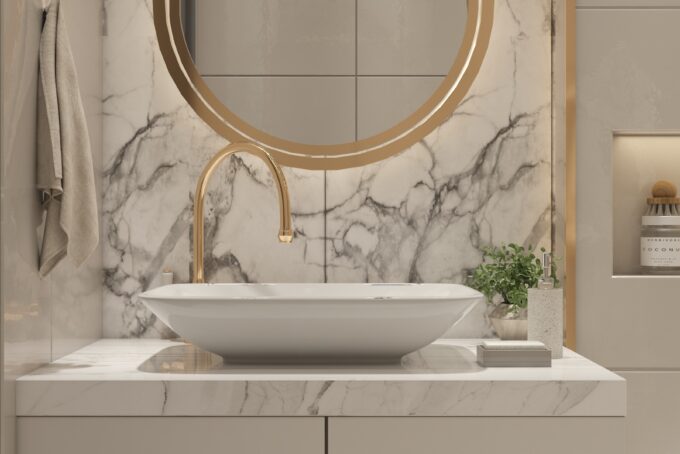
Natural Stone
Natural stone, such as marble, granite, or travertine, adds luxury and elegance to any shower. Each piece is unique, showcasing beautiful variations in color and veining. However, remember that natural stone requires regular sealing to protect it from water damage and staining.
Glass Mosaic Tiles
For a stunning and eye-catching design, consider using glass mosaic tiles. These small tiles create a mosaic pattern that can add a pop of color or create an interesting focal point in your shower. Glass tiles are non-porous and resistant to mold and mildew, making them a hygienic option as well.
Shower Niche Lighting
Incorporating proper lighting can enhance its functionality and create a soothing ambiance. Consider the following options:
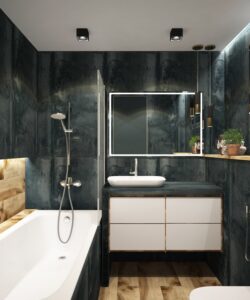
LED Strip Lighting
LED strip lighting can provide a soft, indirect glow that illuminates the contents of the niche. It creates a sophisticated, spa-like atmosphere in your bathroom.
Overhead Lighting
Installing a small overhead light can provide direct lighting and highlight the niche as a focal point. This type of lighting is particularly useful if you have decorative items or artwork displayed in the niche.
Backlit Niche
For a dramatic effect, consider a backlit shower niche. Installing LED lights creates a subtle glow around the edges, highlighting the shape and design of the niche. This creates a captivating visual element and adds a luxurious touch to your shower.
Motion-Activated Lighting
To add convenience and functionality, opt for motion-activated lighting. These lights automatically turn on when you approach the niche, providing illumination when you need it and conserving energy when not in use.

Shower Niche Size and Placement
Determining the right size and placement is crucial for a seamless and functional design. Here are some considerations:
Size
The size will depend on your storage needs and available space. Aim for a size that comfortably fits your toiletries and bath essentials without overcrowding the niche. A width of around 12 to 18 inches and a height of 24 to 36 inches are common dimensions.
Placement
Consider the best placement based on your shower layout and personal preferences. Popular options include placing the niche at eye level for easy access, at a lower height for children, or at a higher level to keep items out of reach of water.
DIY Shower Niche Installation
If you’re a handy individual, installing one can be a rewarding DIY project. Here are some general steps to guide you:
Planning
Measure and mark the desired location on the wall. Think about the size, placement, and proximity to plumbing and studs. Plan the design and layout, including the type of tiles or materials you will use.
Preparing the Wall
Prepare the wall by removing any existing tiles, drywall, or debris. Ensure the wall surface is clean, smooth, and free from moisture or mold. If necessary, reinforce the wall by adding studs or support.
Framing and Waterproofing
Build a frame for your niche using moisture-resistant materials, such as cement boards or waterproof membranes. Check that the frame is securely attached to the studs and properly sealed to prevent water leakage.
Tiling and Finishing
Tile the inside of the niche using your chosen tiles and adhesive. Pay attention to the alignment and spacing to achieve a professional finish. Once the tiles are set and grouted, seal the edges and corners with silicone caulking for added waterproofing.
Maintenance and Cleaning
To keep it looking pristine and functioning optimally, regular maintenance and cleaning are essential. Here are some tips:
Regular Cleaning
Clean it regularly using a mild, non-abrasive cleaner and a soft cloth or sponge. Avoid harsh chemicals that can damage the tiles or grout. Wipe down the niche after each use to prevent soap scum and buildup.
Grout Maintenance
Inspect the grout lines periodically and reseal them as needed. Grout can deteriorate over time, leading to water penetration and potential damage. Resealing the grout helps maintain its integrity and prevents moisture-related issues.
Preventing Mold and Mildew
To prevent mold and mildew growth, make sure to have proper ventilation in your bathroom. Use a squeegee or towel to remove excess water from the niche after each use. Additionally, periodically clean the niche with a mixture of equal parts vinegar and water to discourage the growth of mold and mildew.
Addressing Tile and Grout Issues
If you notice any cracked tiles or deteriorating grout, address them promptly. Replace damaged tiles and regrout as necessary to maintain their integrity and appearance.
Most Popular
popular posts
Bath

5 Bathroom Storage Mistakes You're Making and How To Fix Them
by Kelsey Marie | January 19, 2024

Spaces
Whether it’s luxury or ease, every area of your home should be as fabulous and unique as you.

FOLLOW ALONG ON INSTAGRAM
#homeandtexture
Find us on social for more home inspiration where culture, personal style, and sophisticated shopping intersect to help you create a home where you love to live.